
Setting up roles
This section will take you through the required steps for managing your system’s roles.
When you are setting up users for the first time you will need to give them a role. Roles enable you to set up a user’s permissions on payment profiles in the system. Payment profiles allow you to set up different payment templates and set different controls around them. When you set users up in the system you are required to select a role for the user. The role specifies what the user can see and what actions they are able to perform on payment profiles.
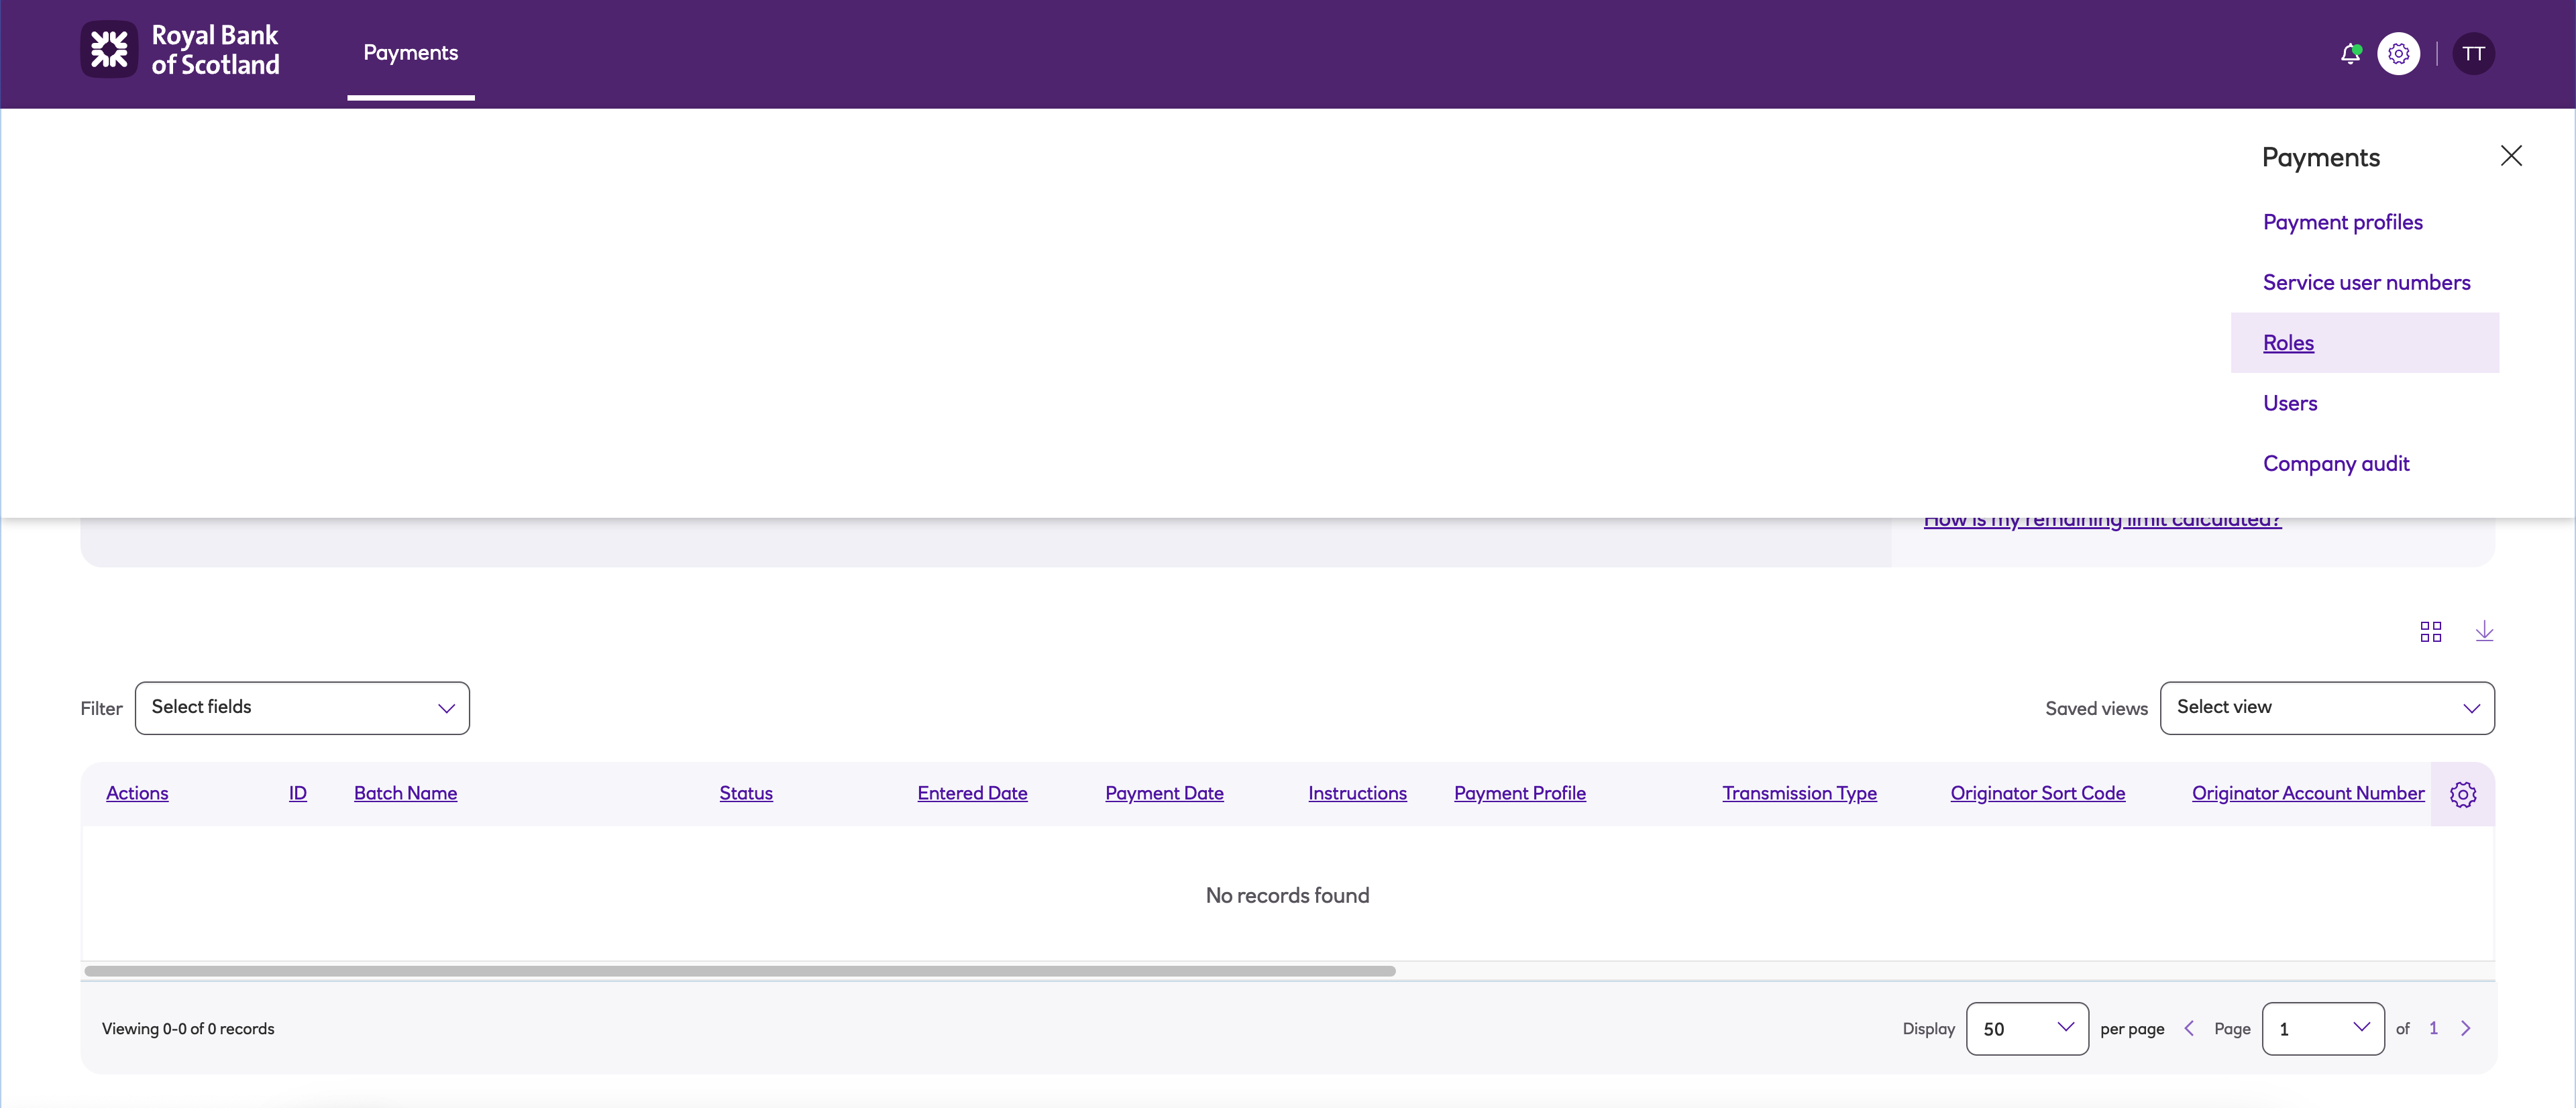
- From the settings menu ('cog' icon) select Roles.
-
You’ll then click New role.
-
You’ll need to give your new role a Role name and Description – the role name is what you see in the user settings screen drop down menu, so ensure you call the name something you can easily identify.
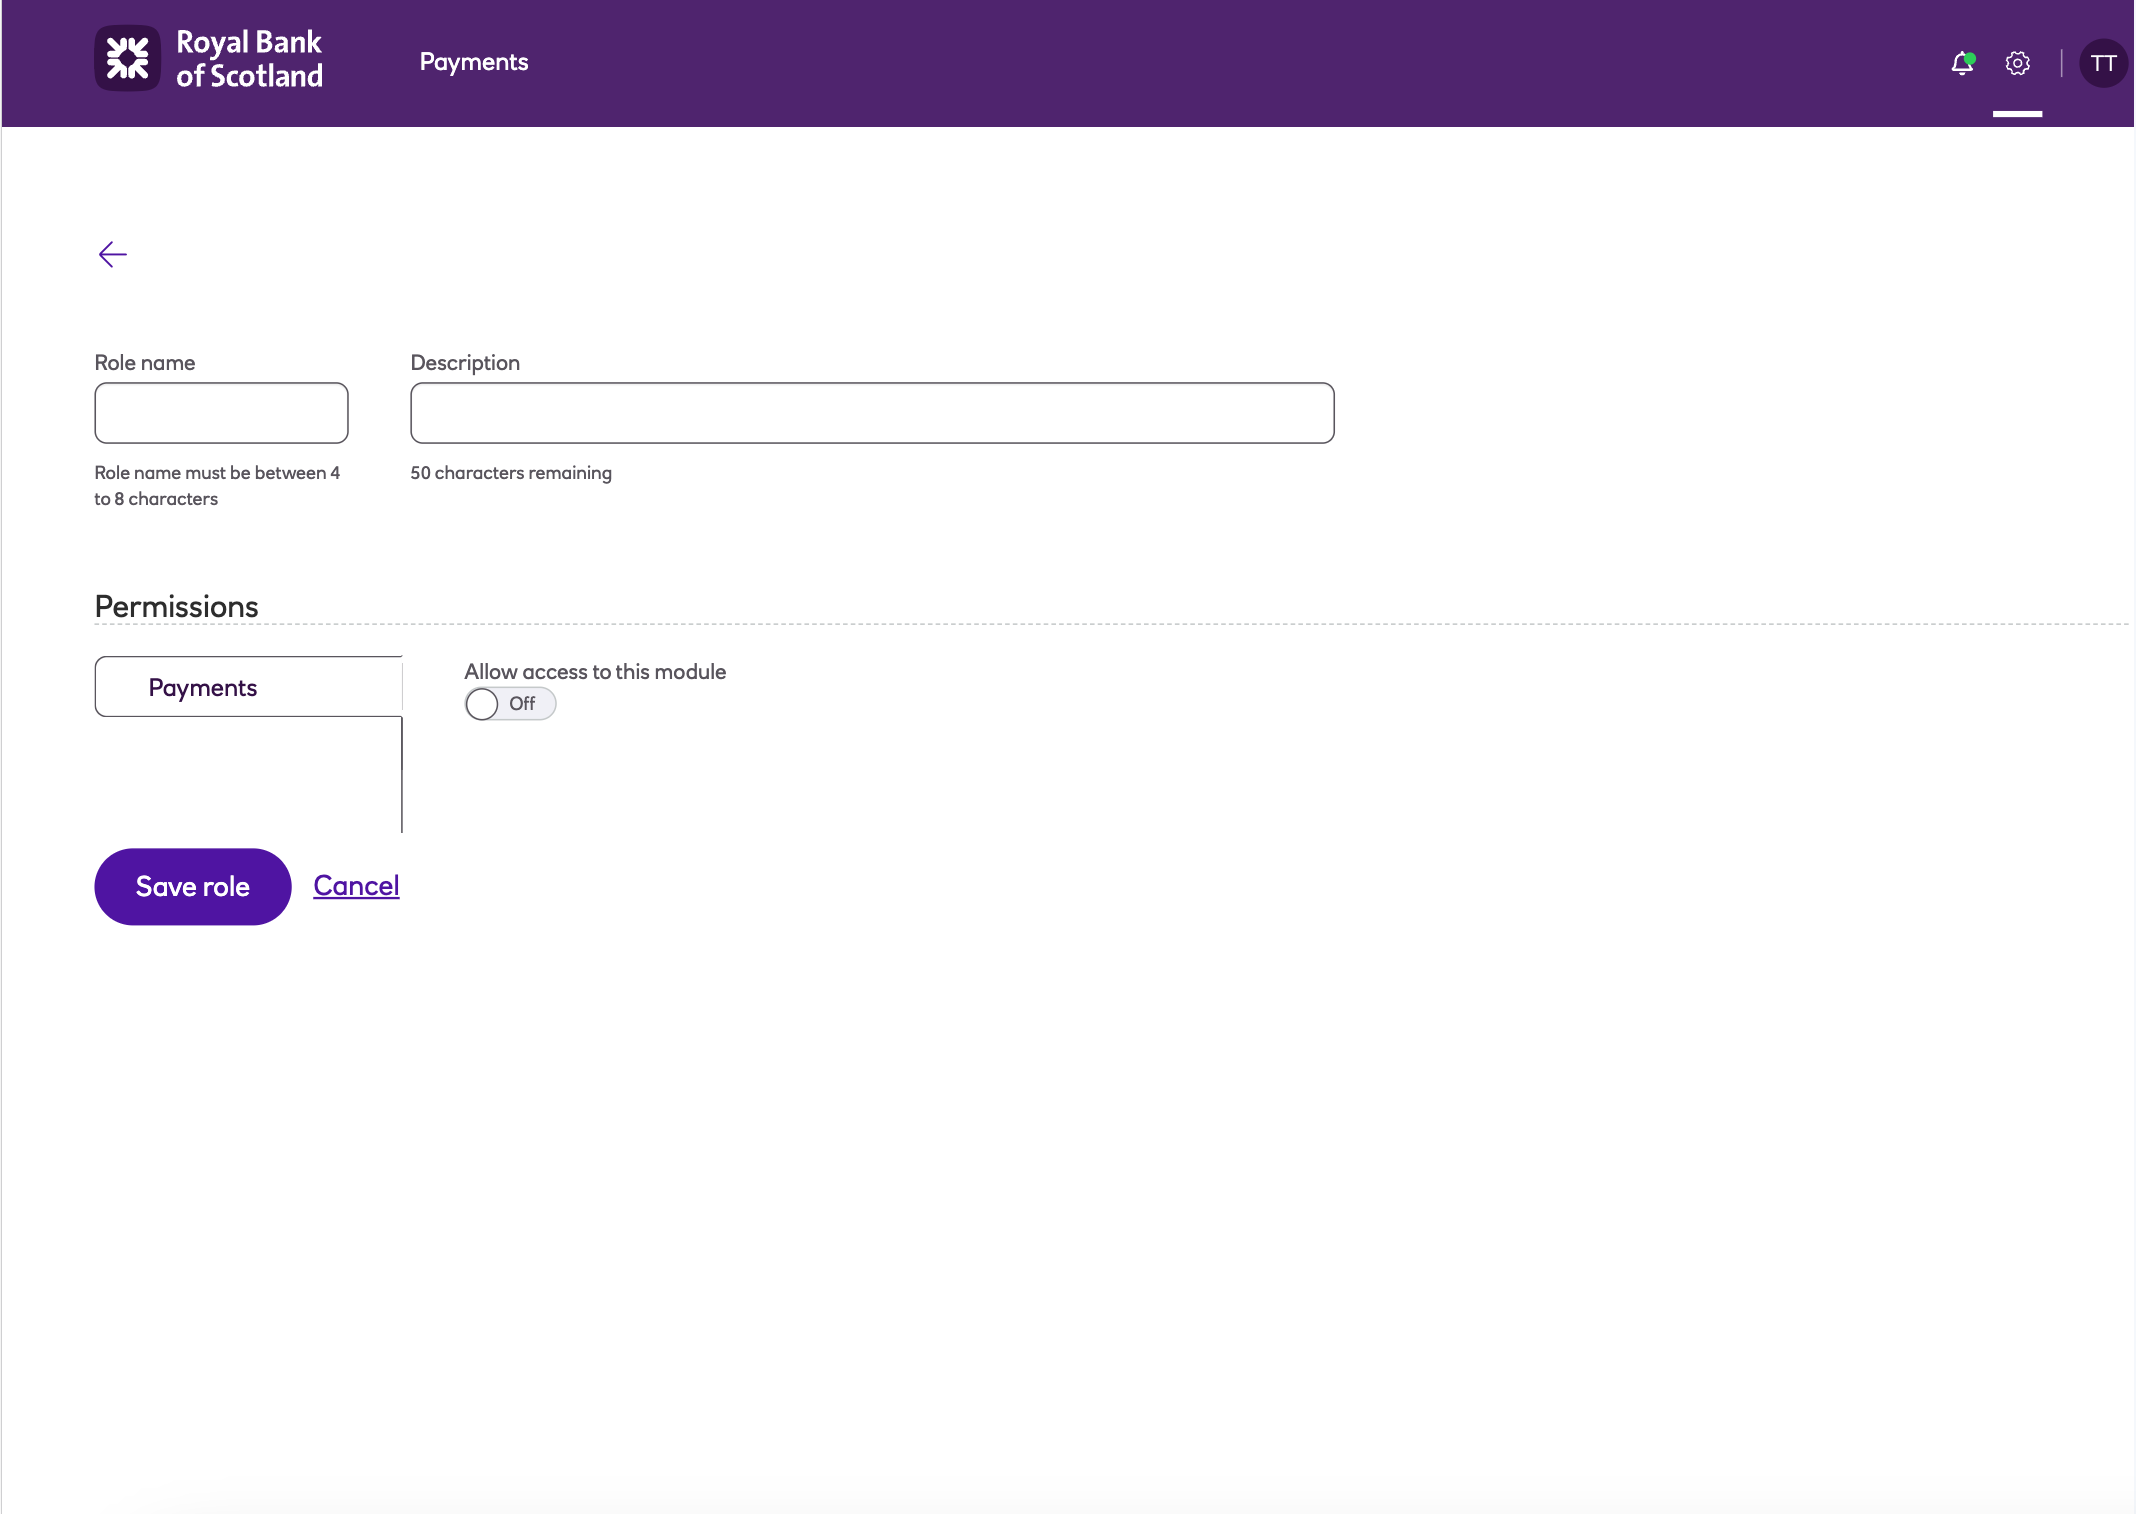
- Further down the New role screen there is a Permissions subsection. From here select Payments and set Allow access to this module to On.
-
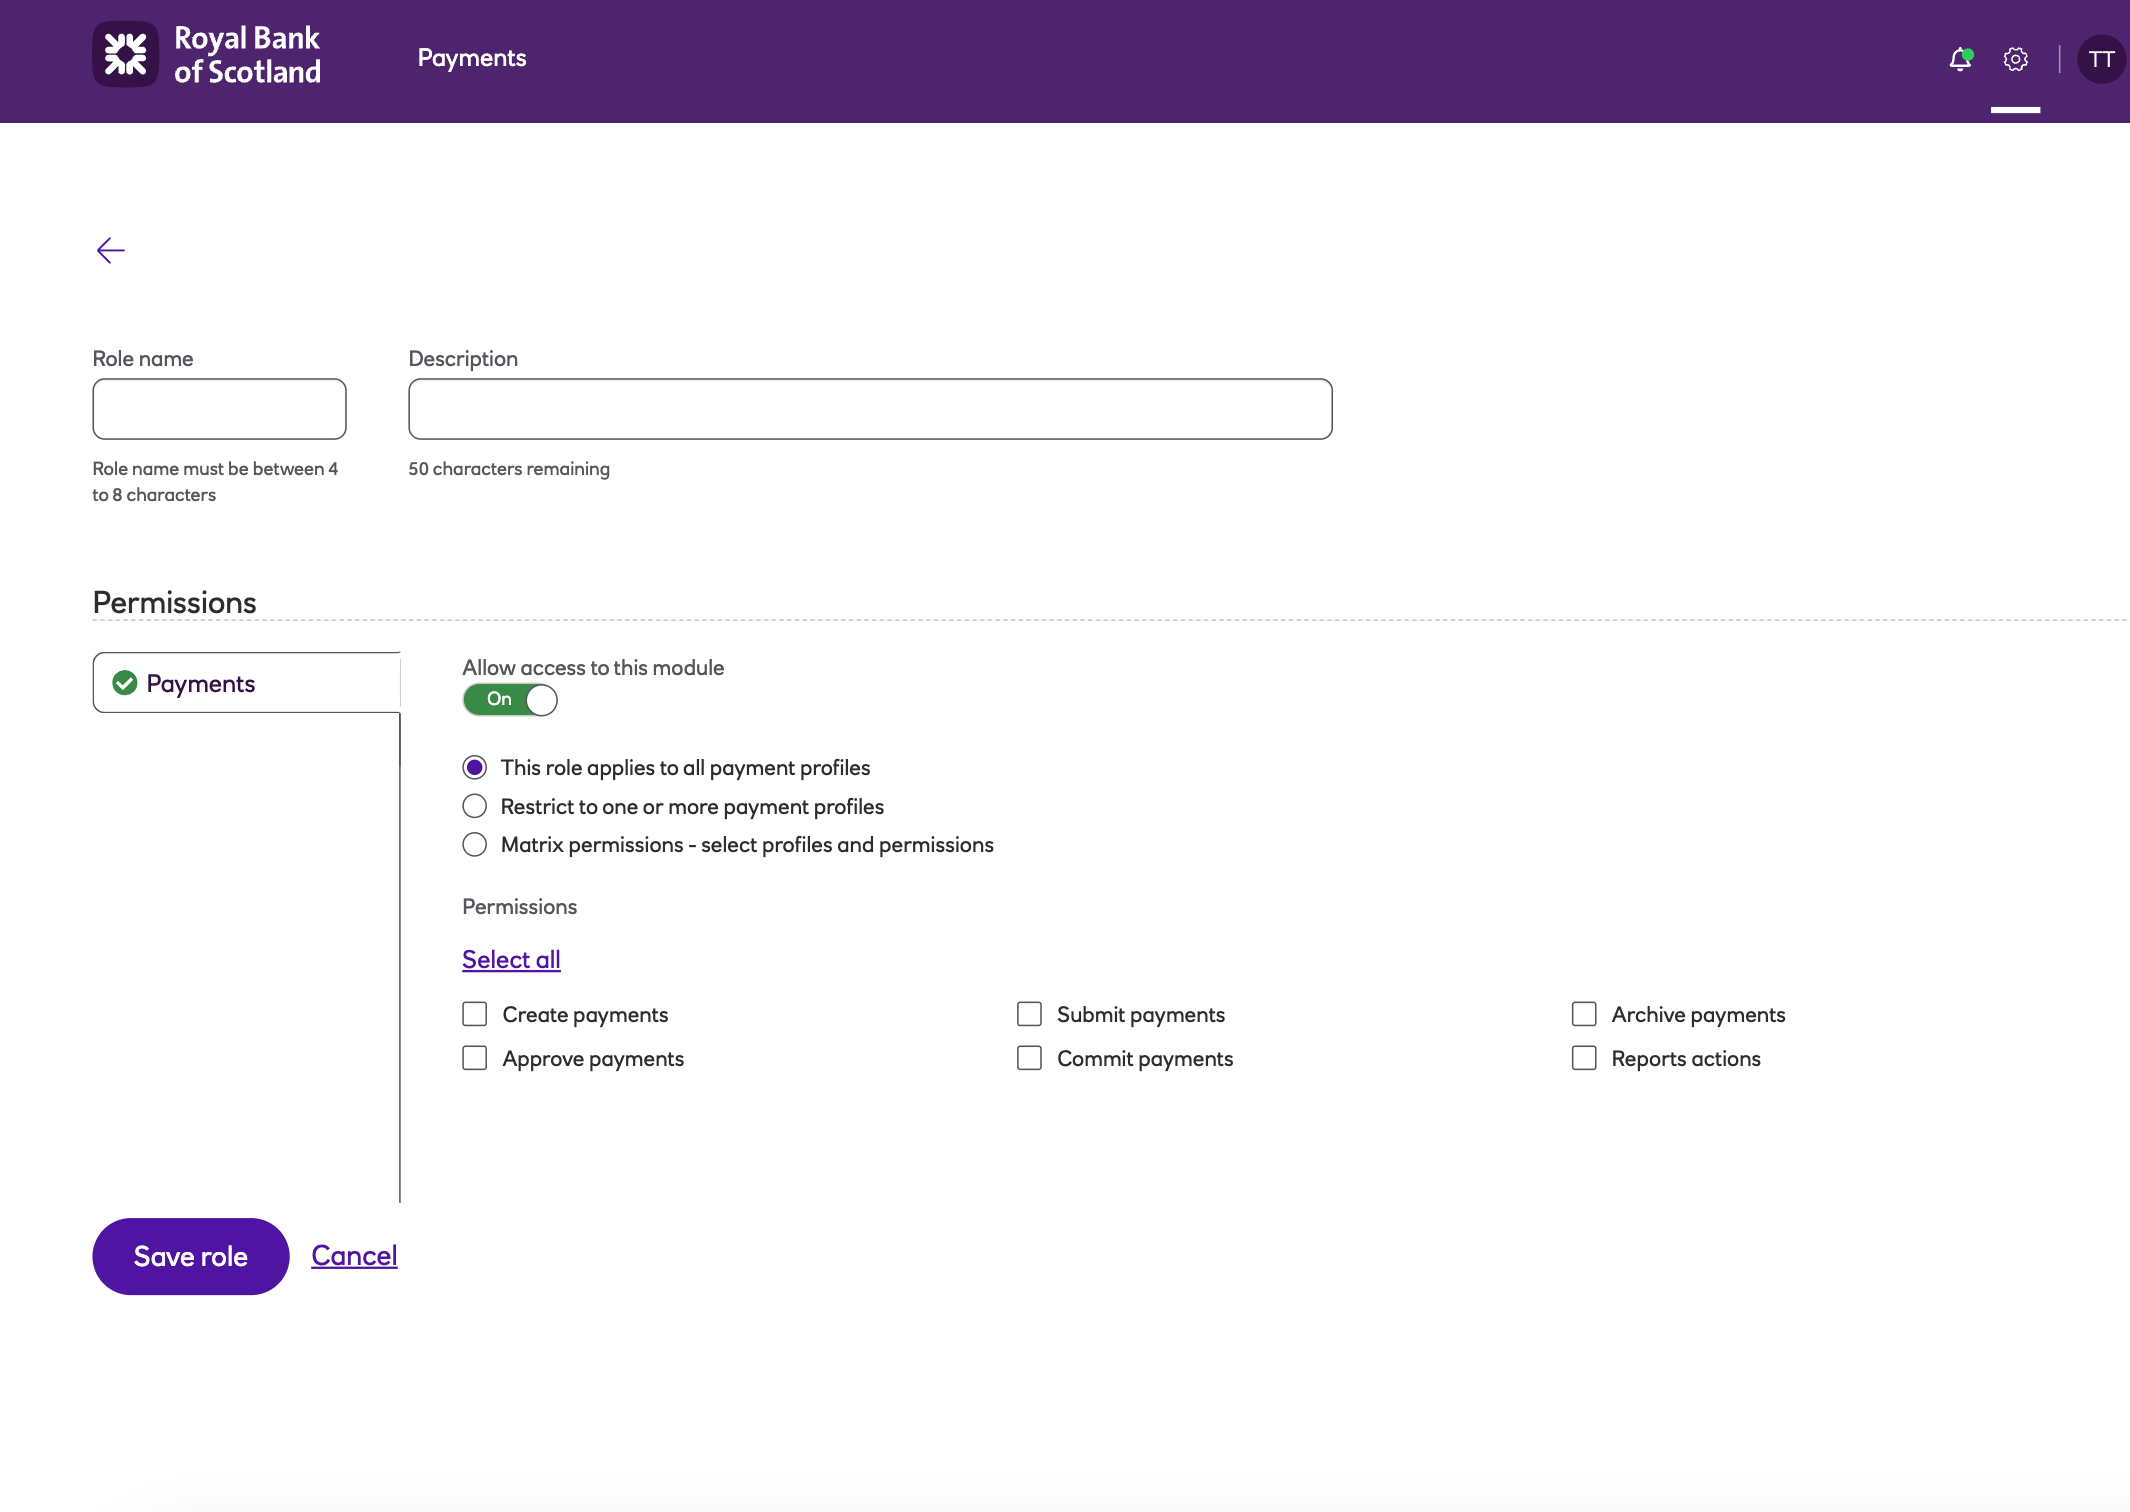
You will then see two options appear. These options allow you to select whether this new role will be set for All payment profiles or Restricted to one or more payment profiles.
-
If using This role applies to all payment profiles then move to the next permissions section where you can select what permissions you want to assign to this new role across all payment profiles.
• Create – The ability to create manual entry payments.
• Approve – The ability to approve and un-approve payment files for submission.
• Commit – The ability to commit the payment file ready for submission to Bacs.
• Archive – Allows archiving of rejected or sent submissions.
• Report actions – Ability to view Bacs reports.
-
If using Restrict to one or more payment profiles you still select the permissions that you want assigned to that role as before, but then move further down the page to tick which payment profiles you want this role restricted to.
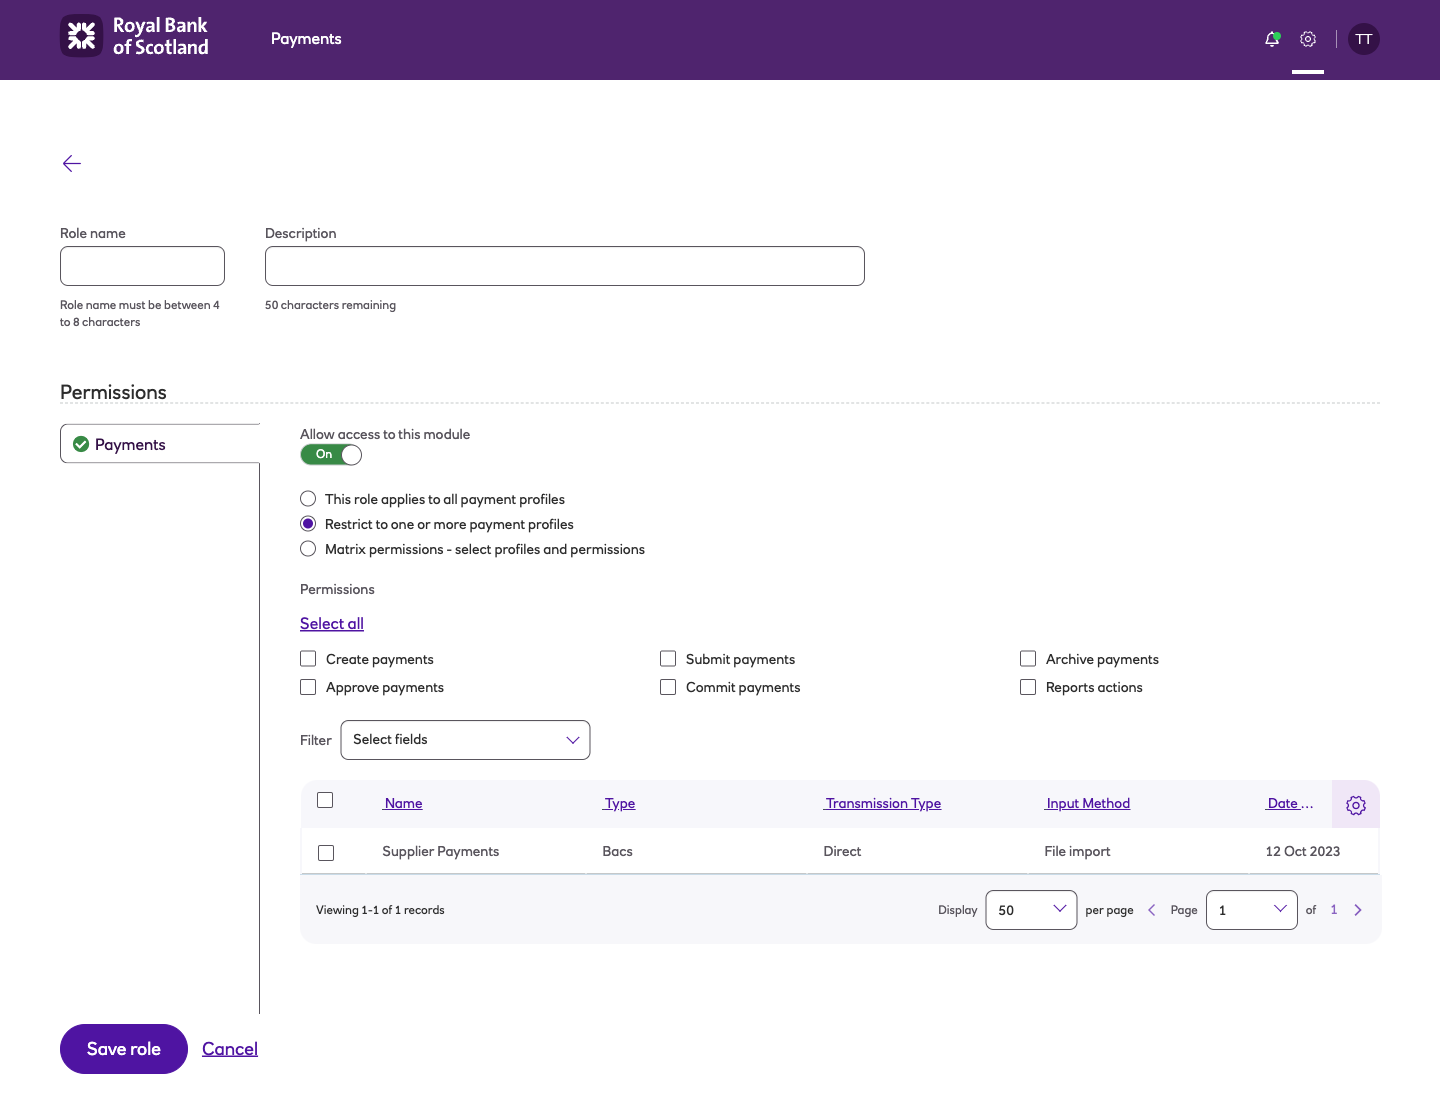
- Once you have finished setting the role options click Save role.
Updated 8 months ago