
Payment entry methods
Import a file
These steps detail how to upload a payment file manually in to Autopay Online Plus. If you have Drive you can also upload payment files automatically.
For details on how to manually enter payment data in to the solution see the section Enter data manually.
-
Log into the solution as a user with the create privileges.
-
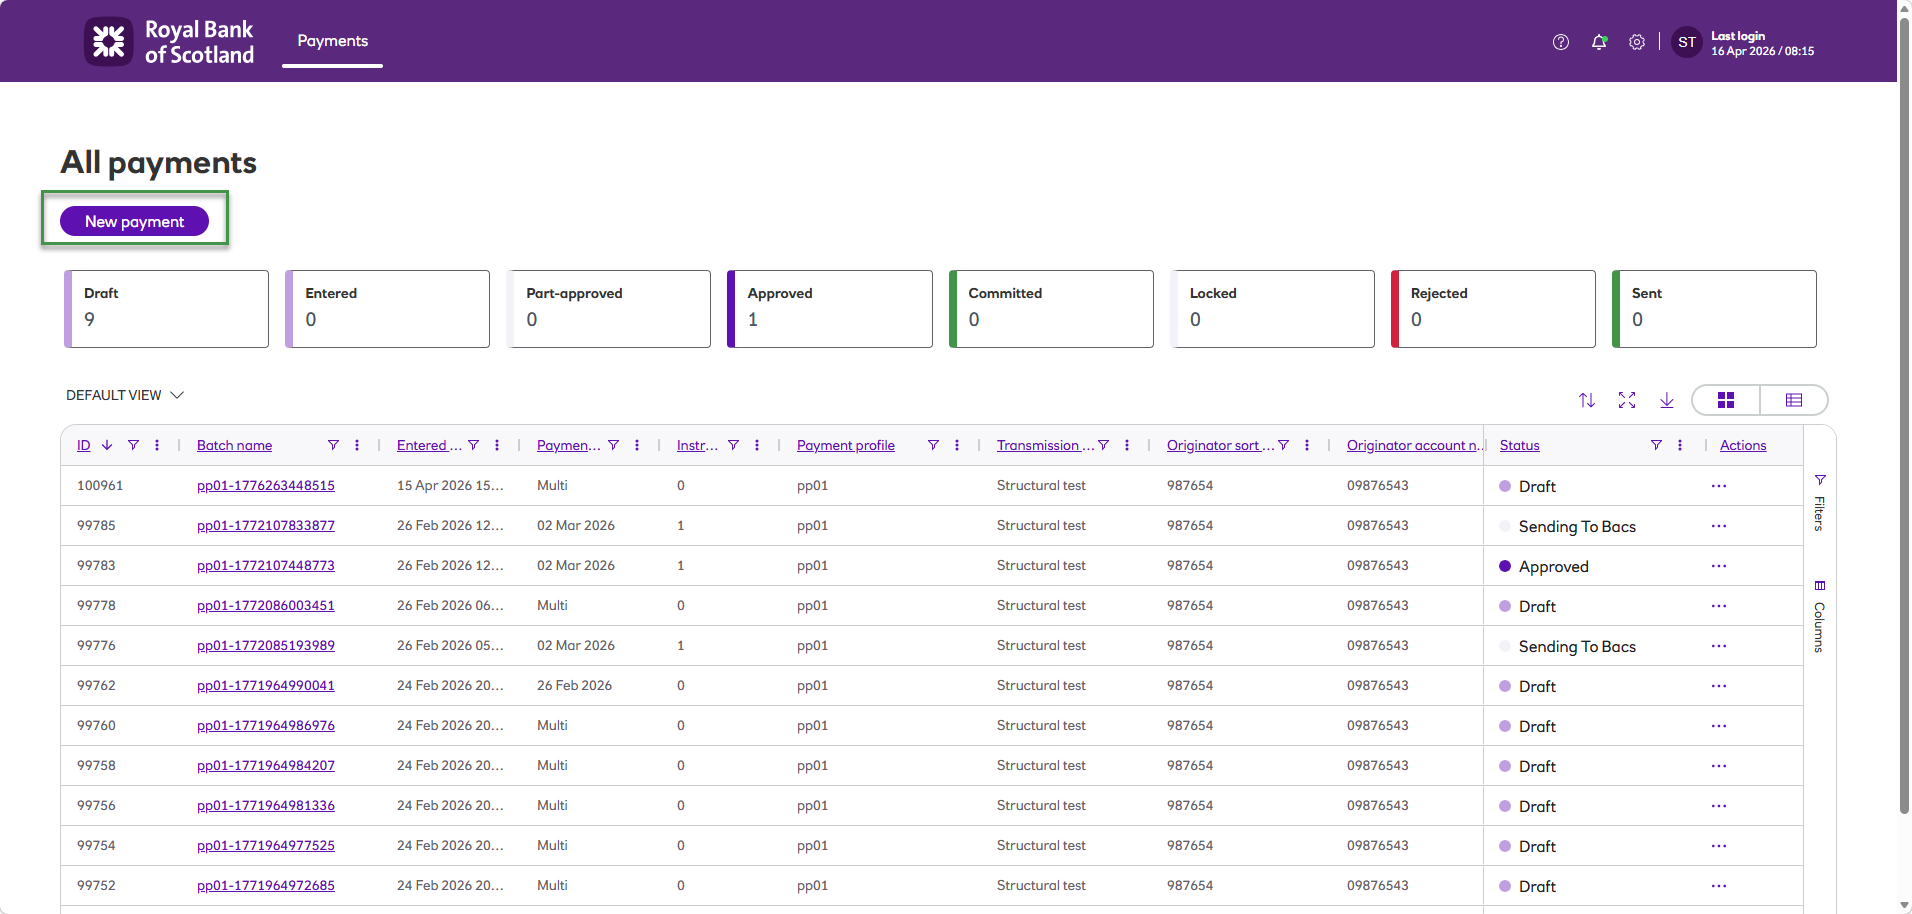
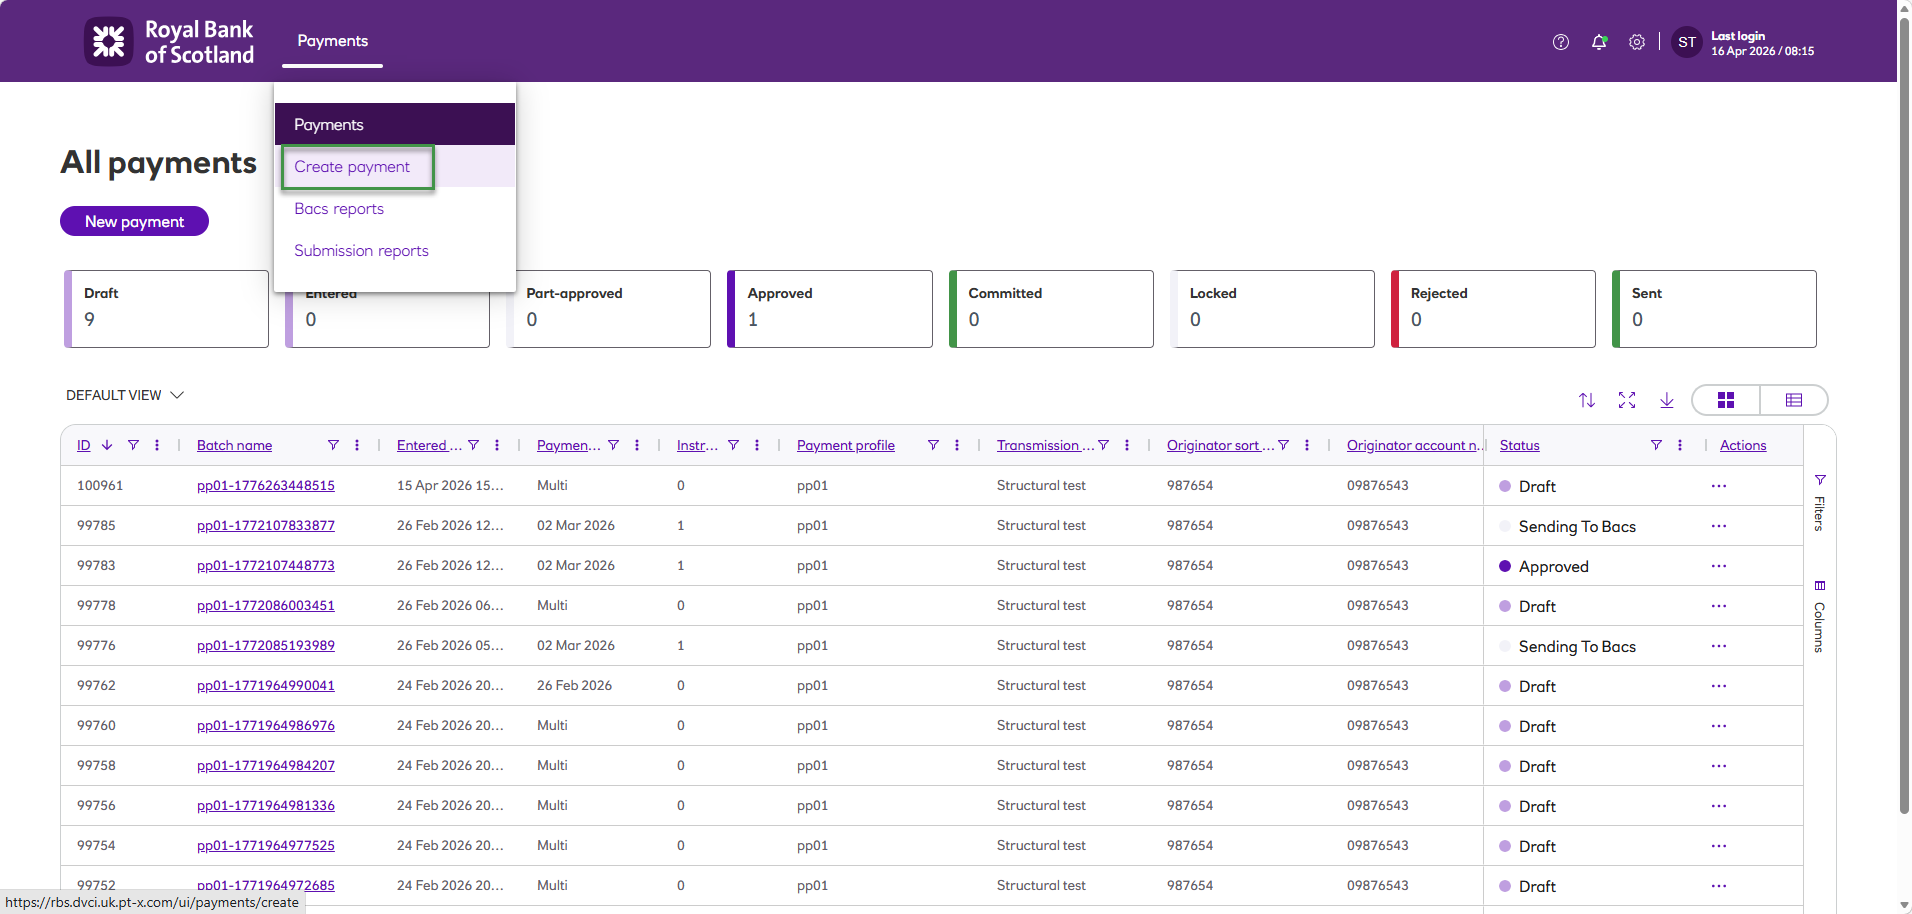
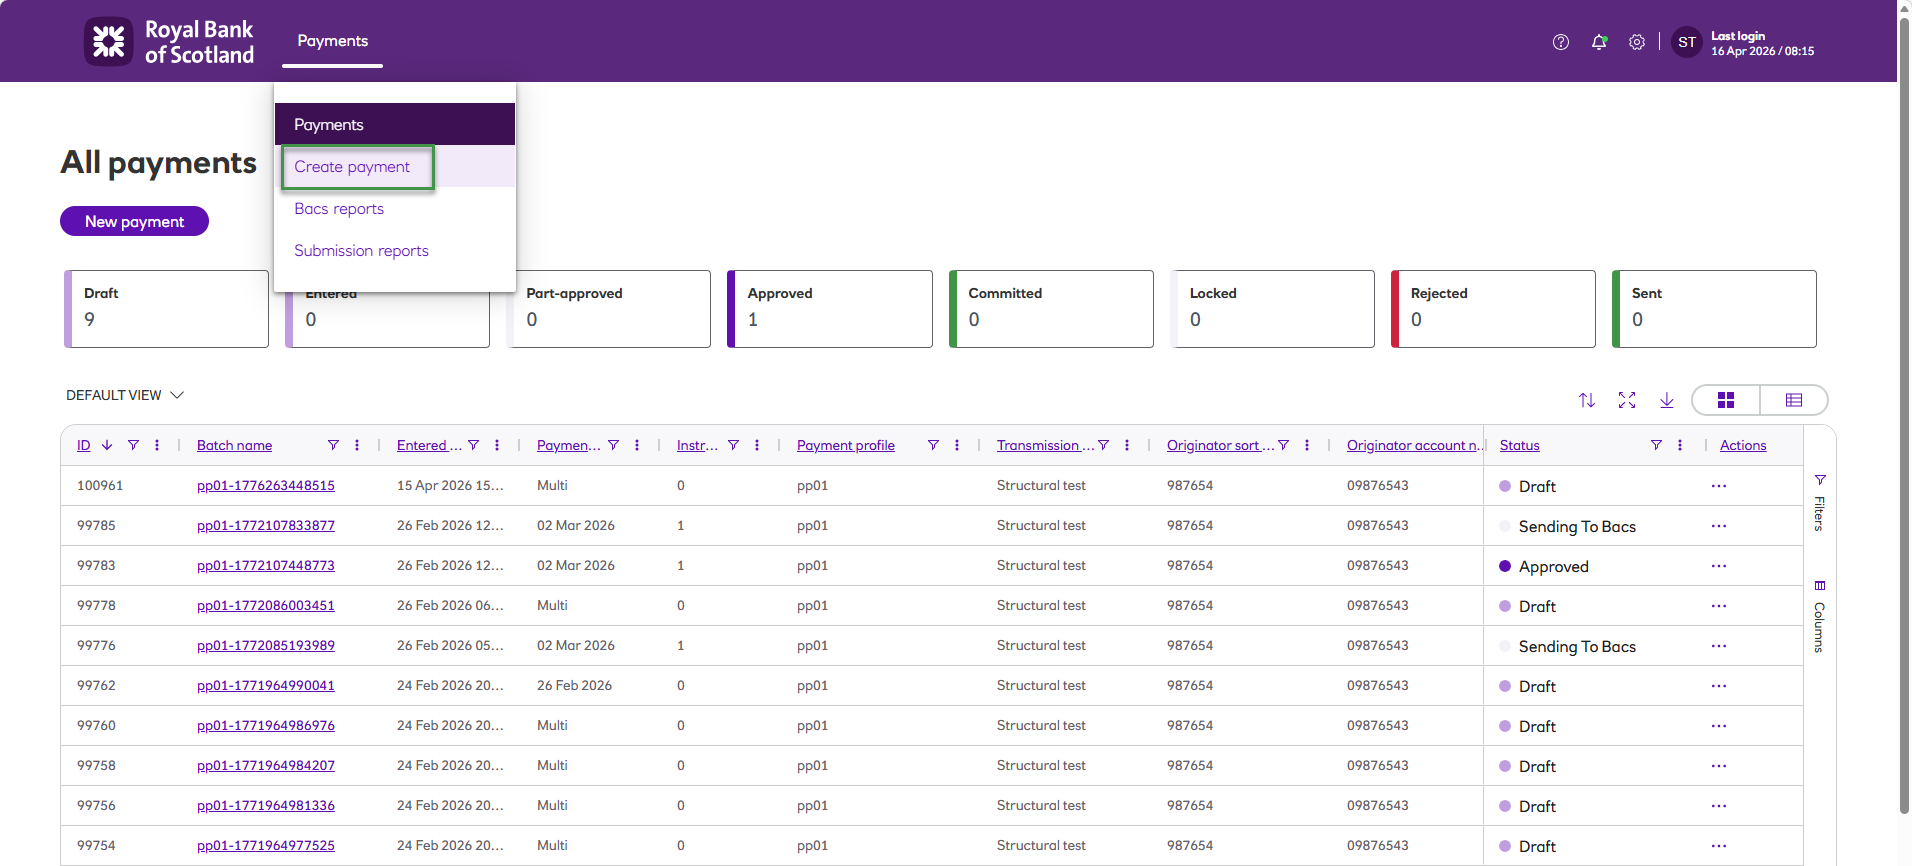
From the All payments screen, click the New payment button or navigate to the Payments tab on the main menu and click Create payment.
-
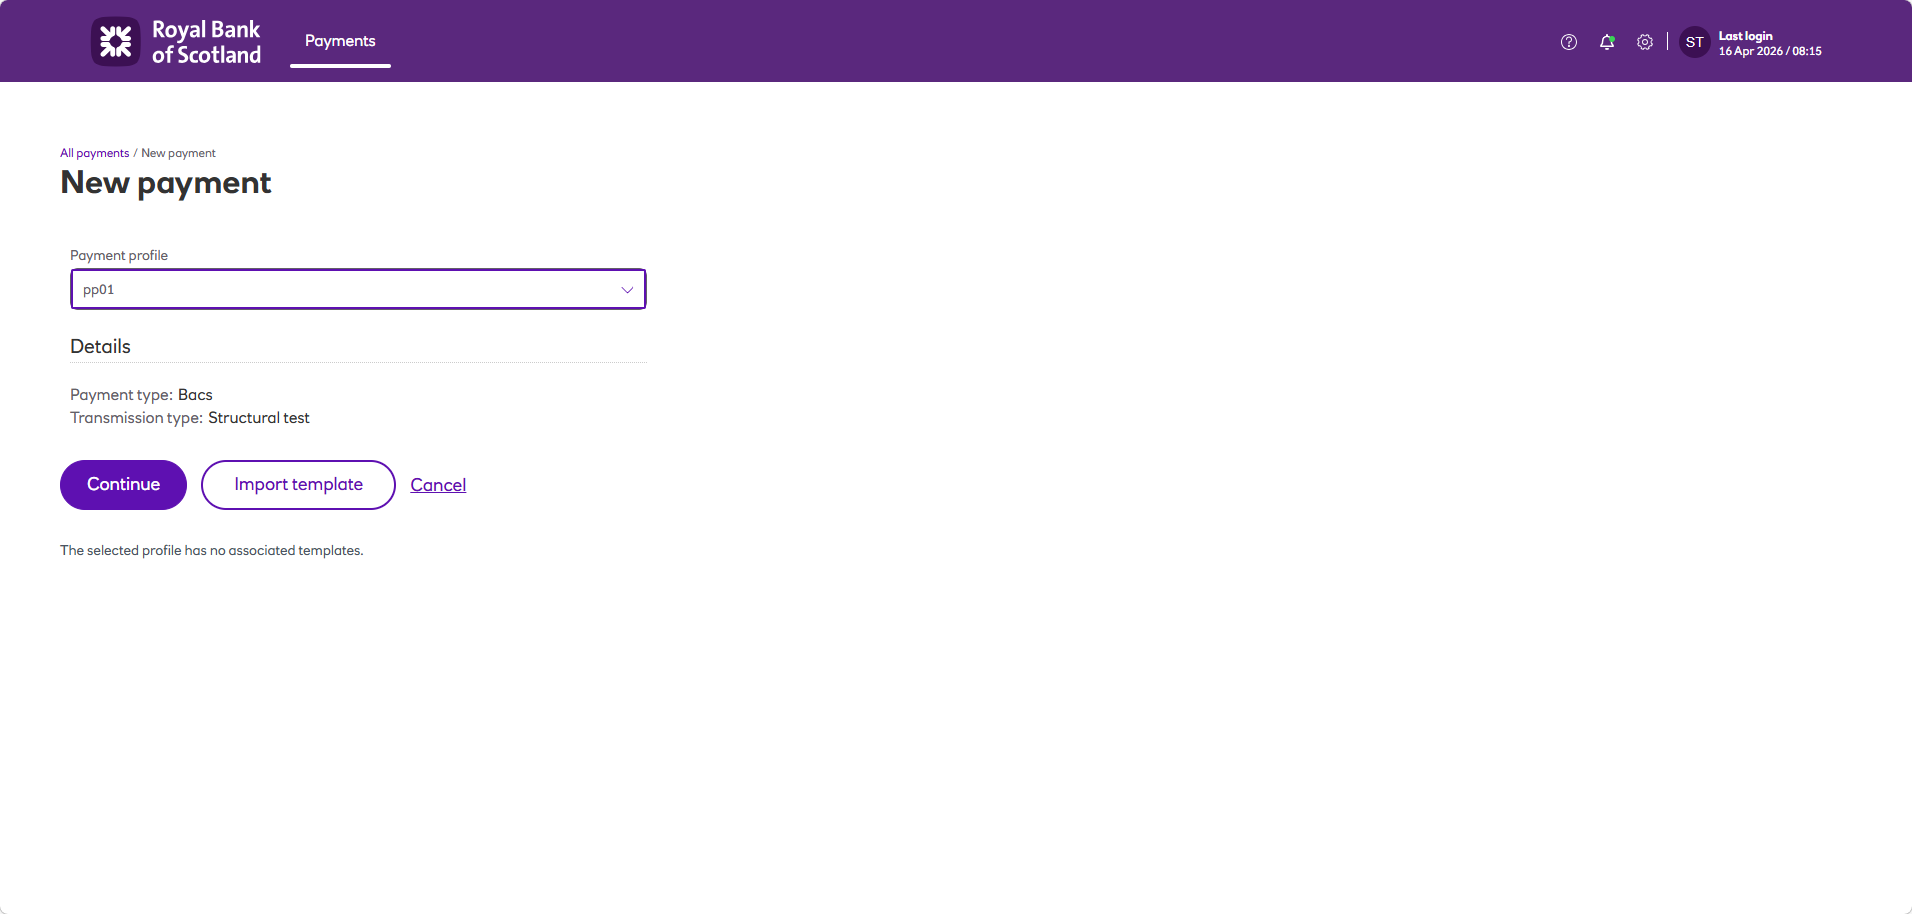
You will be taken to the New payment screen.
-
Select the relevant payment profile from the drop down.

-
Choose the required Payment date (the date that the money needs to be credited or debited).
-
Drag and drop the required file into grey box, or select a file to upload from a saved directory.
-
Autopay Online Plus will upload your payment file. Once this process is complete, the payment file will appear in an Entered state. You can navigate the Instructions, Contras, Warnings, Errors and History tabs to see more details about this individual payment file. At this stage, you can also save the Authorisation report, a printable document detailing the payment file contents.
- Instructions: an itemised list of all transactions in this payment file.
- Contras: displays an overall total which is to be debited or credited from/to the stated originating account.
- Warnings: may include several types of messages, such as modulus checking (account number invalid for sort code) or sort code invalid.
- Errors: indicate invalid file formatting based on the agreed template mapping setup during onboarding. Errors will ‘reject’ an imported file and display a message at the point of validation failure, which will need to be corrected at source, before attempting import again.
- History: will show you a breakdown of what has happened so far to this payment file.
- Authorisation report: gives you the opportunity to save a printable document detailing the payment file contents – this can be set to include history and warnings if desired.
-
Whilst the payment file is in an Entered state, you can amend the payment date if required; this is the only part of the imported payment file that may be amended (if the wrong date was selected on upload). If further information in the file is incorrect, the imported payment file can be rejected to allow re-import.
-
You can now approve your payment file, see the Approving a payment section.
- Once approved, if you need to make a change to the date of your payment file or wish to un-approve it, you can do so by clicking Un-approve.
-
You can now commit your payment file ready for submission to Bacs, see the Committing a payment file section.
Enter data manually
These steps detail how to manually enter payment data in to the Autopay Online Plus Solution.
For details on how to upload a payment file see the Import a file section.
-
Click New payment from the All payments screen or navigate to the Payments tab on the main menu and click Create payment.
-
You will be taken to the New payment screen.
-
Select the Payment profile that you want to add payment instructions to.
-
From here you can:
- Click Continue (this will create a draft payment file).
- Click Import Template to upload a new file based on the fixed format (See Import a payment templates. Once this has been imported, select Use.
- Or if available, choose from a previously imported template file, clicking Use to edit.
-
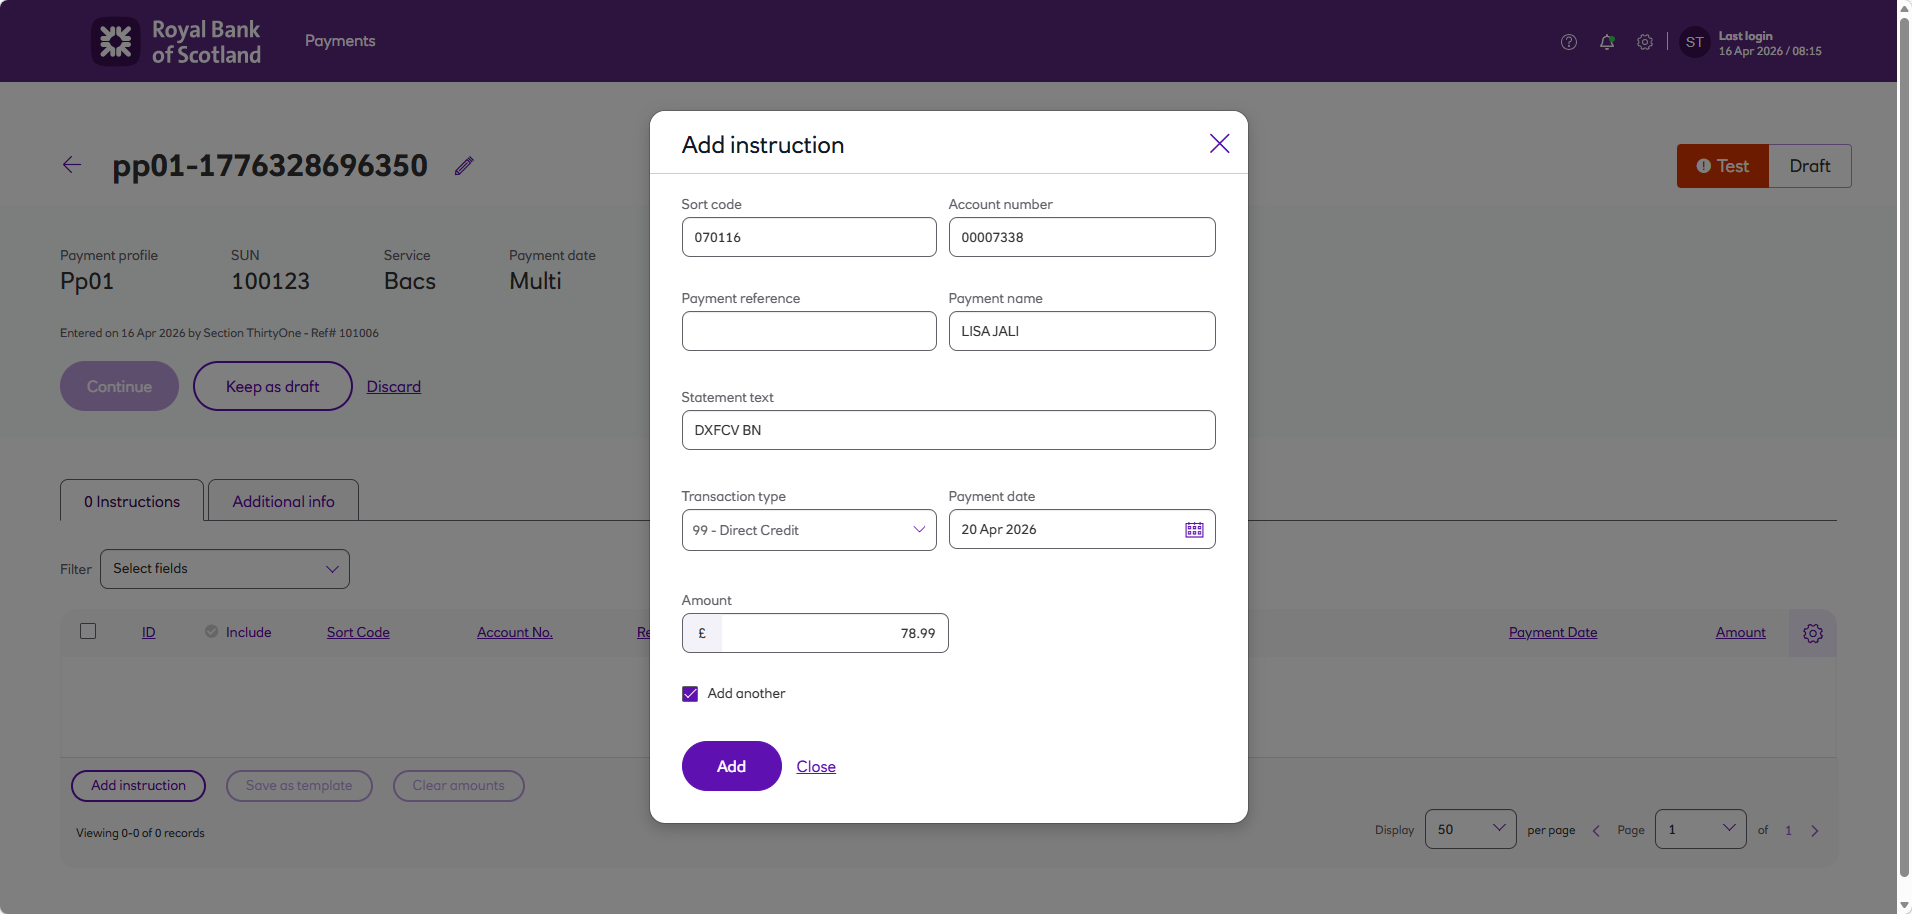
Click Add instruction.
-
Enter the payment details as prompted on screen, you’ll need to enter a beneficiary’s/payer’s sort code, bank account number and name. The Payment reference and Statement text that are entered will appear on your beneficiary’s/payer’s bank statement to help them identify the payment. Choose the amount and payment date (the date you want the beneficiary/payer to receive their money). Select the Transaction type.
-
To include another payment instruction in your payment file, click Add. Your previous beneficiary /payer details are saved in the background while you continue.
-
When you’ve added your final beneficiary/payer to the payment file, untick Add another and click Add once more to complete your list.
-
You’re then taken back to the draft payment screen.
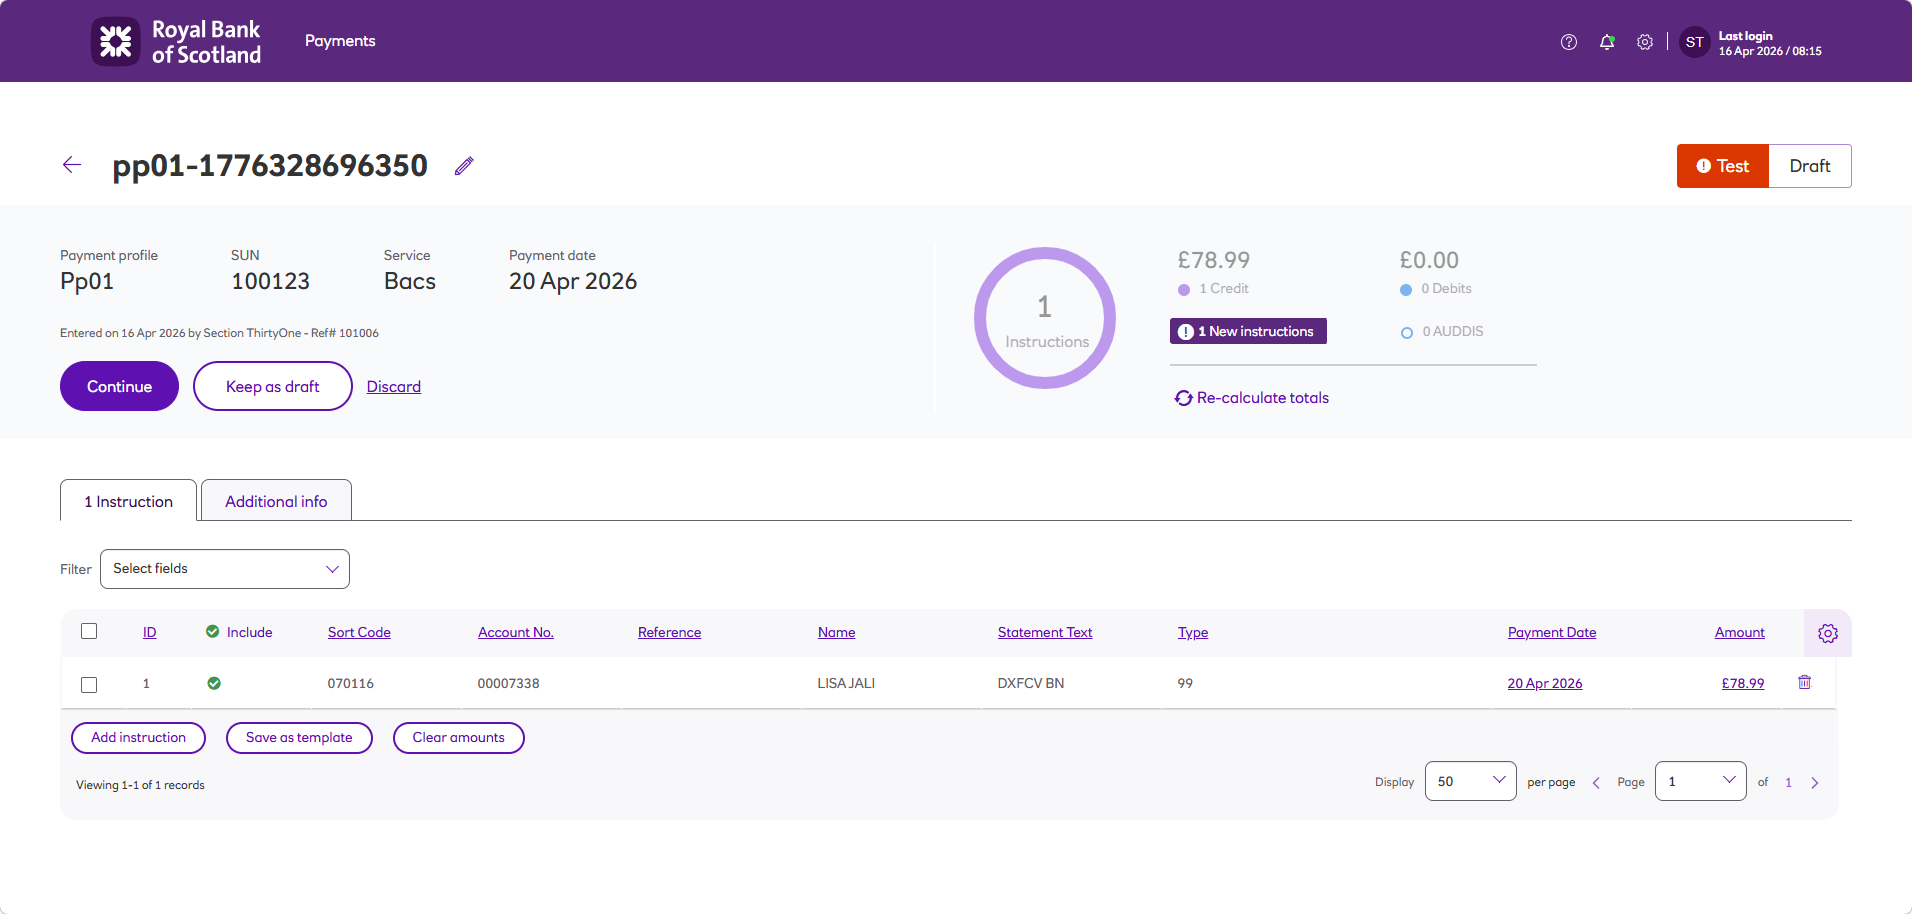
You have the following options:
- Continue - if you have finished manually creating items and now want the file to progress to the entered state ready for approval.
- Keep as draft - if you want to add more items later, but don’t want the payment file to be progressed further.
- Discard payment- to delete the draft payment file entirely.
- Add instruction- if you want to key further instructions to this payment file.
- Save as template - you’re able to save the instructions in this list as a template. This will allow you to select the template in the future and just adjust amounts and dates if necessary. If you want to overwrite the existing template with the new template you’ll need to give it the same name as the existing template.
- Clear amounts- you can delete all amounts from the instructions in this payment file
-
You can delete instructions by clicking on the bin icon at the far right hand side of the screen.

-
You are able to change the Amounts and Payment dates for each instruction onscreen by clicking on that field in each instruction.
-
Click Continue.
- If no manual approval is set up, clicking Continue will approve your payment file automatically. If you have manual approval set, the payment file will display in an Entered state, which you’ll then need to get approved (this is part of the approver’s role). Once approved, your payment file will be displayed to you on-screen as Approved. See the Approving a payment section for details on approval setup.
- Clicking Continue or Approve will bring you to the screen where you can review your payment details. You can navigate the Instructions, Contras, Warnings, Errors and History tabs to see more details about this individual file. At this stage, you can also save the authorisation report, a printable document detailing the payment file contents.
- Instructions: an itemised list of all transactions in this payment file.
- Contras: displays an overall total which is to be debited or credited from/to the stated originating account.
- Warnings: may include several types of messages, such as modulus checking (account number invalid for sort code) or sort code invalid.
- Errors: indicate invalid file formatting based on the agreed template mapping setup during onboarding. Errors will ‘reject’ an imported file and display a message at the point of validation failure, which will need to be corrected at source, before attempting import again.
- History: will show you a breakdown of what has happened so far to this payment file.
- Authorisation report: gives you the opportunity to save a printable document detailing the payment file contents – this can be set to include history and warnings if desired.
- You can now approve your payment file, see the Approving a payment section.
- If you need to make changes to the payment file you can do so by clicking Un-approve.
- This will take you back to the entered payment screen where you can click Edit.
- Once you have clicked edit you’ll be back at the draft payment screen where you can make the required changes to the payment file.
- Once you’ve checked the payment file and made any required changes, you can now Continue, (and Approve).
- Once your payment file is approved you can now submit it to Bacs, see the Committing a payment file section.
Import a payment template
In this section we’ll describe how to create a .csv file using Excel (although any application that supports .csv files can be used) which can then be used to import beneficiaries/payers. For details on how to import the template see the section Enter data manually.

-
The spreadsheet must contain the following fields, in the format:
-
Beneficiary Reference
Maximum 18 characters. -
Beneficiary Account Name
Maximum 18 characters. -
Beneficiary Account Number
Exactly 8 characters. -
Beneficiary Sort Code
Exactly 6 digits, with no hyphens. -
Payment Date - (crediting day)
Must be provided in Julian Date (yyddd) format, where:
- The first two digits represent the year.
- The final three digits represent the day of the year.
Example: To make a payment on 1 February 2020, use 20032, as this is the 20th year and the 32nd day of that year. Julian dates can be confirmed using the Bacs processing calendar, available at: https://www.bacs.co.uk/Pages/Home.aspx
-
Transaction Code
Use one of the following valid codes:
- 99 - (Direct Credit (CR)
- 01 - First Collection (DD)
- 17 - Regular Collection (DD)
- 19 - Final Collection (DD)
- 0N - New Instruction (AU)
- 0C - Cancel Instruction (AU)
- Z4 - Interest Payment
- Z5 - Dividend Payment
-
Amount to pay or collect from Beneficiary
-
-
Amounts must be formatted to have two decimal places in order to import correctly.
-
With sort code and account numbers that have leading zeros, Microsoft Excel will try to remove these unless the cell is formatted as Custom.
- The example shows what you need to enter in the sort code cell. For account numbers enter eight zeros.
-
Save the import file as a .csv, ready to import into the system.
Remember to remove any column headings in your spreadsheet before converting it to a .csv format.
Updated 2 months ago