Contacts
A contact in Autopay Online Plus holds a person's or company's details whose accounts will be debited.
Once you have created a contact you will be able to create mandates and start collecting payments. Each contact (debtor) record has a unique identifier and has one or more associated mandates.
Autopay Online Plus can be configured to send correspondences to contacts (debtors) as required by the Direct Debit scheme rules. The correspondences can be sent by email, or prepared for printing and sent by post.
A contact contains four tabs Contact details, Mandates, Collection history and Correspondence.
Create a contact
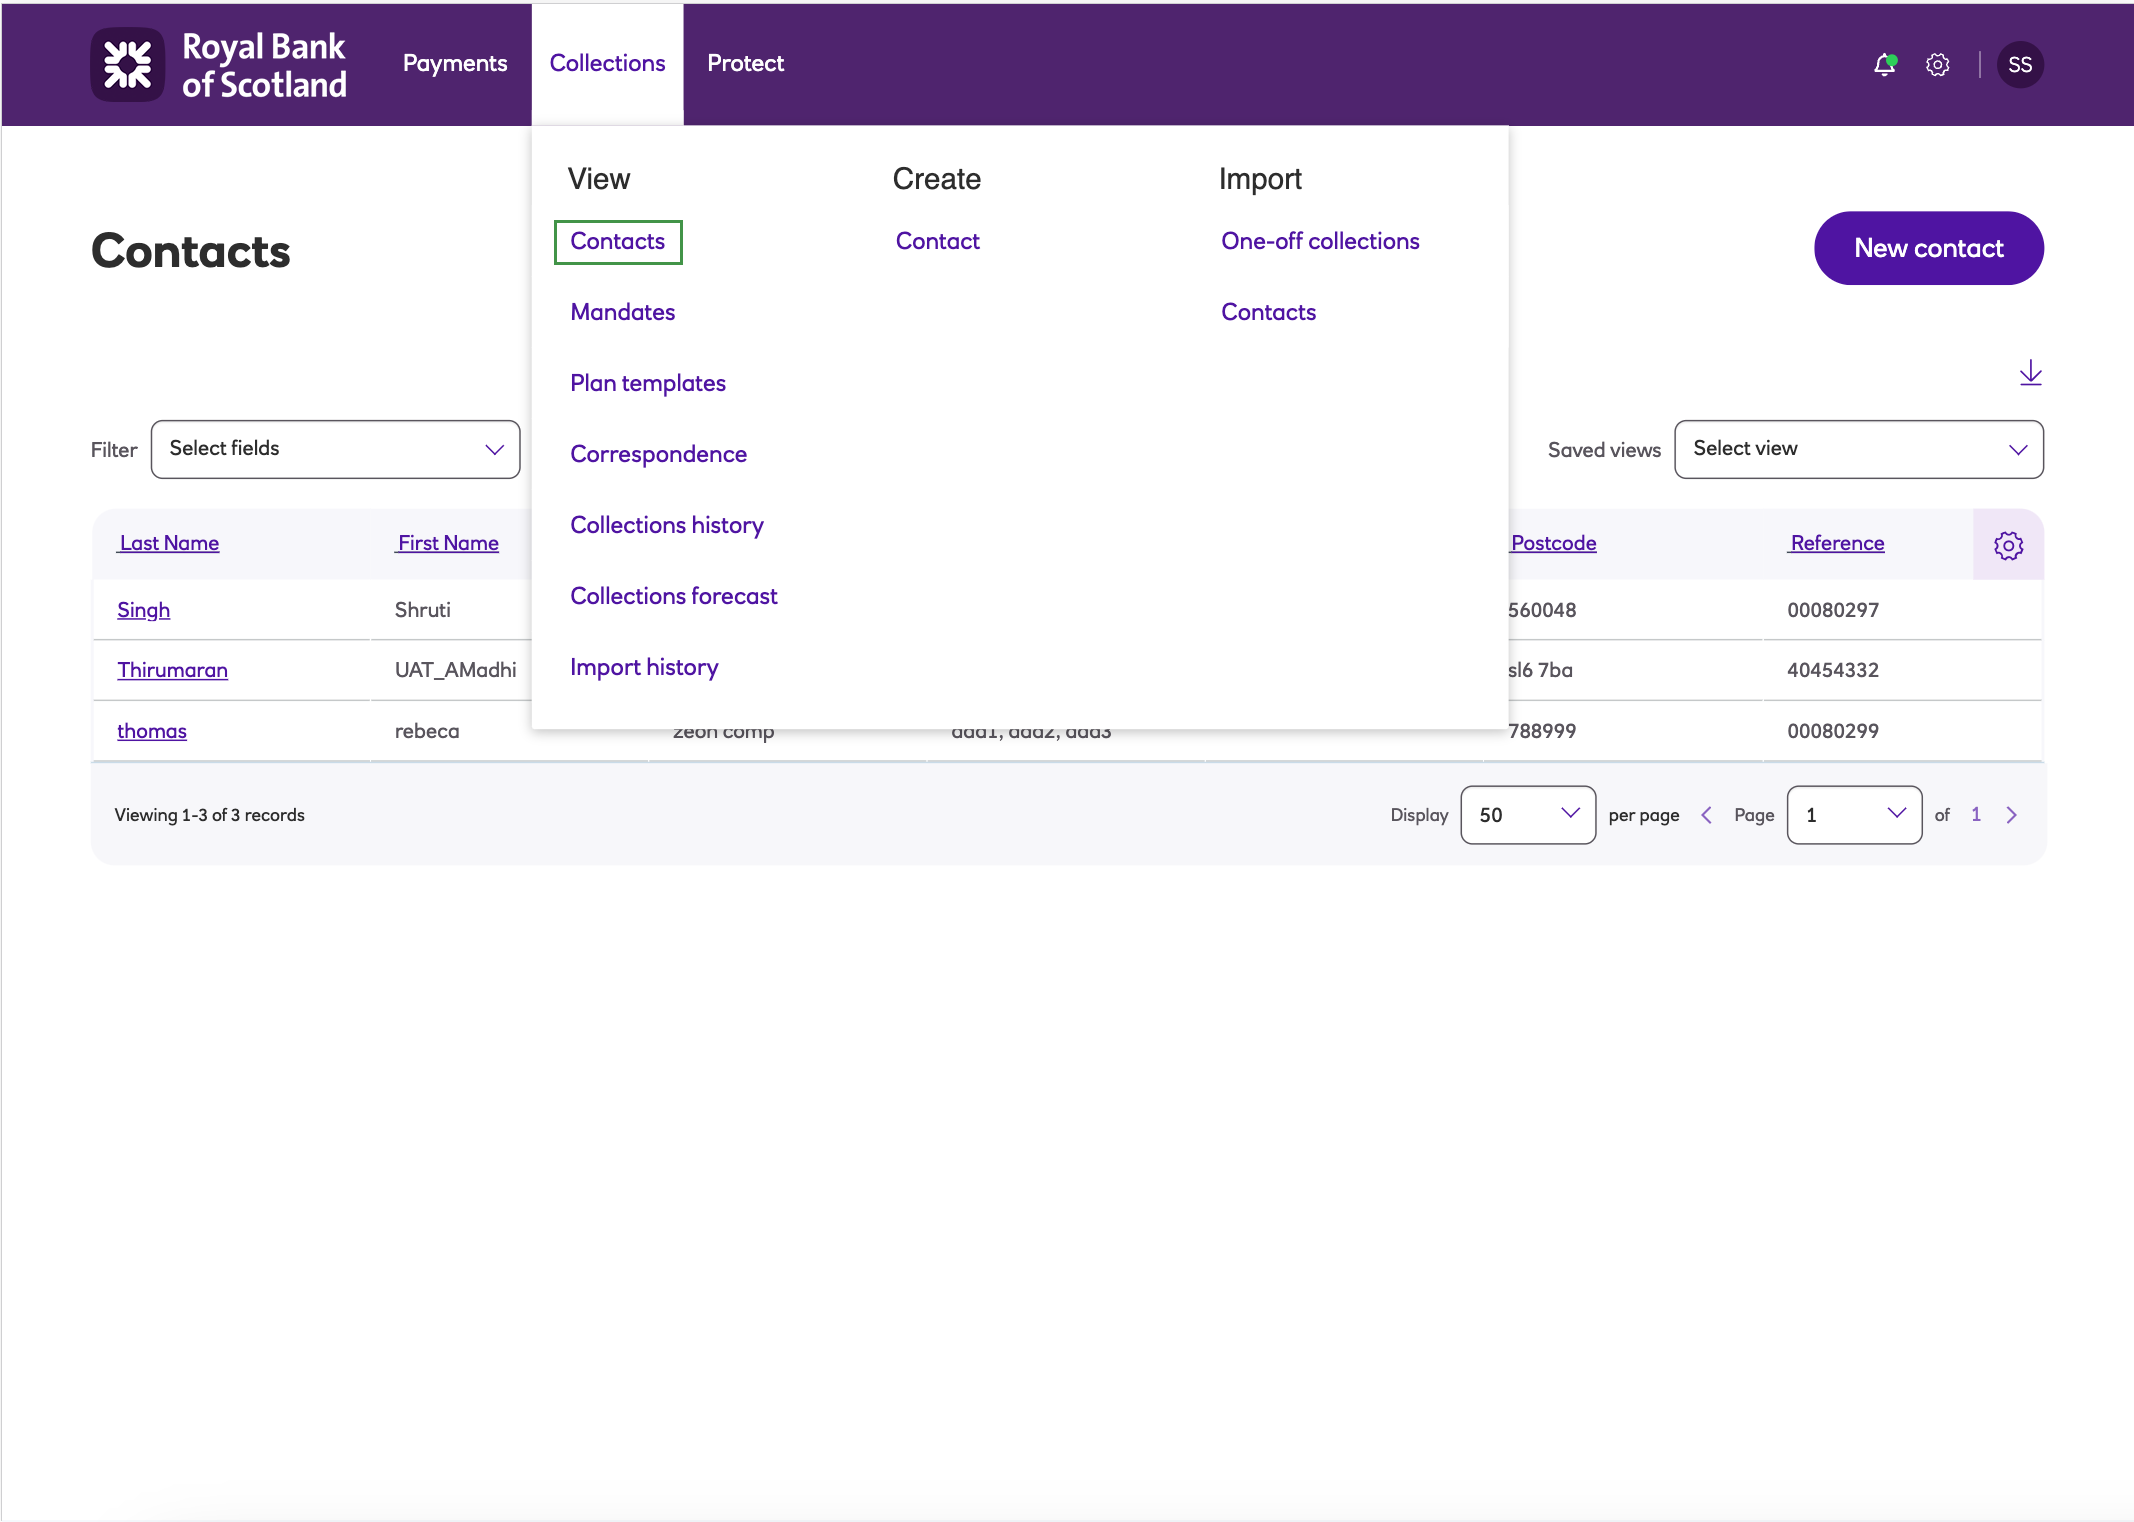
- Navigate to the Collections menu and click Contacts under View.

-
Click New contact.
-
You must enter Last name, Email address, Address and Postcode as a minimum. You can search for an address (using the Find address button) or enter it manually.
-
Set the preferred communication for the contact - post or email (this is the default).
-
Send correspondence as attachments – this is set from the collection profile. If ticked then it can be overridden.
Note: If this option is not ticked on the collection profile it cannot be overridden here at the contact level.
-
-
All the other fields are optional:
- Title – select from the drop down or click Edit contact title to enter your own value.
- First name - first name.
- Contact reference – you can provide this unique reference or if not then it will generated by the solution.
- Company name - company name.
- Phone number - phone number.
- Town or city - town or city.
- County - county.
-
Click Create contact.
Mandates
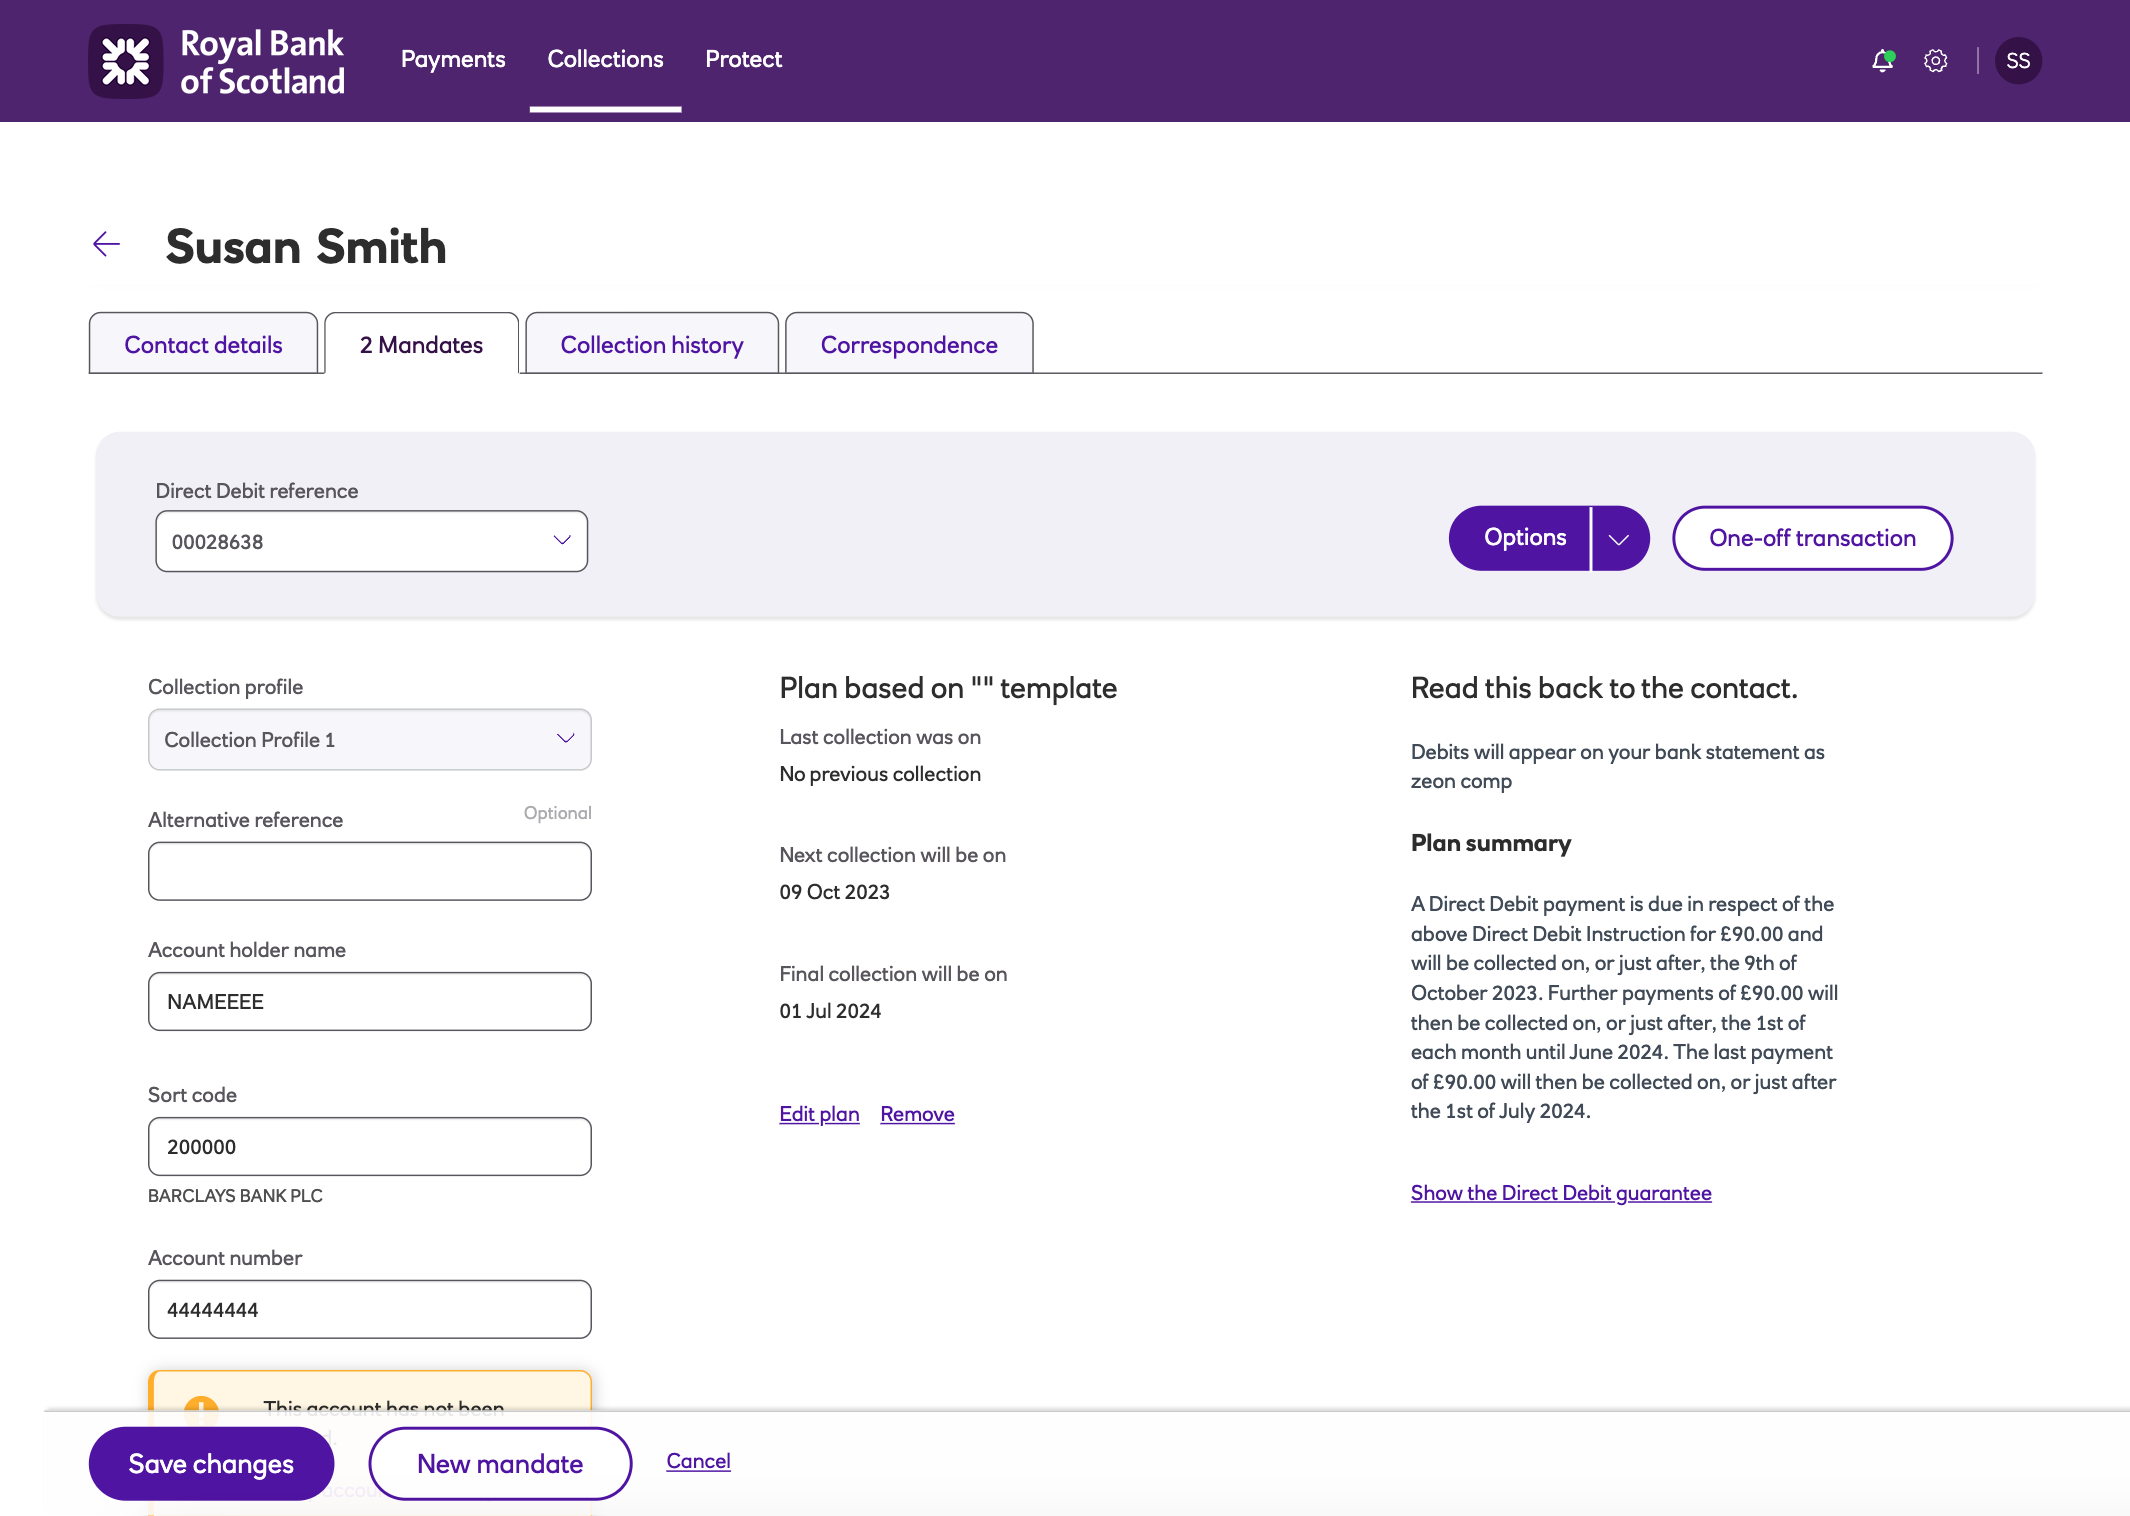
The Mandates tab contains all of the mandates for a contact. From here you can:

- View a mandate’s details. Use the drop down for Direct Debit reference to select the mandate you wish to view.
- Create a new mandate
- Edit a mandate’s details.
- From the Options dropdown you can:
– Suspend a mandate (if the mandate is active).
– Cancel a mandate (if the mandate is active or suspended).
– Reactivate a mandate (if the mandate is suspended or cancelled).
– Generate new AUDDIS instruction “ON”. This option is used for migrating contacts into the solution that have existing Direct Debits set up.
– Generate cancel AUDDIS instruction “OC”. This option is used for migrating contacts into the solution that have existing Direct Debits set up.
– Generate convert AUDDIS instruction “OS”. This option is used for migrating contacts into the solution that have existing Direct Debits set up. - Create a one-off transaction for an active mandate.
Collection history
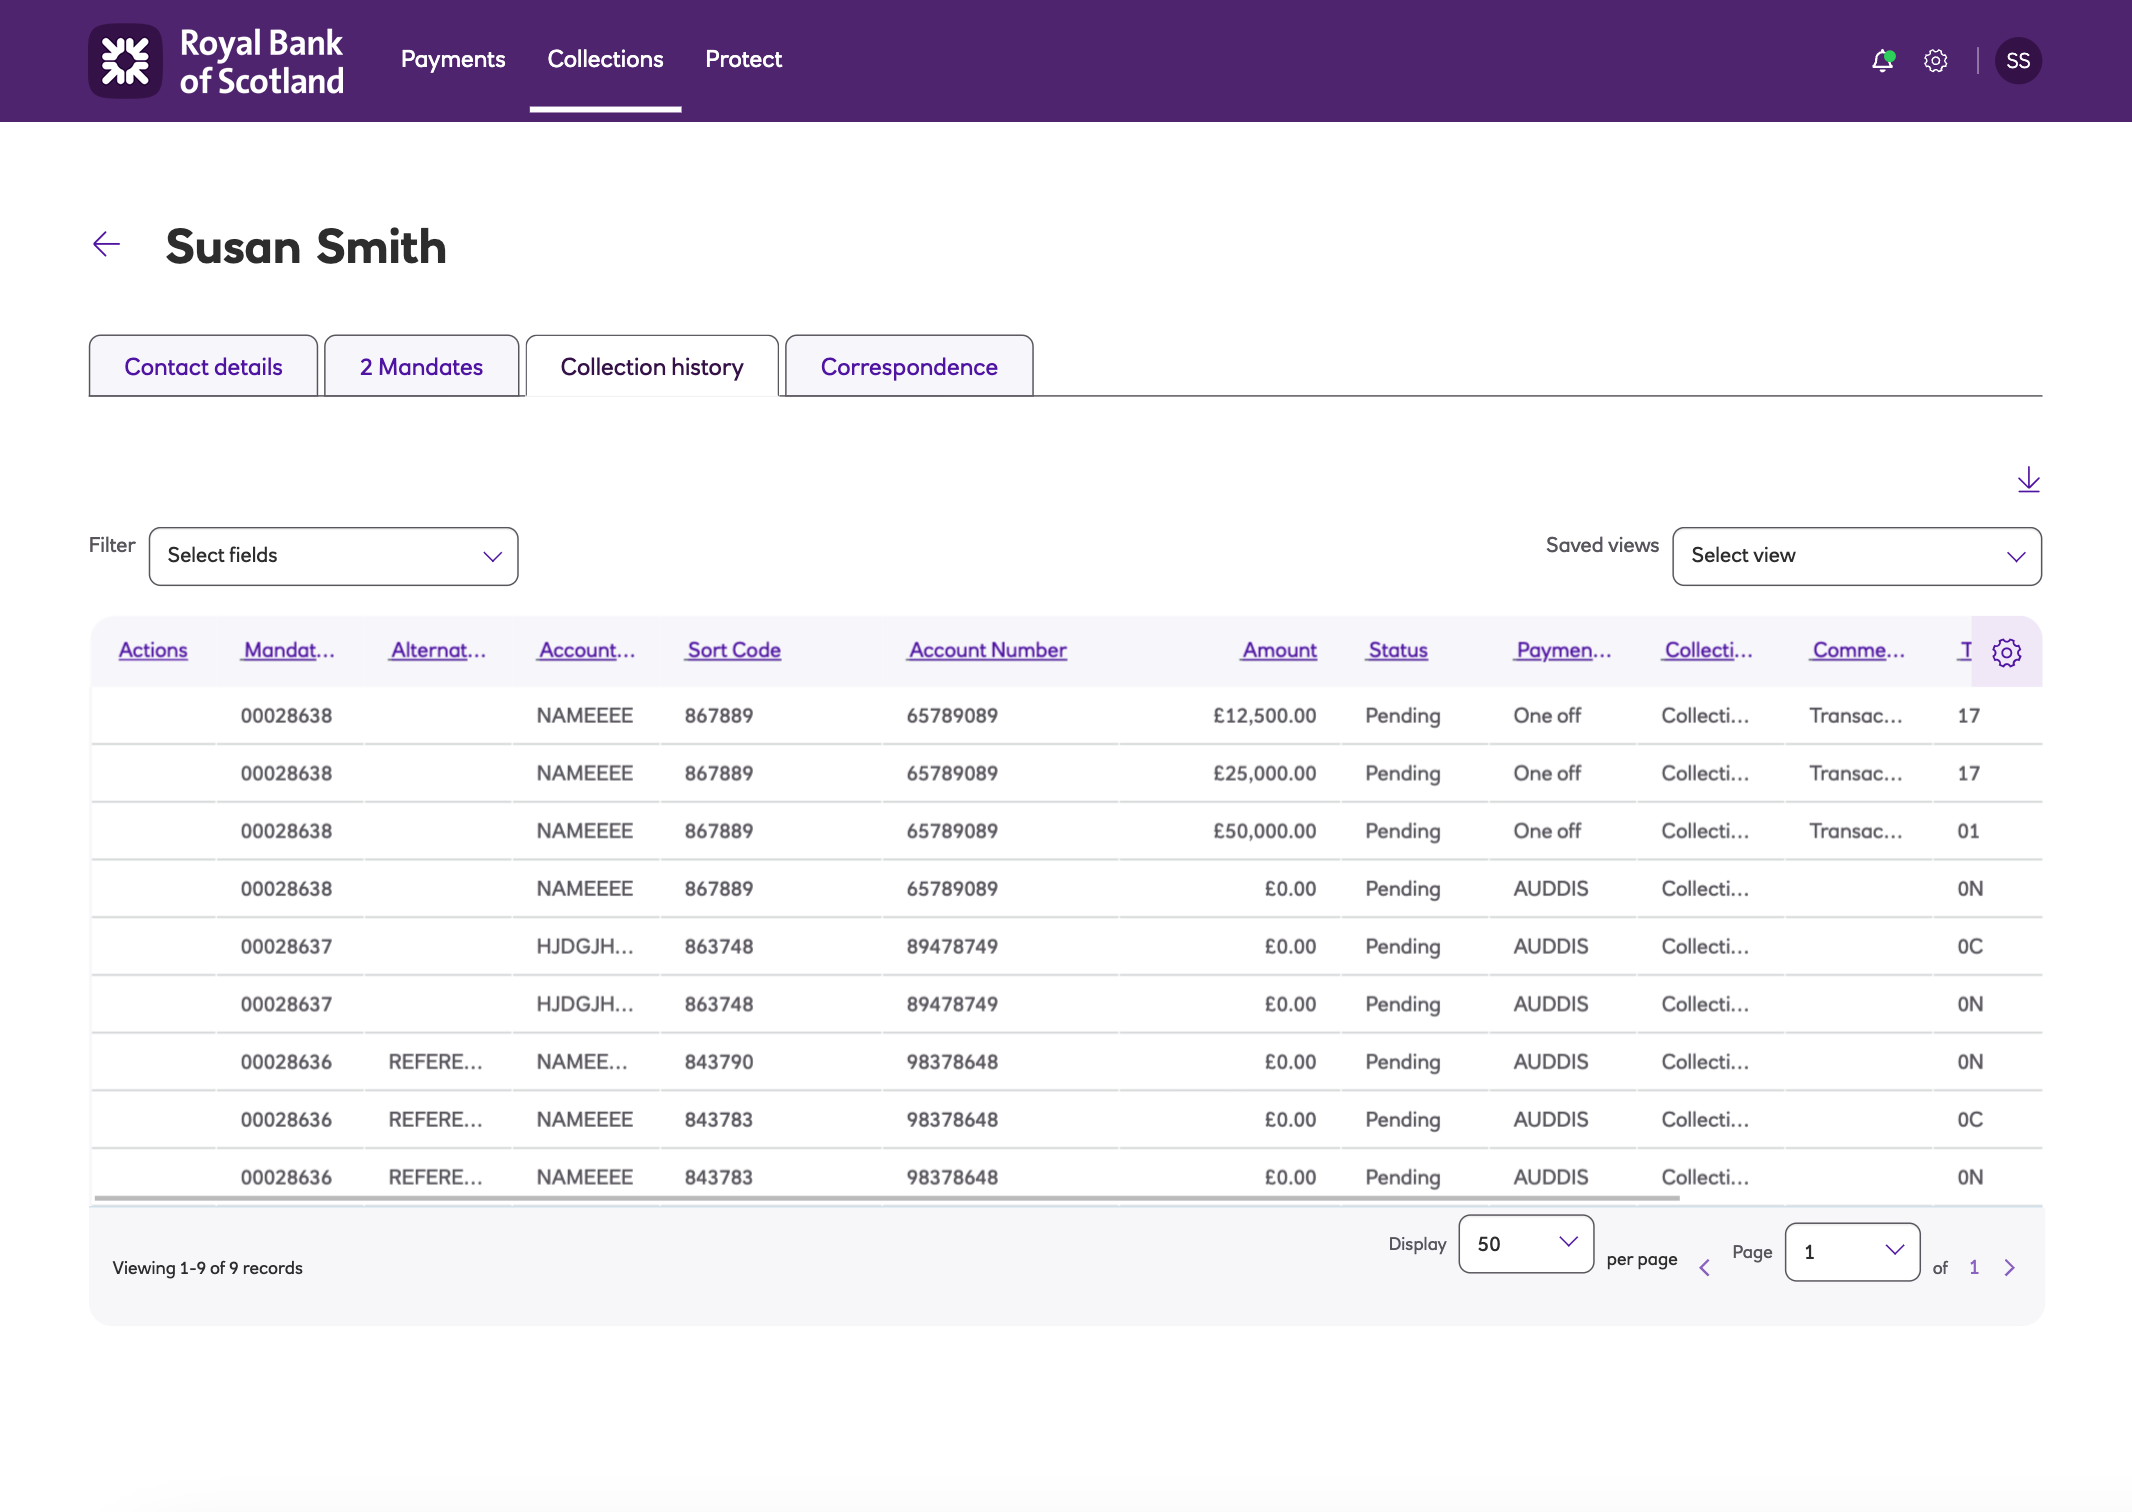
The Collection history tab contains a list of the collections for a contact. For easy reporting, the Filter menu will allow you to locate particular items based on each header.

Correspondence

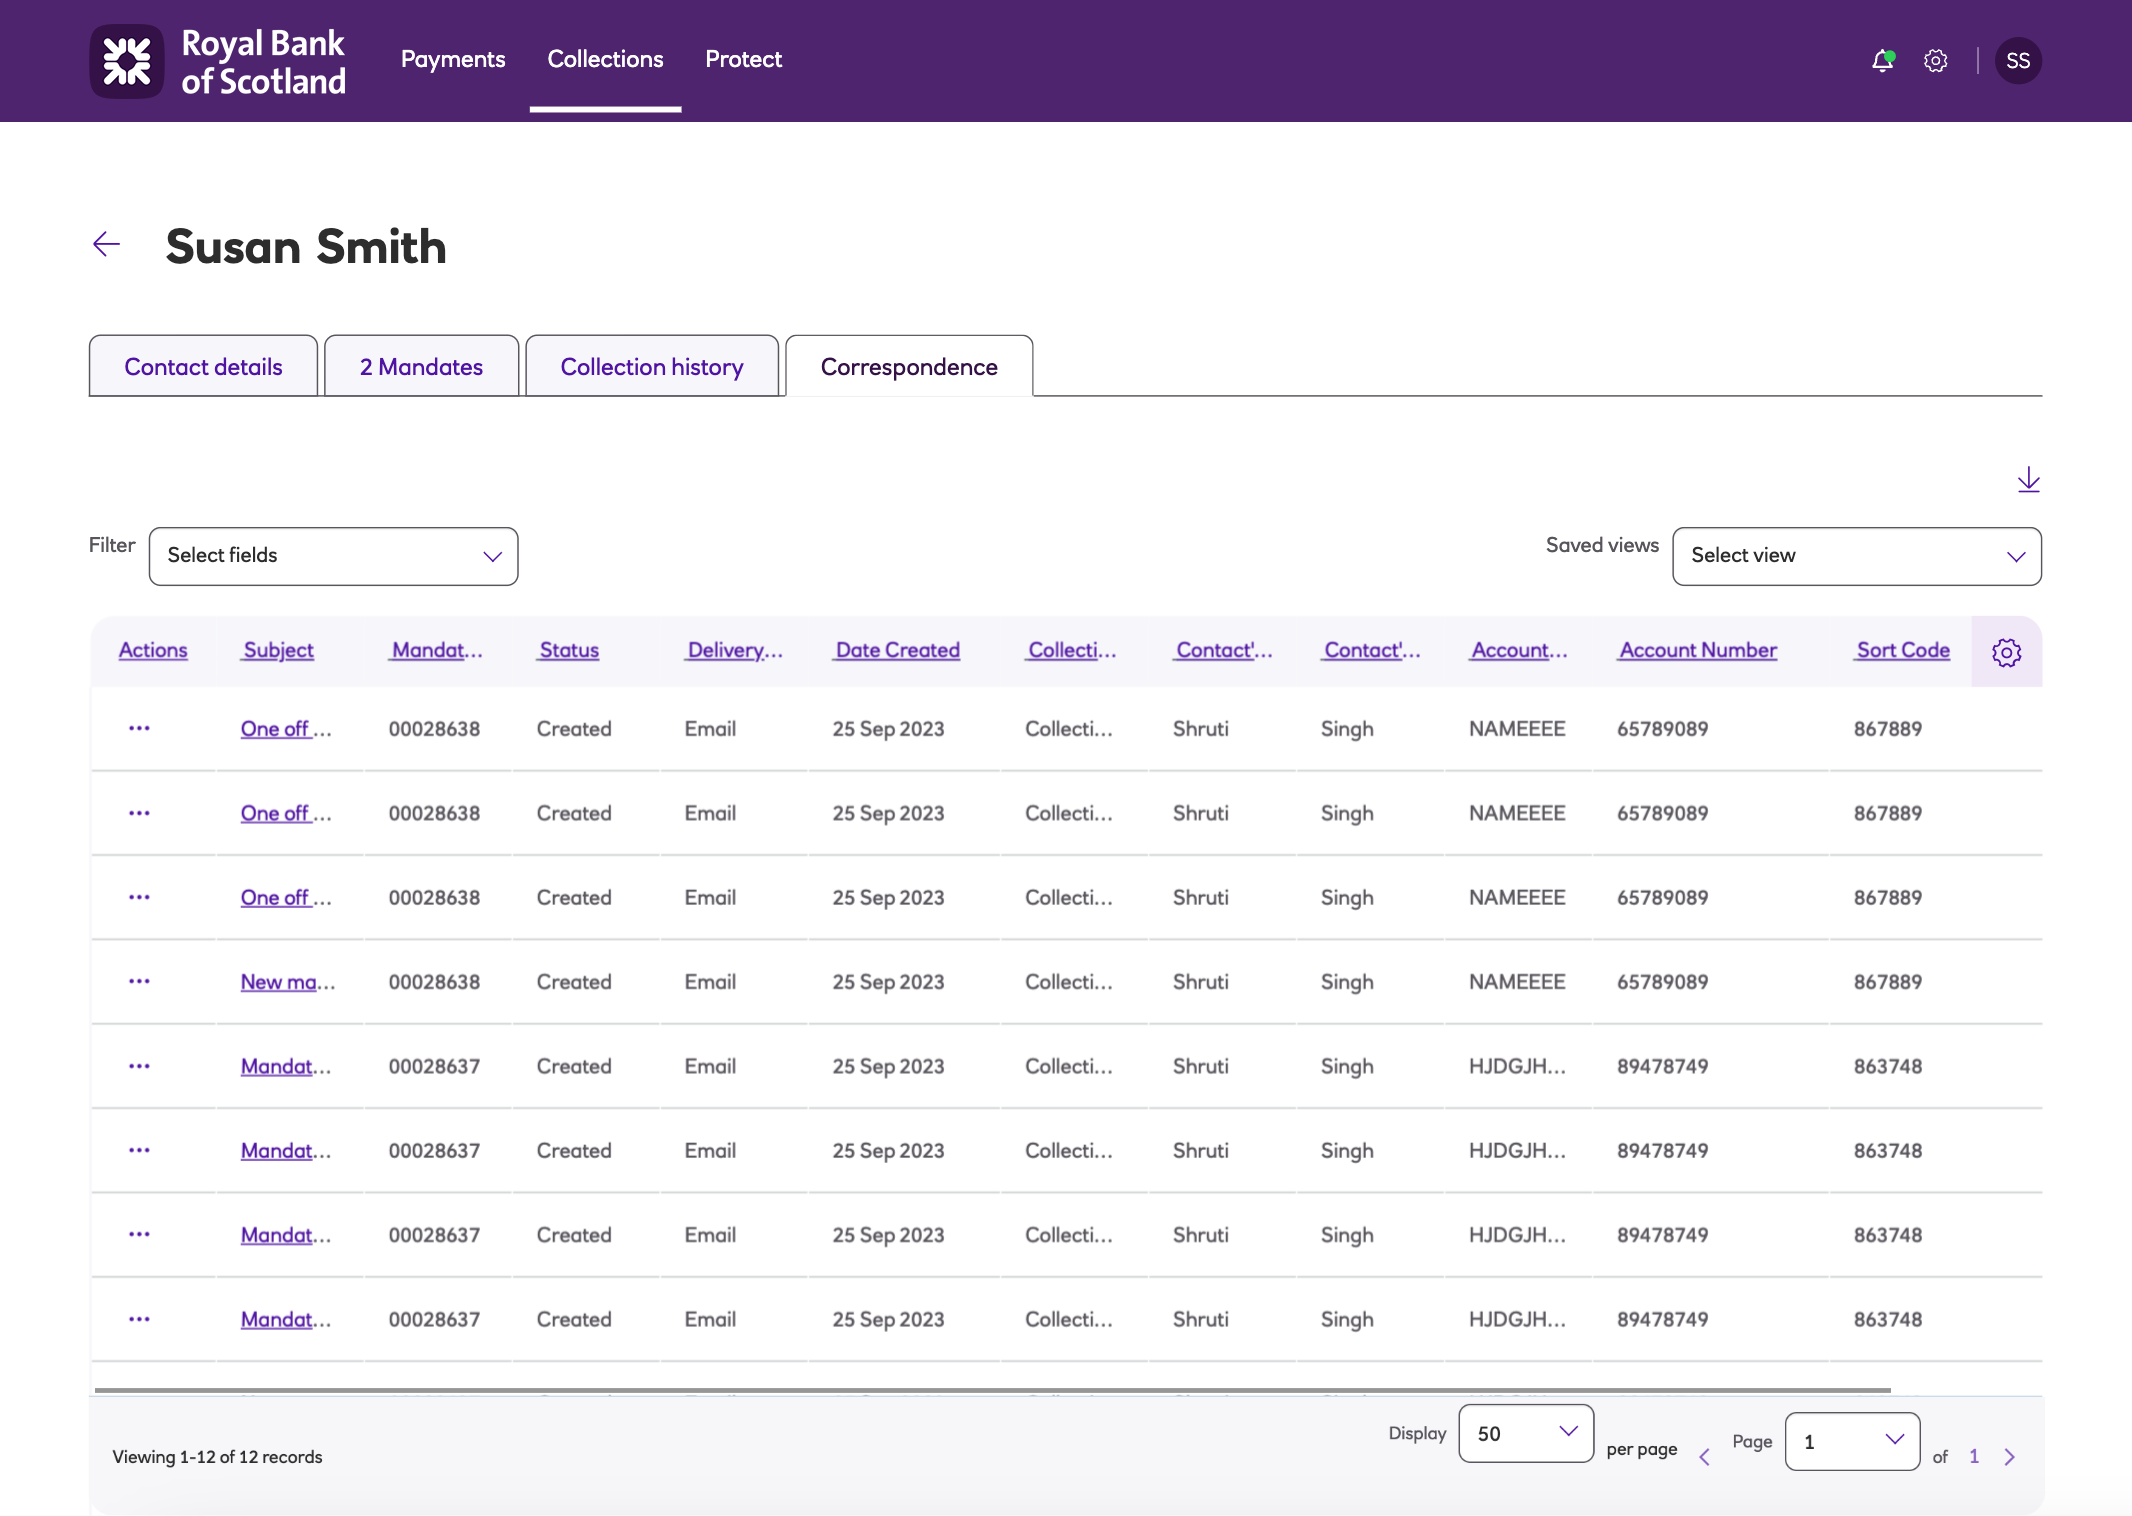
The Correspondence tab contains a list of all the correspondence sent to a contact. The communications preference for a contact is set within contact details.
From here you can select:
- View – see a preview of the document.
When viewing a document you can:
– Mark correspondence – as Printed, as Sent, as On Hold, for Resend.
– Print as PDF – print the document as a PDF.
– Email – email the document now rather than wait until done as part of usual schedule (defined on the collection profile). - Local print – print locally.
- Email – email the document.
- Suppress sending – select this option and the document will not be processed.
- Delete – delete the document.
Updated about 1 month ago
