
Experience uplift
We’re making some small updates to the look and feel of a few admin pages and also introducing a help panel to improve your overall experience.
Changes will be deployed to this environment between 06:00 and 11:00 on 15/11/2025. During this window, the Autopay Online Plus environment will be unavailable.
Customer action
To ensure uninterrupted access to your AutoPay Online Plus service post these changes, please update your network allow list if your business requires you to do so with the following information as soon as possible:
- URL: login.autopay-online.rbs.co.uk
- URL: management.autopay-online.rbs.co.uk
- IP Address: 69.84.82.61
You can verify whether an update is required by clicking the following links to test your current access, you will need to check both.
- Test Access Here - this should take you to a login page.
- Test Access Here - this should take you to a forbidden page.
If any of the tests fail, please contact your internal support/IT team to ensure the above URLs are added to the authorised access list.
Onboarding
The onboarding flow for new users has been refined for a better experience.
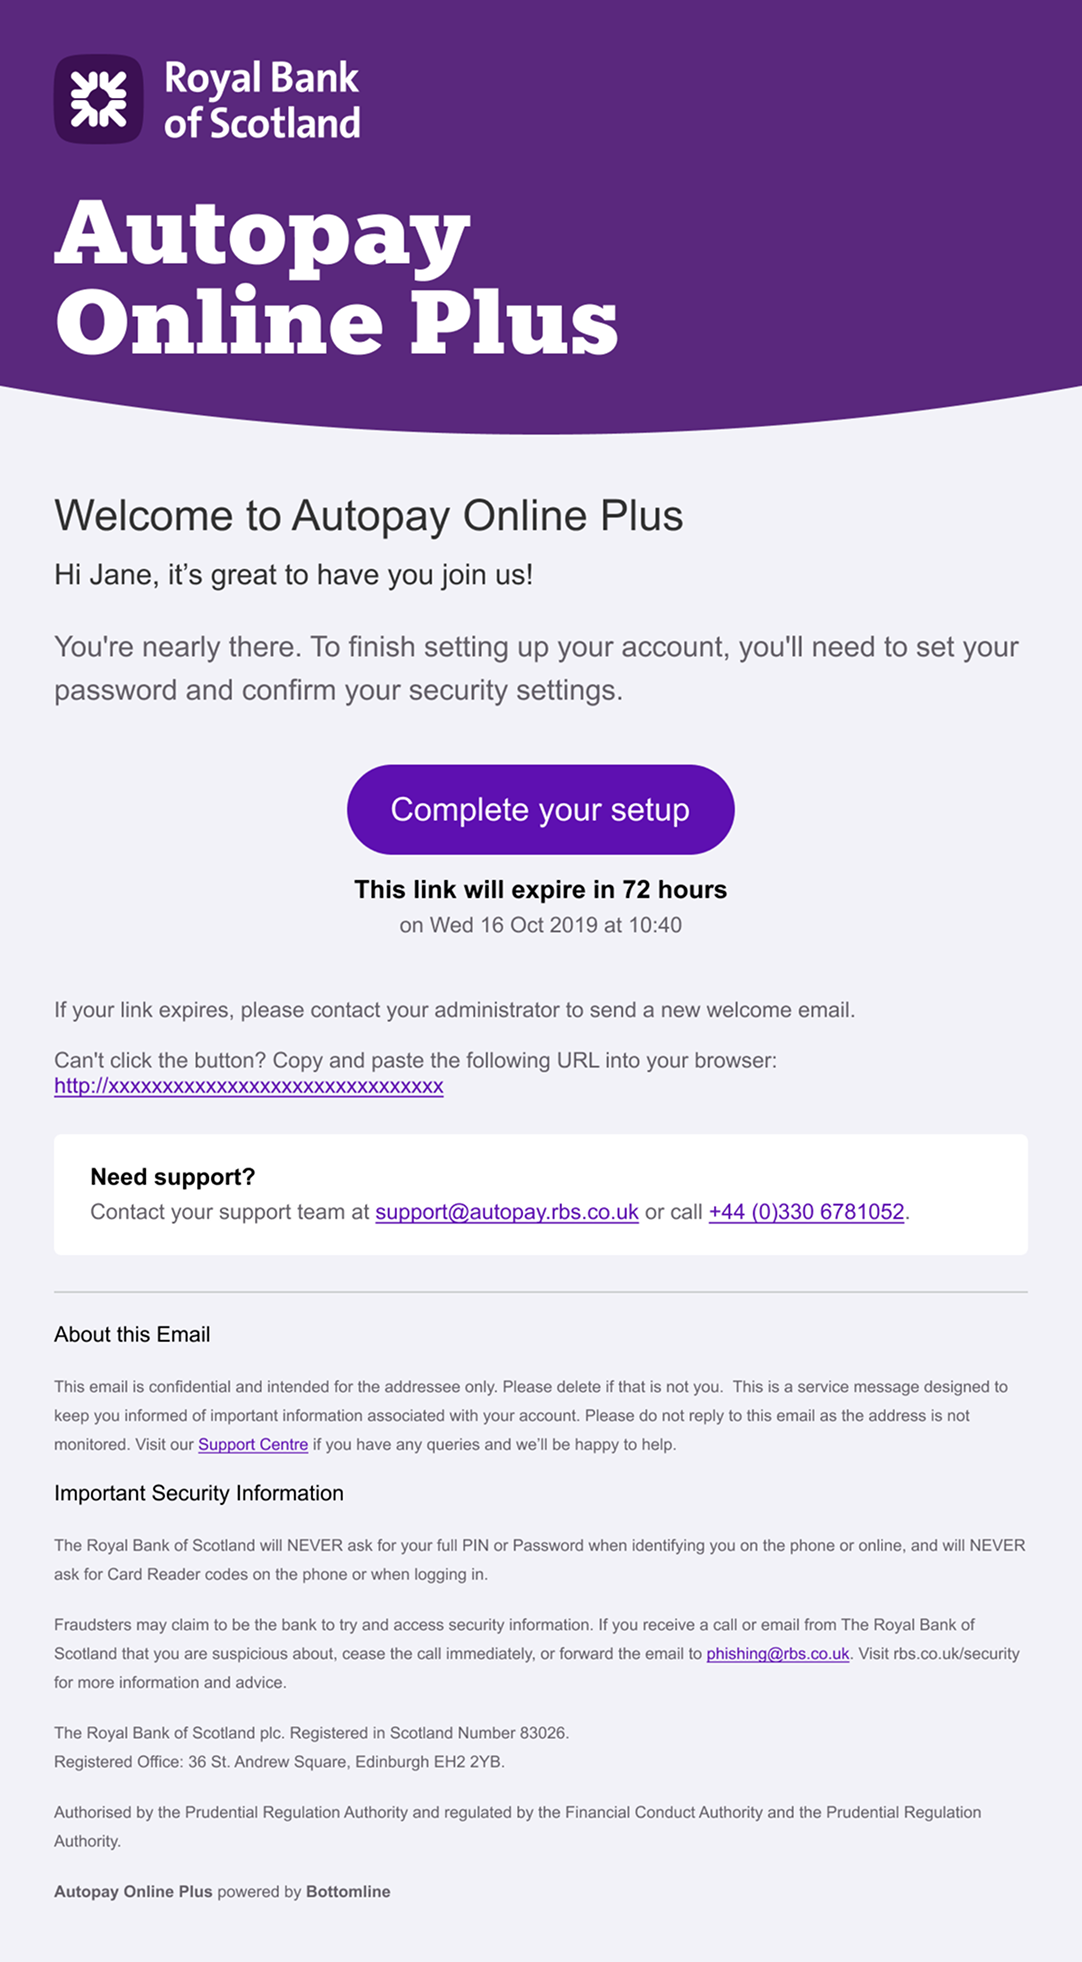
After receiving the welcome email, users will be prompted to set up MFA, and then choose a password. To strengthen account security, we’ve replaced static security questions with MFA.
Users
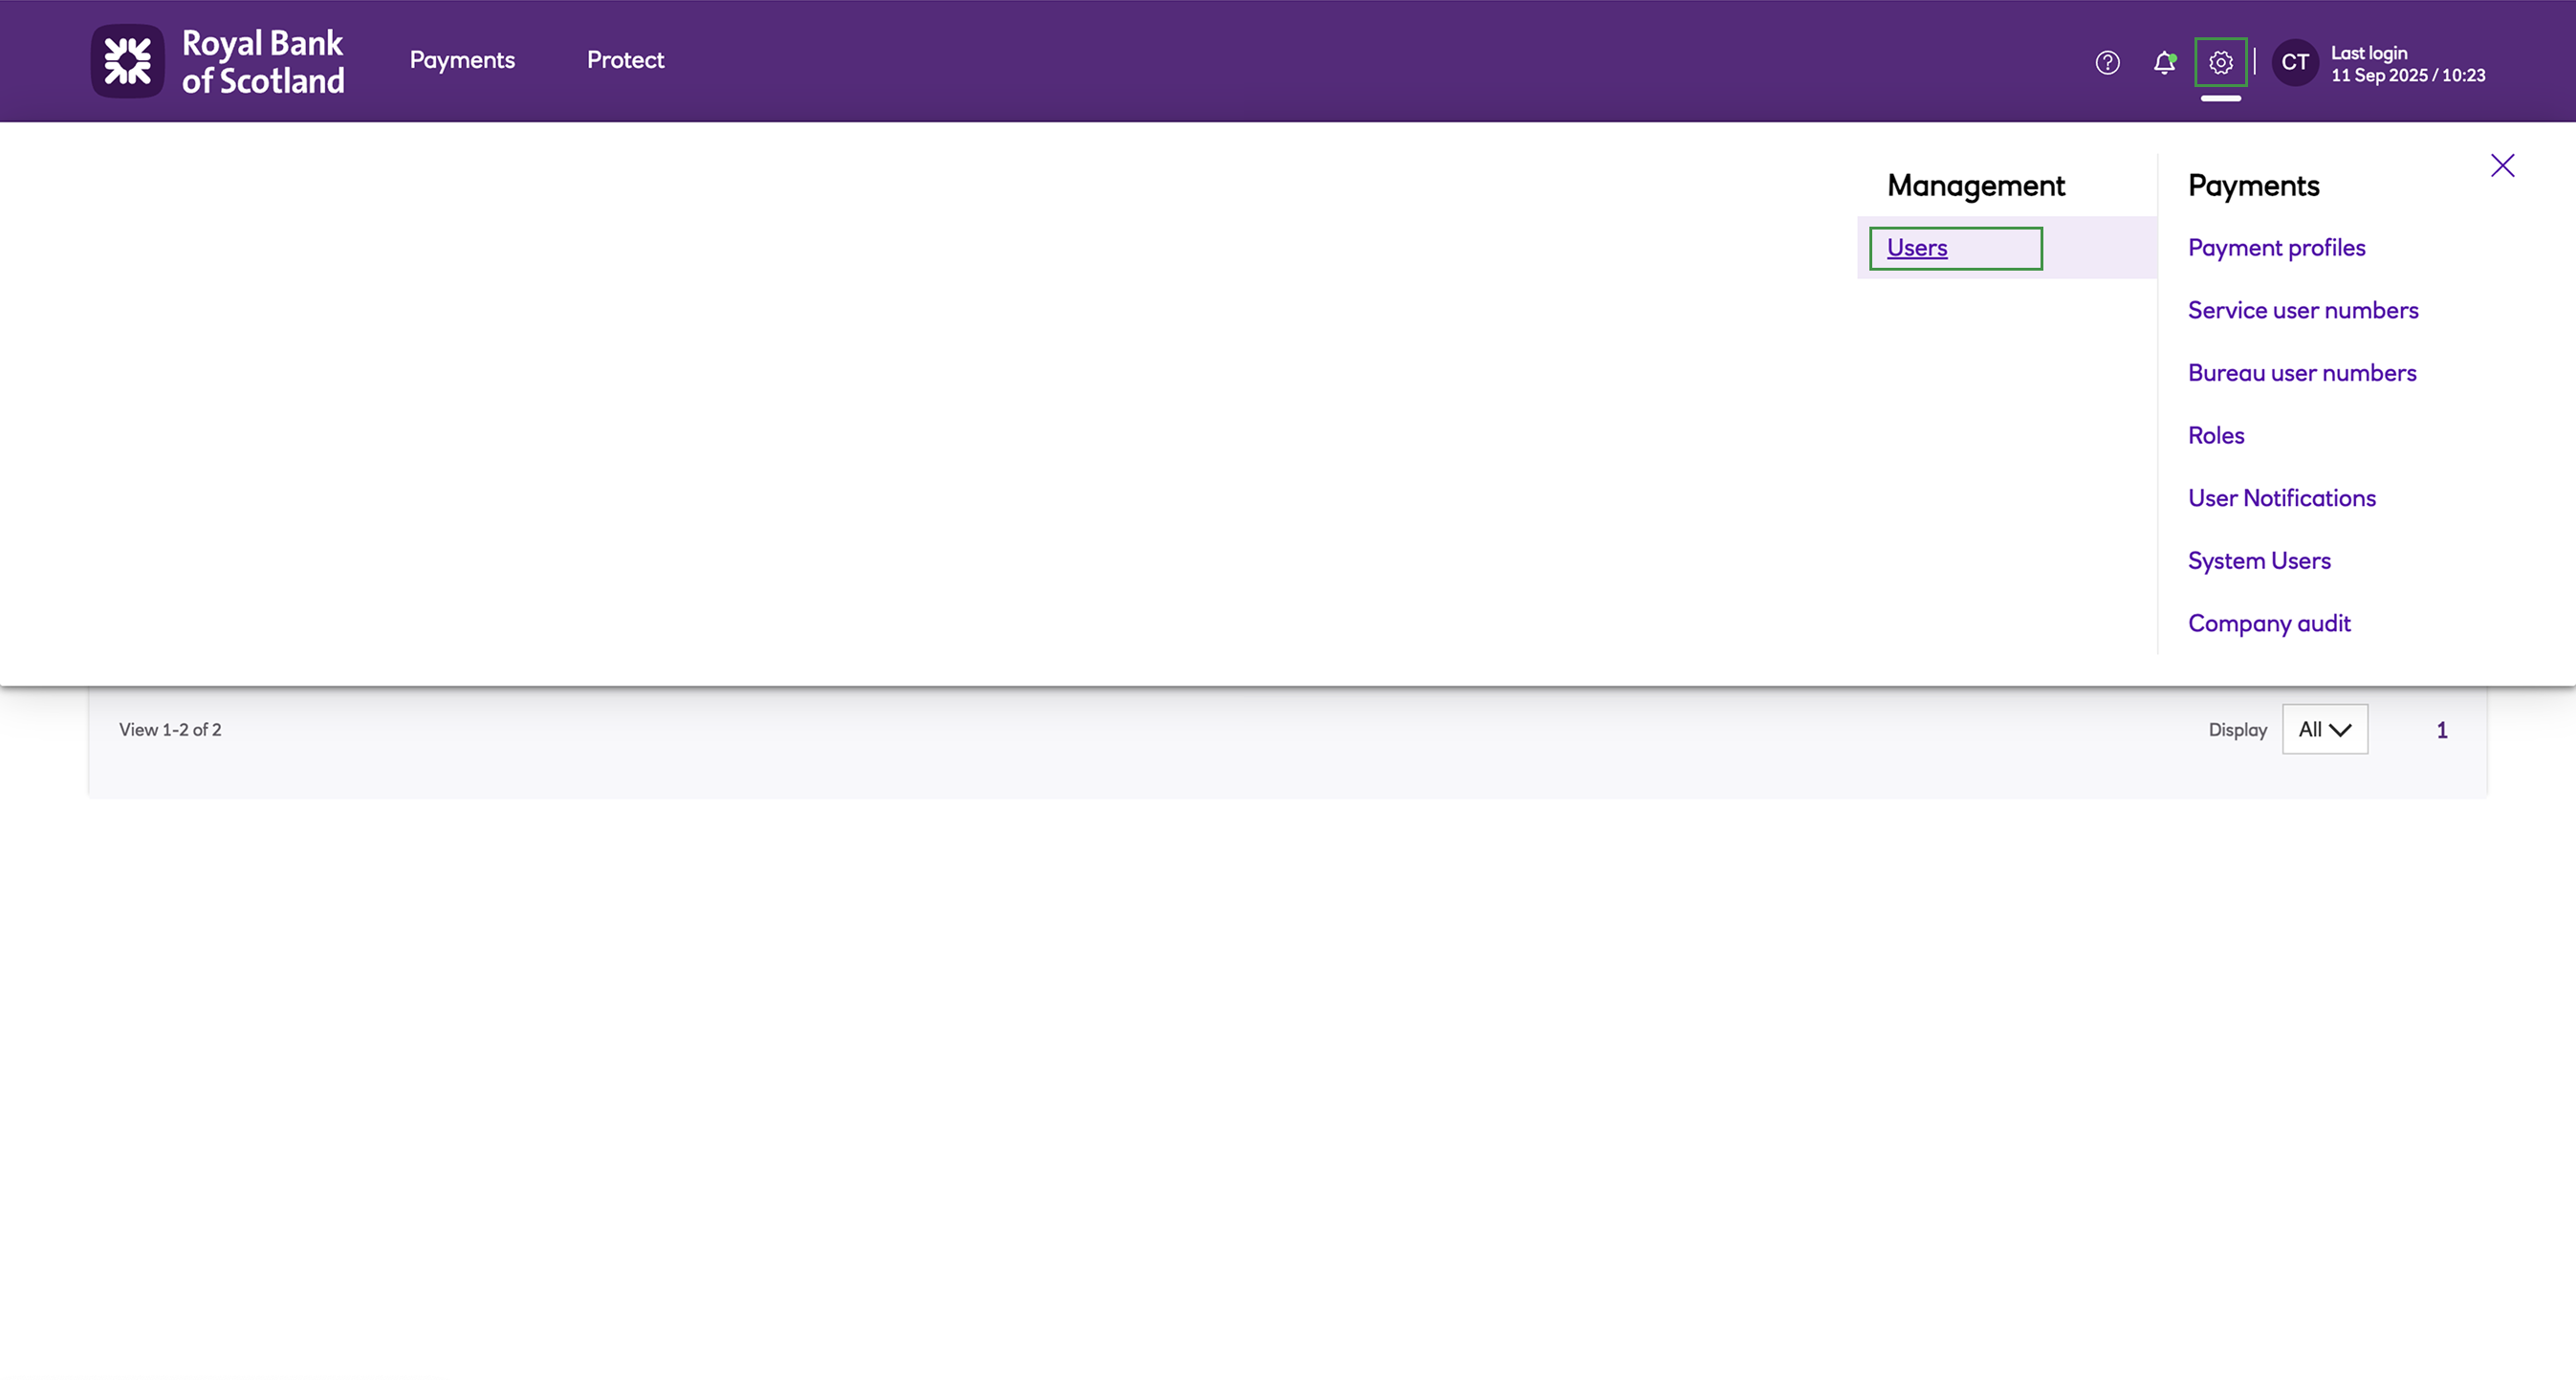
We've updated the user management functionality, improving the workflows for creating and managing users.
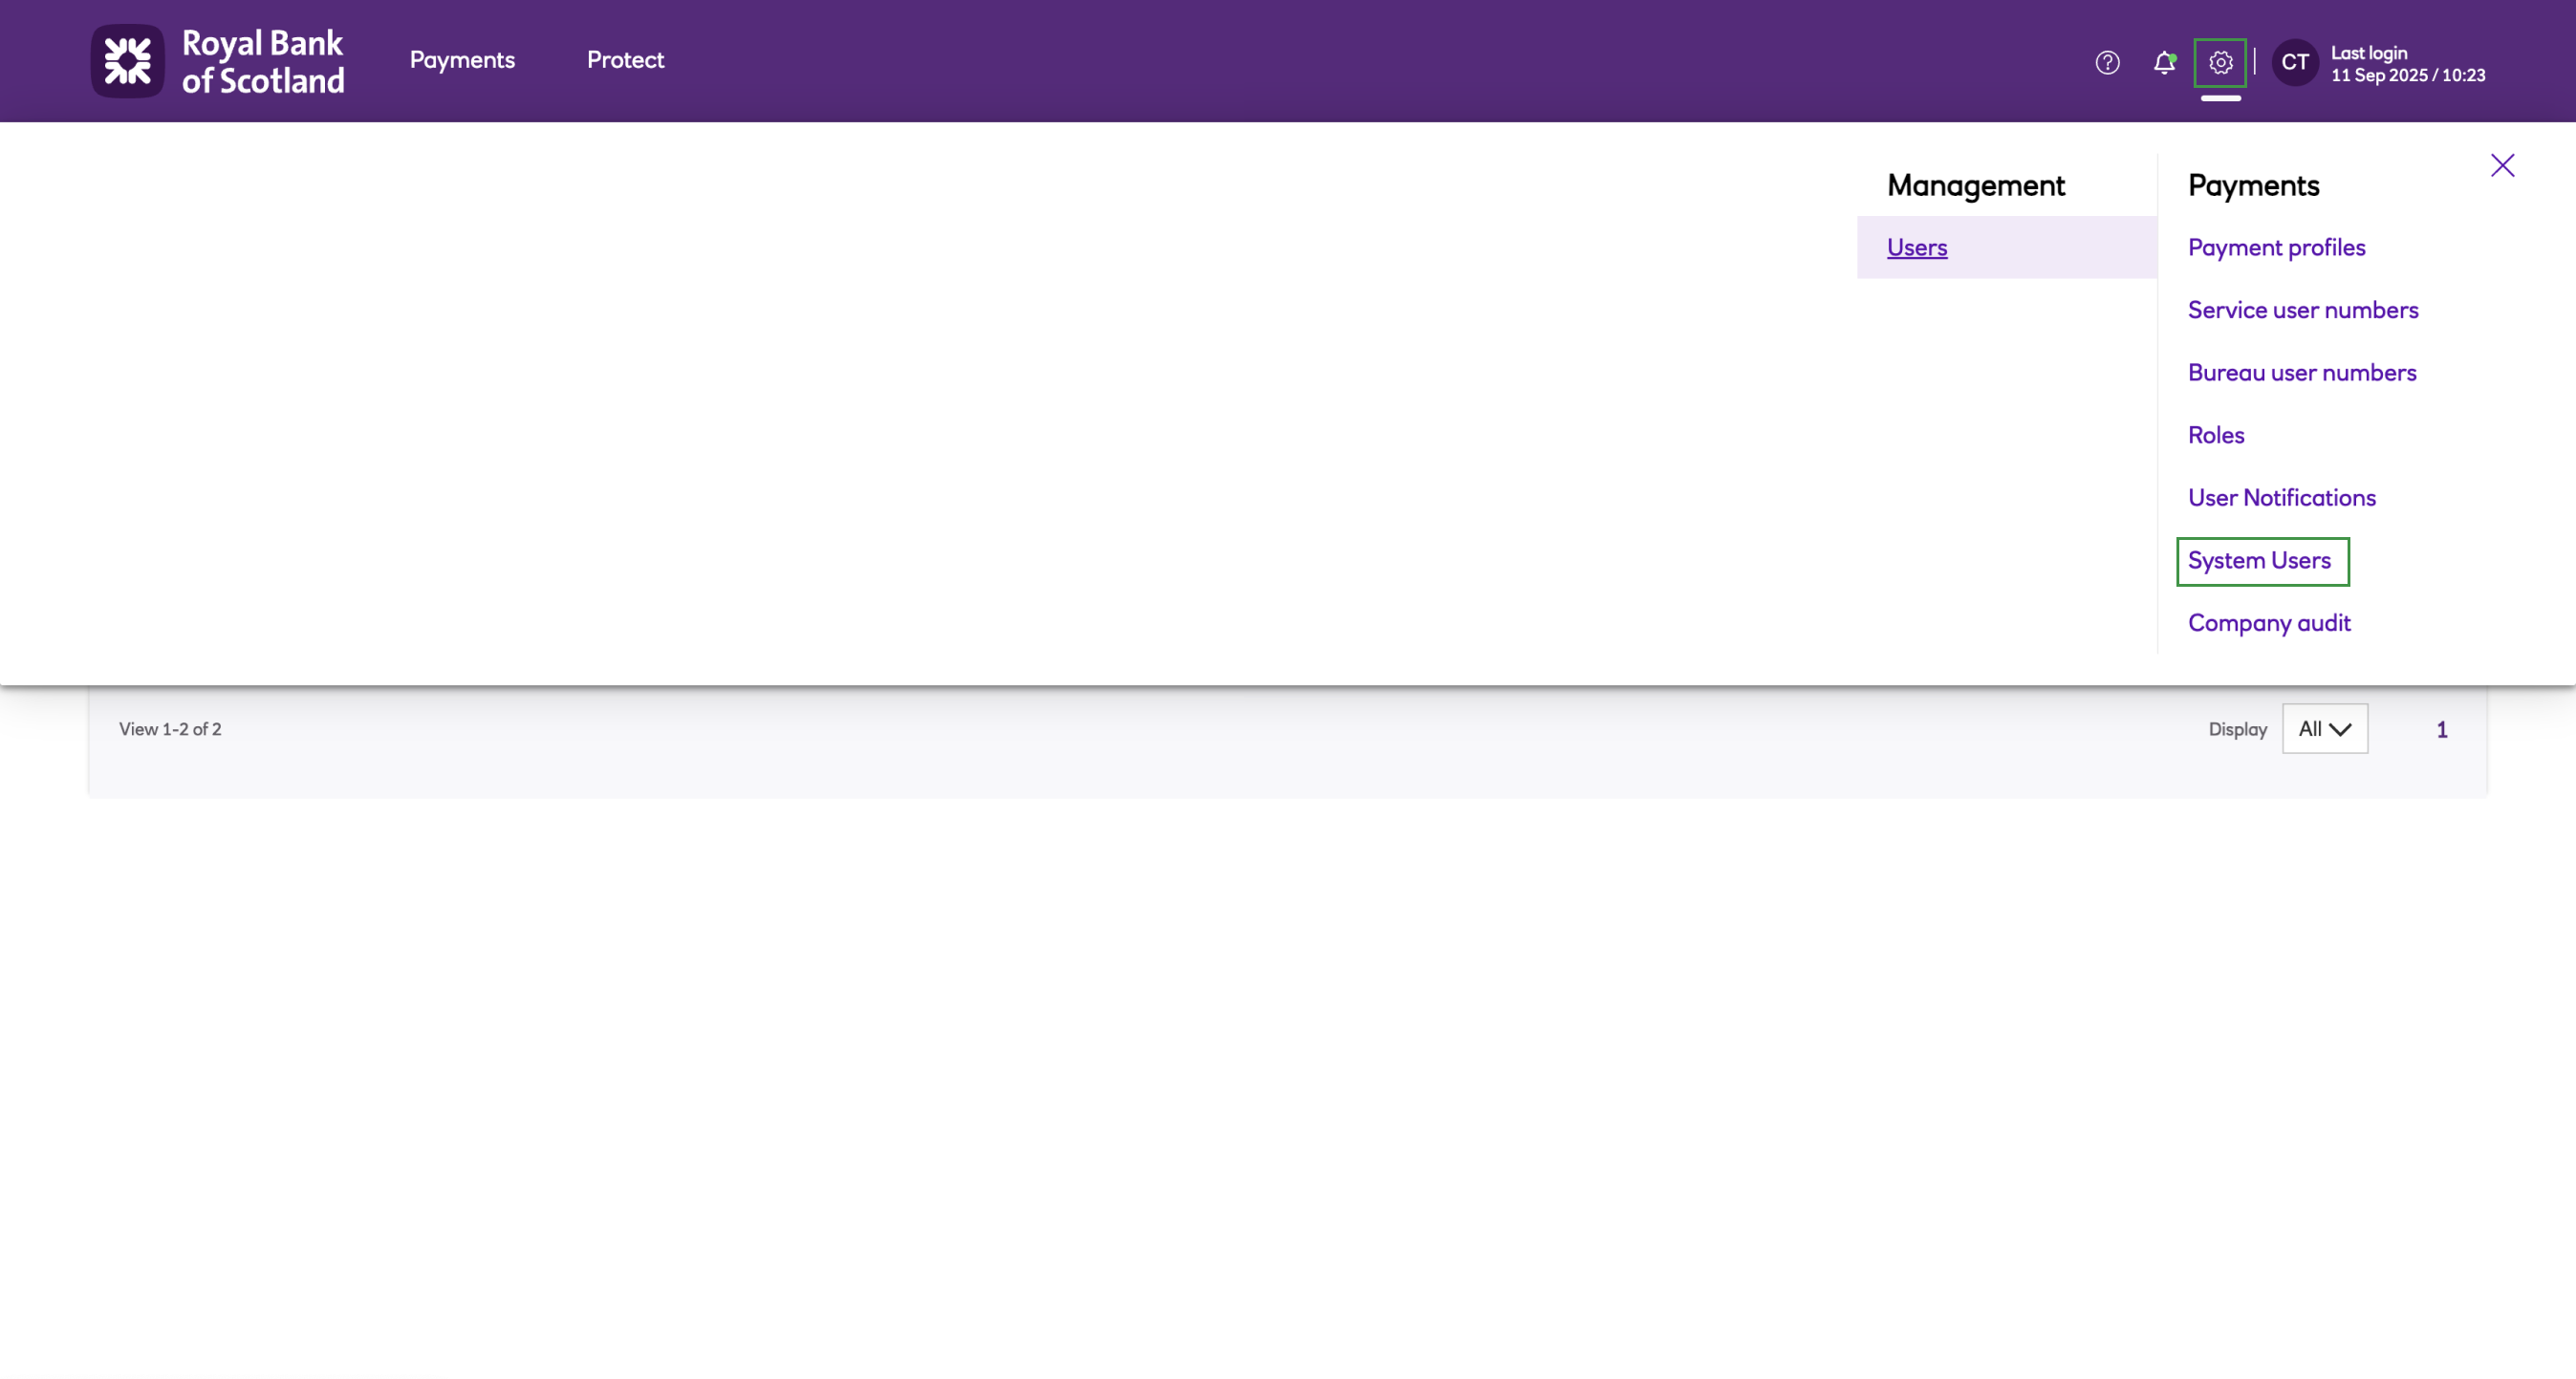
The Users screen is now accessible for administrators from the Settings menu, selecting Users under Management.
From the Users screen you can:
- Create, update and delete users.
- Assign roles and permissions.
- Reset user credentials.
- Resend a user's 'Welcome' email.
- Update a user's MFA setting.
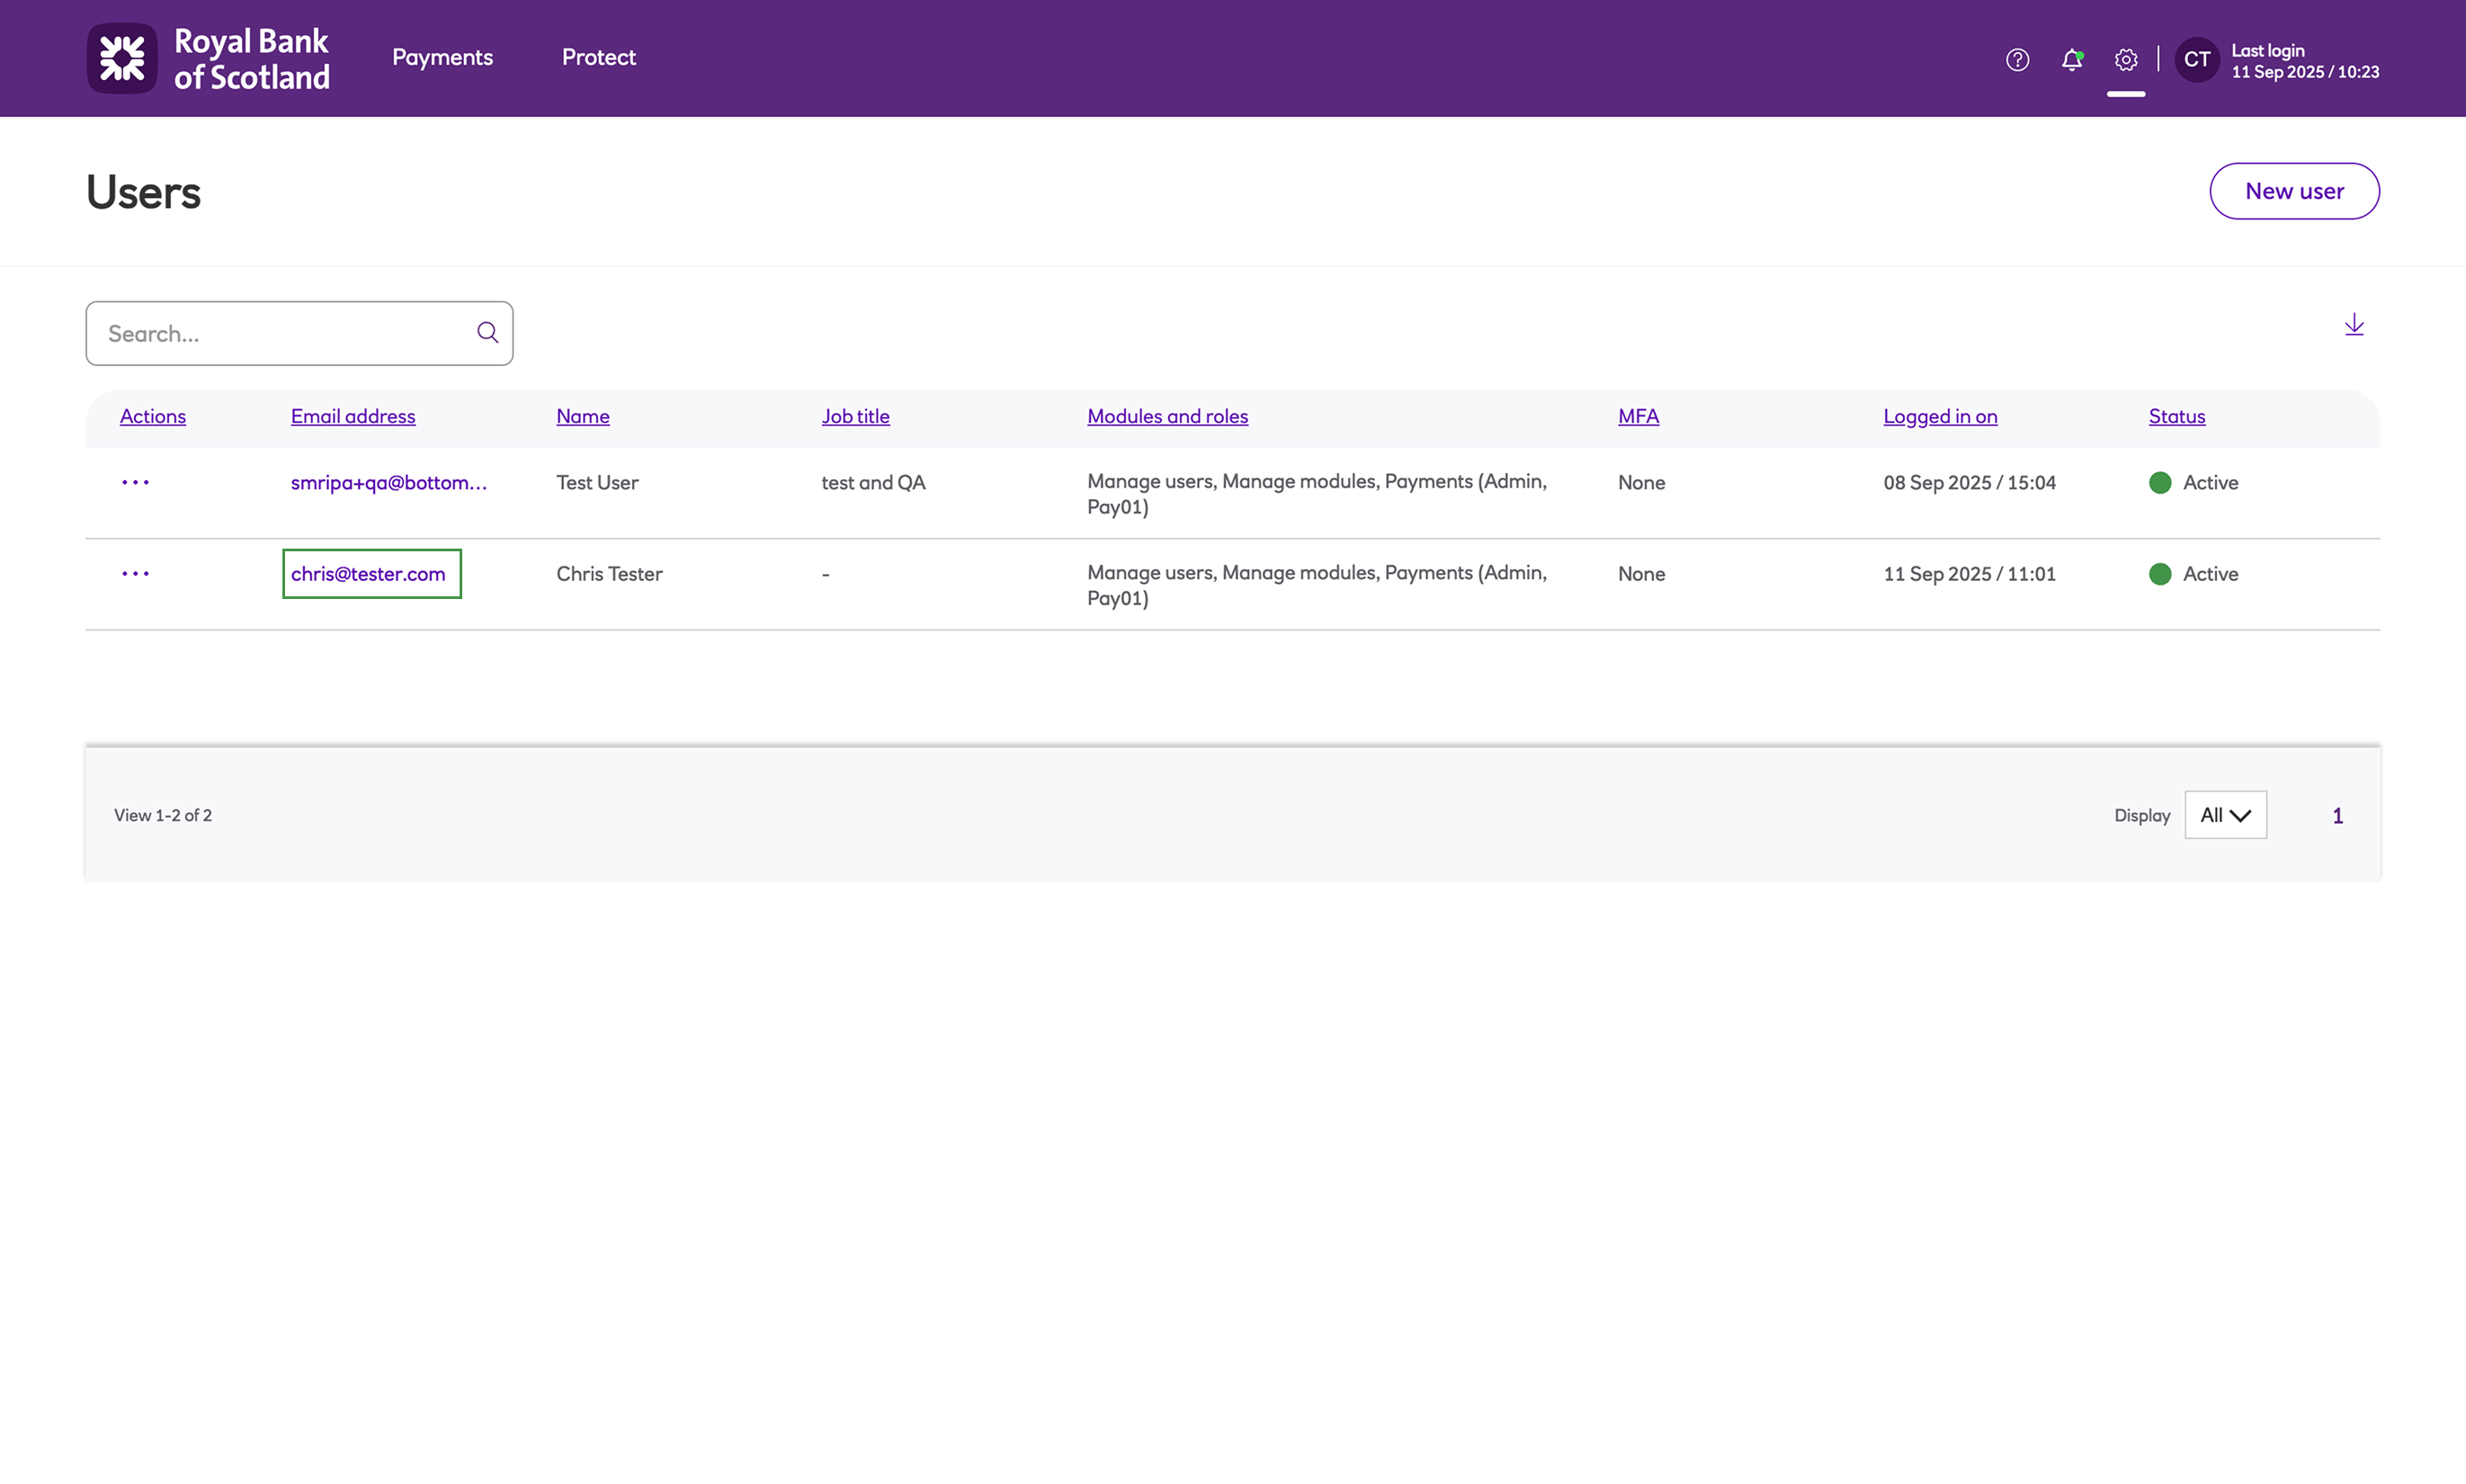
The Users grid contains the list of users configured and includes the status, MFA setting, and last login details for each user.
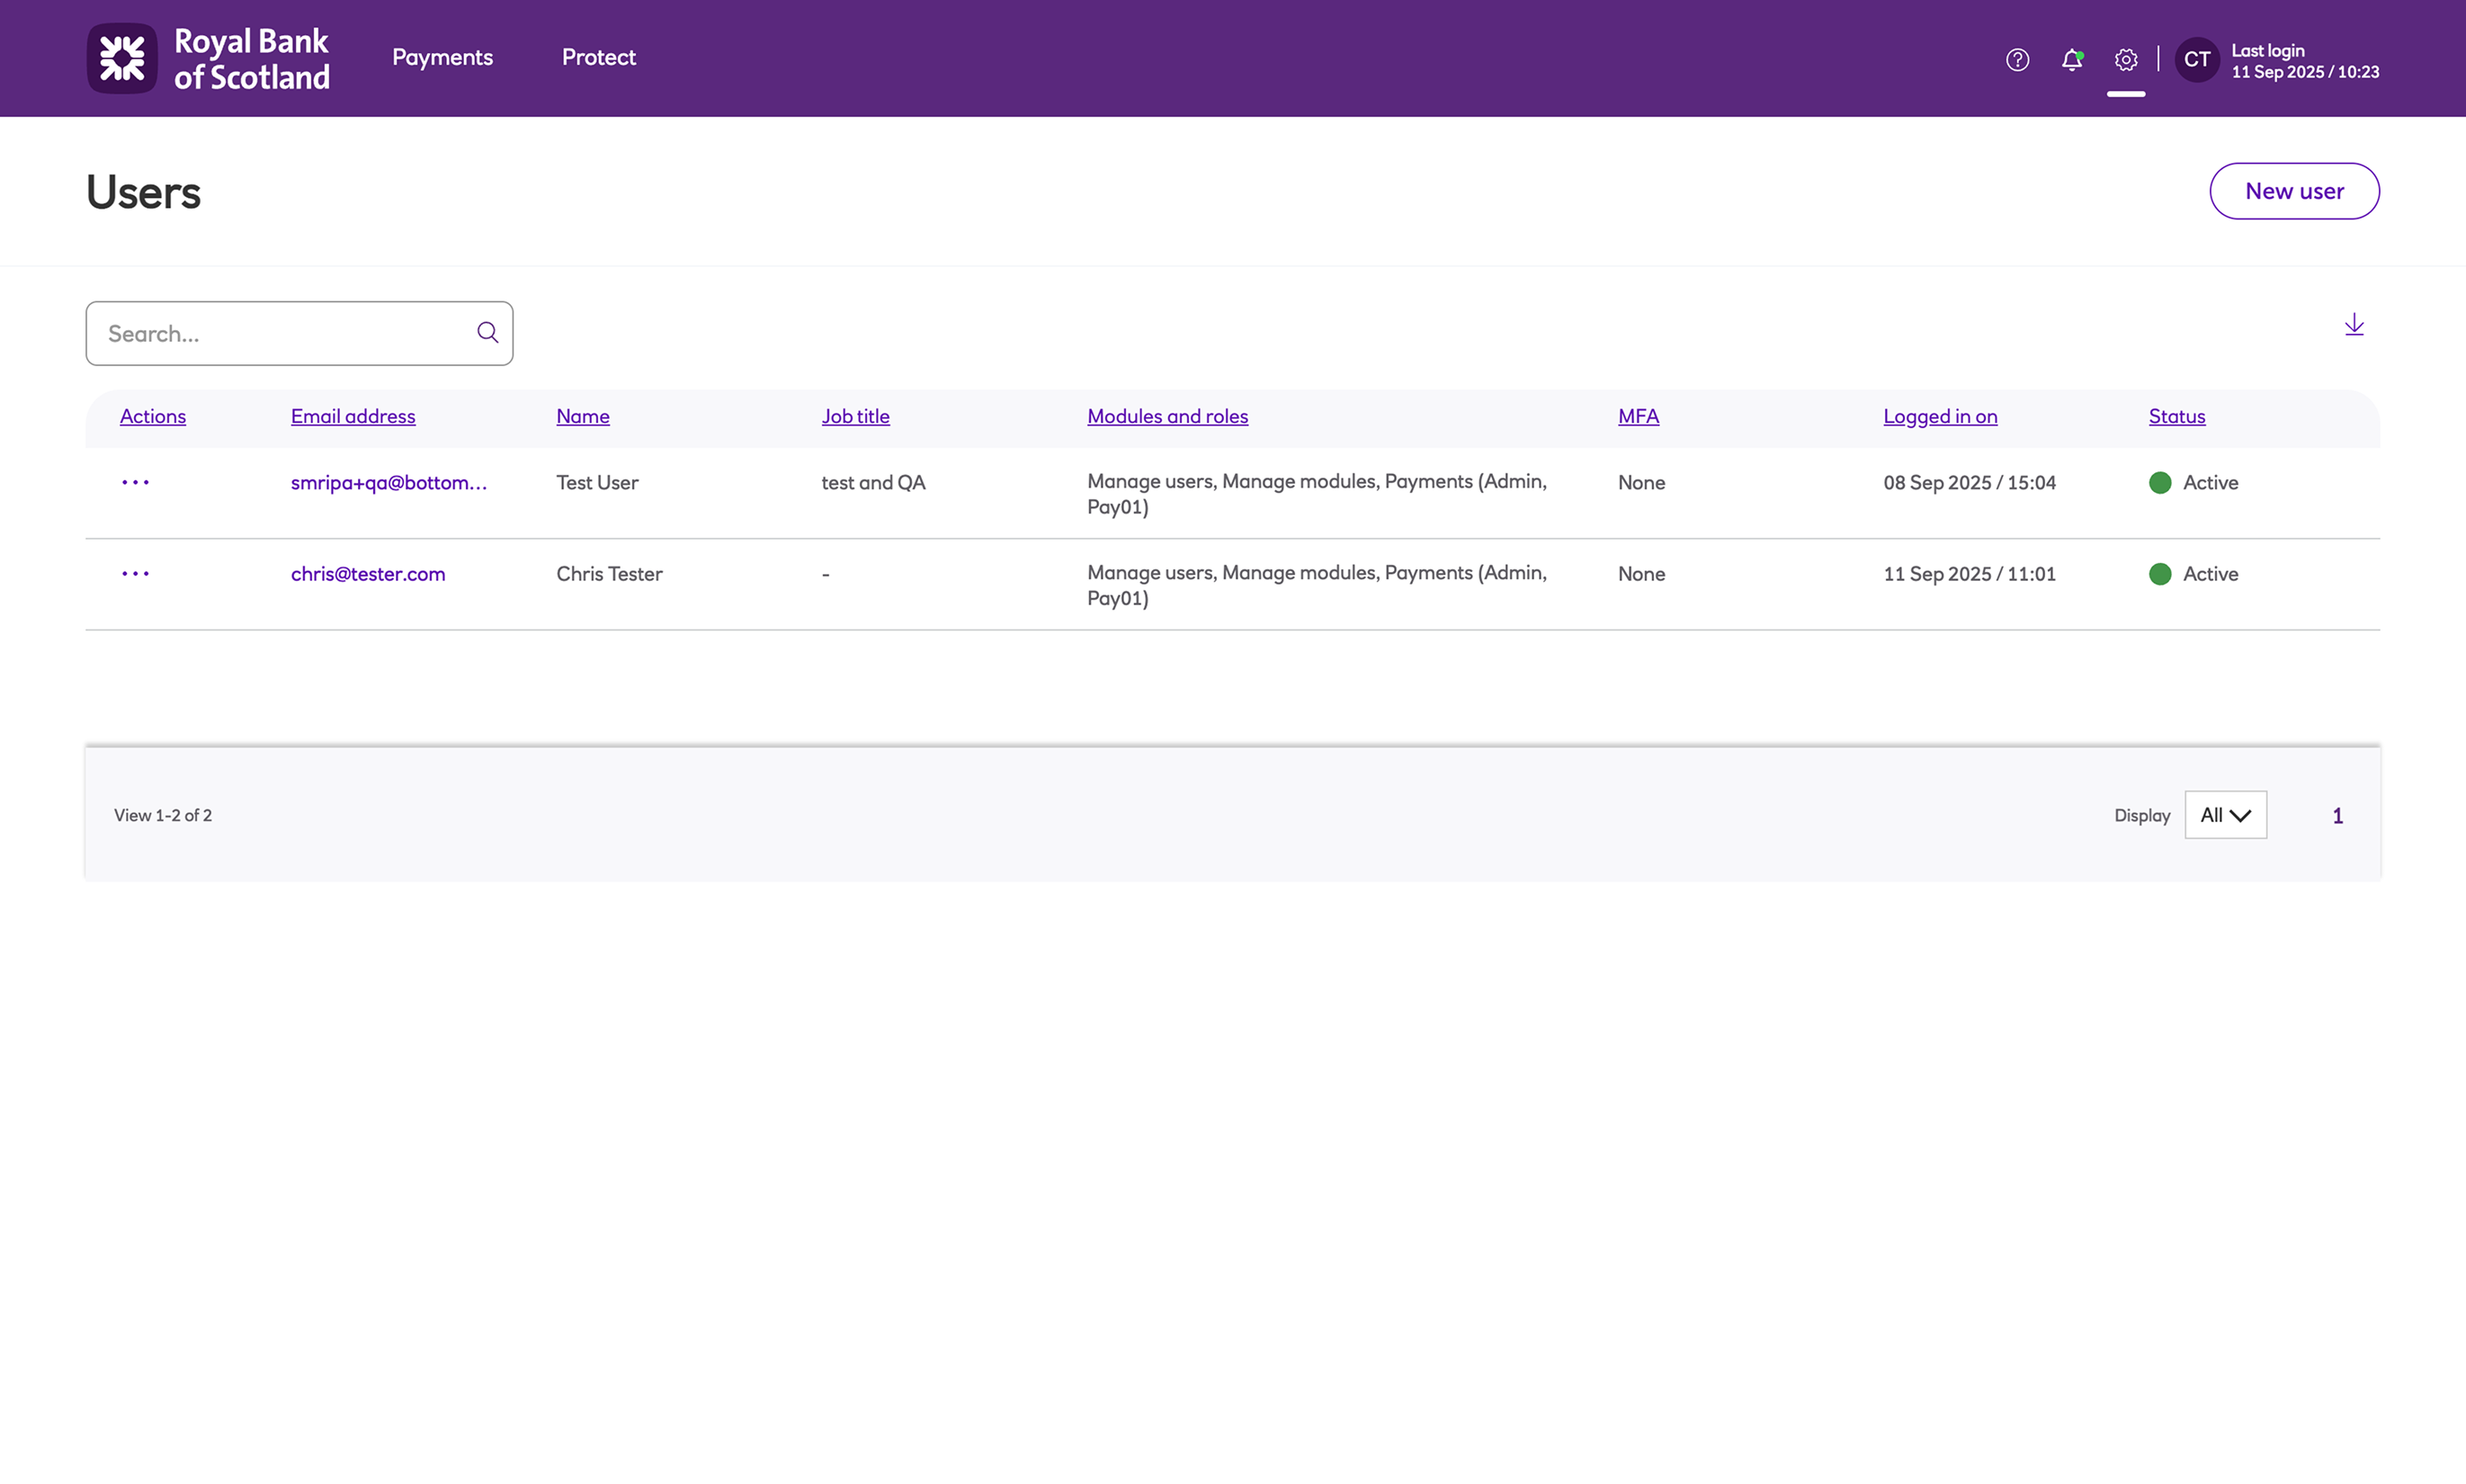
To view details of a user, click on the email address from the Users grid.
Status
The Status column on the Users screen contains the current status of the user.
The table below shows the different status values.
| Status | Description |
|---|---|
| Active | Active user with no required actions pending. |
| Pending actions | • User has requested an MFA account reset. • User has requested a security question reset. • Password has expired. |
| Invited | User has not yet responded to the ‘welcome’ email and completed the Autopay Online Plus setup process. |
| Locked | User has incorrectly entered their password or one-time passcode 5 times, and is then in a locked state for 20 minutes. |
Roles
If there are user changes to roles that are not approved before the migration, when the user checks after the migration they will still have the old permissions but on the user screen it will report that the new role is assigned to them.
System users
System users (i.e. Drive users) will not be visible on the new Users screen but will remain on the System Users screen (accessible under the Payments menu). Functionality remains unchanged - they will continue working as before.
Dual admin
Dual admin will continue to work as before for updates to payment roles, payment profiles and system users. Non-system users will now be managed from the Management menu (as described above).
Note
Any pending dual admin user updates including approvals for new users will not be carried forward once the upcoming changes are implemented. To avoid losing any updates, we recommend completing all user-related actions before the new changes take effect.
Passwords
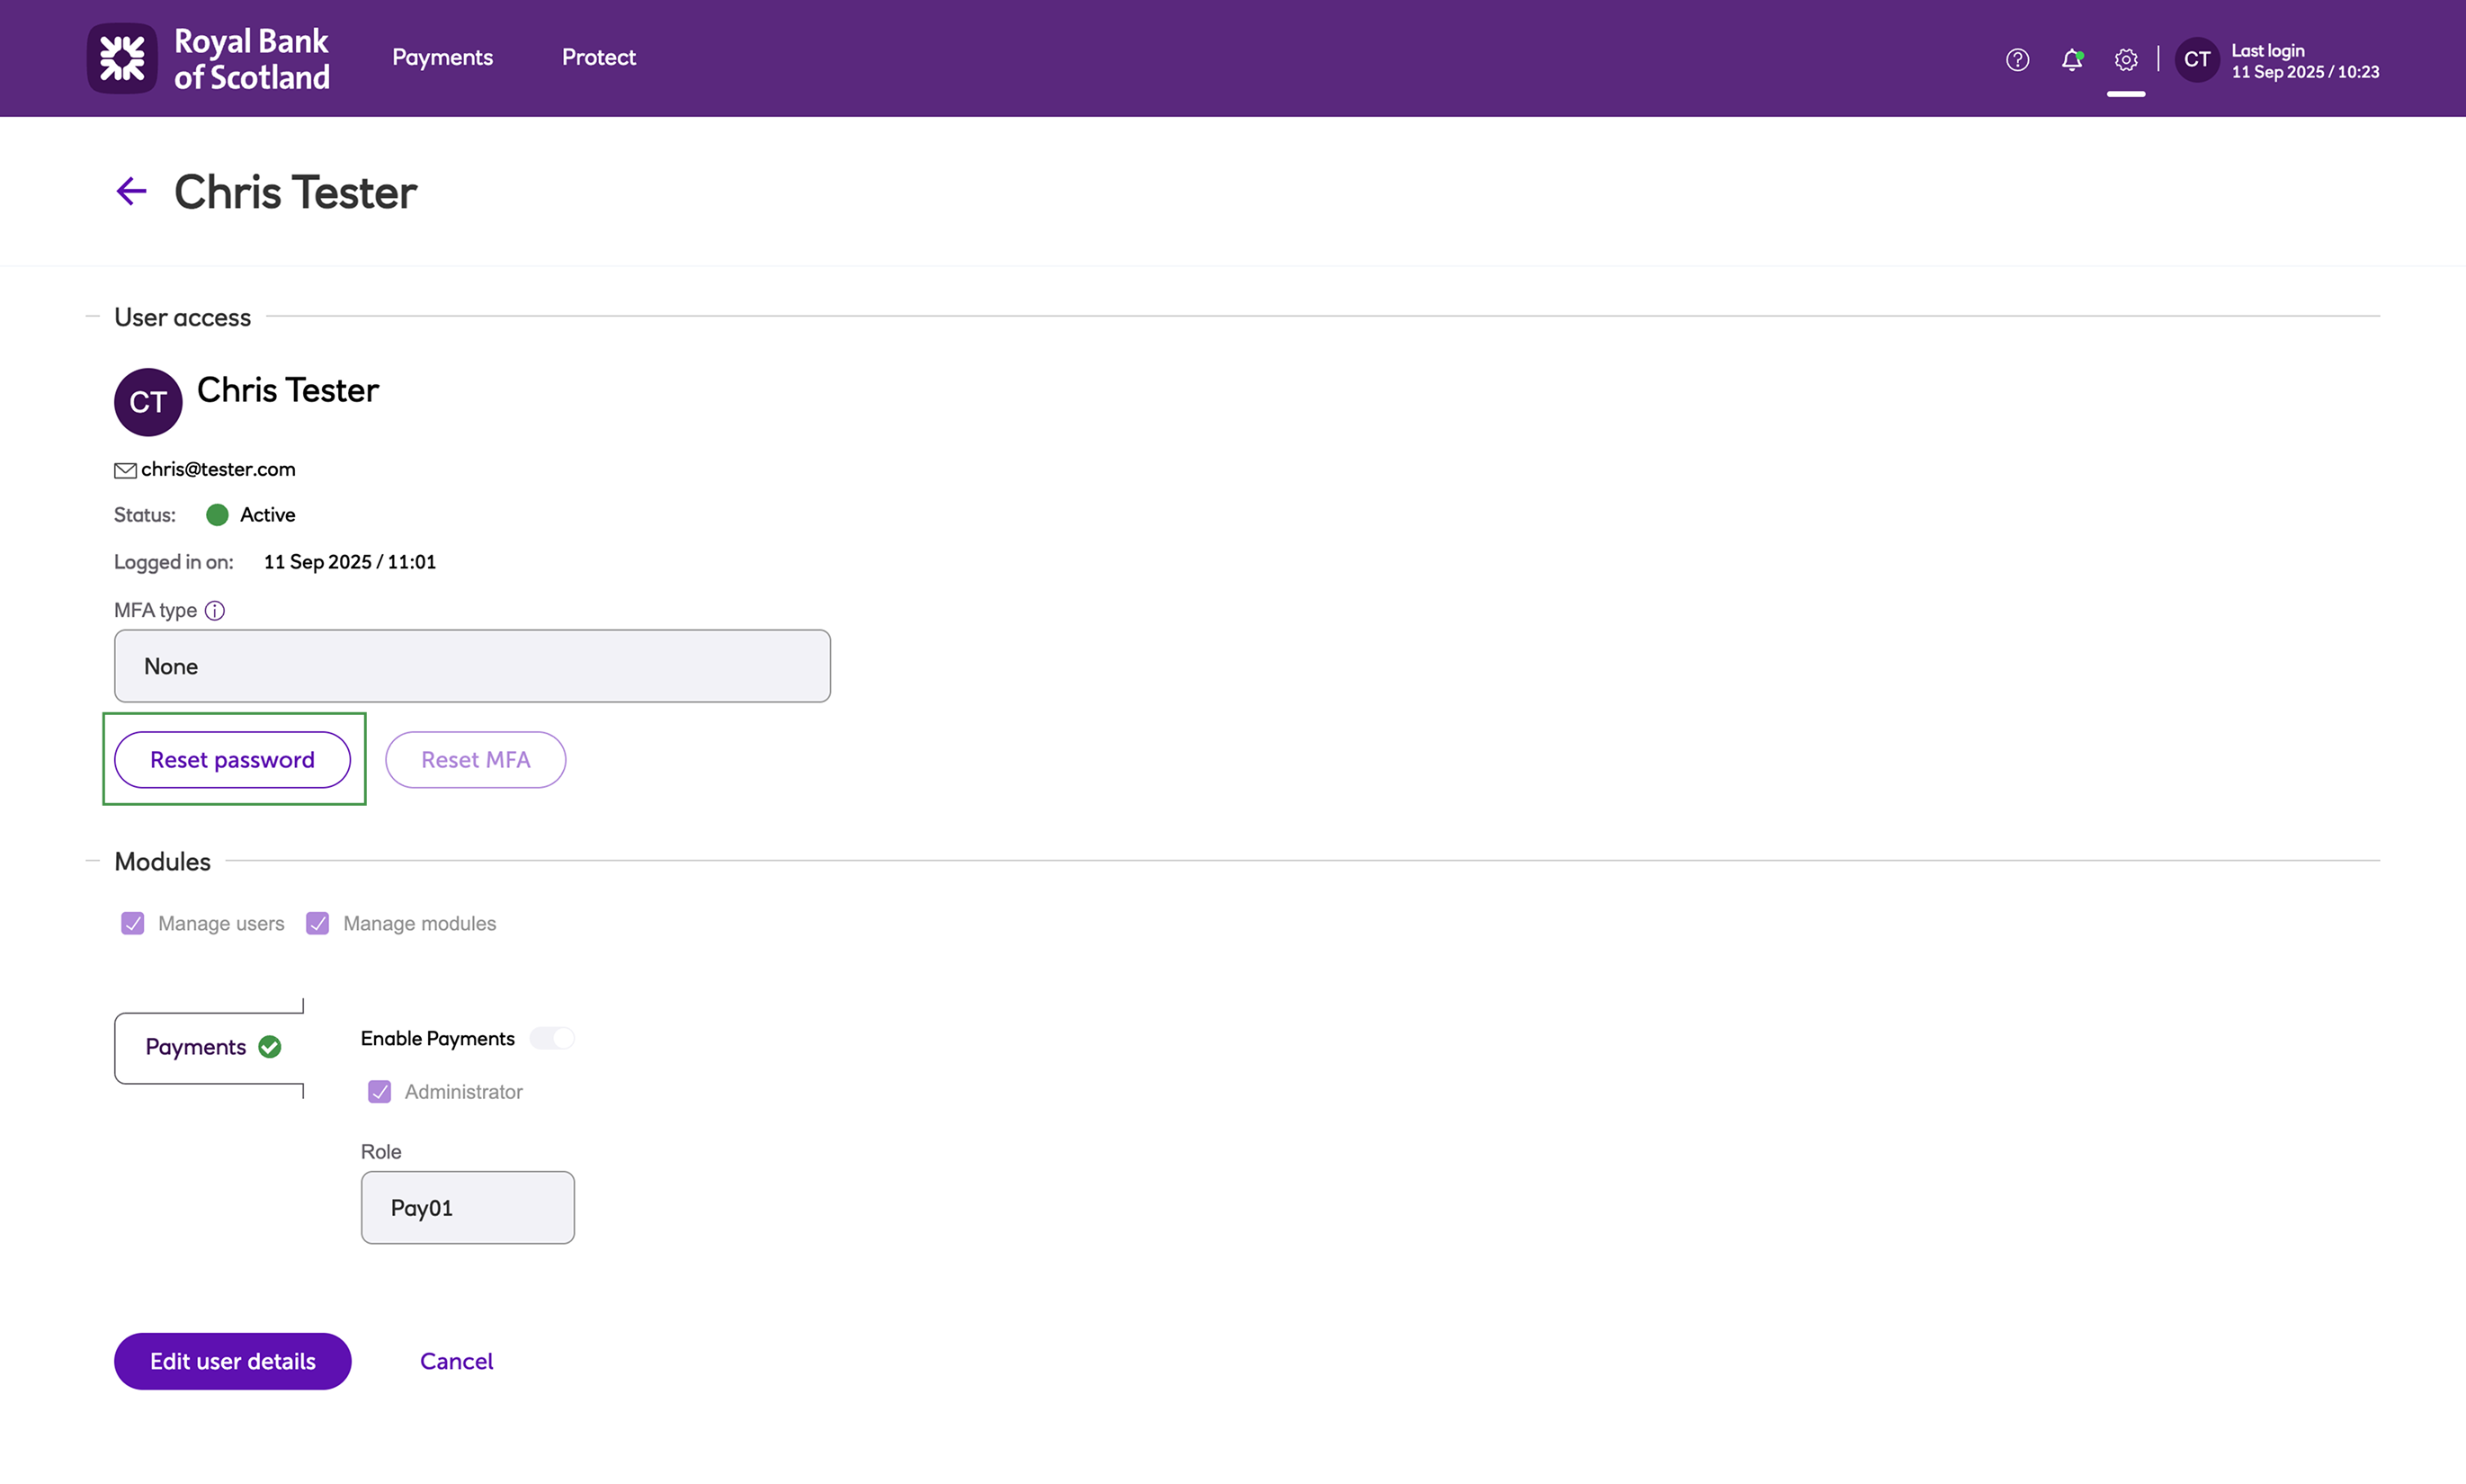
Reset
There are now three ways of resetting a user's password. In all cases, a reset email will be sent to the user and instructions are provided on-screen from this point.
-
As an administrator, when viewing a user's details, click Reset password.
-
As an administrator, from the Users screen, click the 'actions' icon ••• to the left of the user whose password you wish to reset, and select the Reset password option.

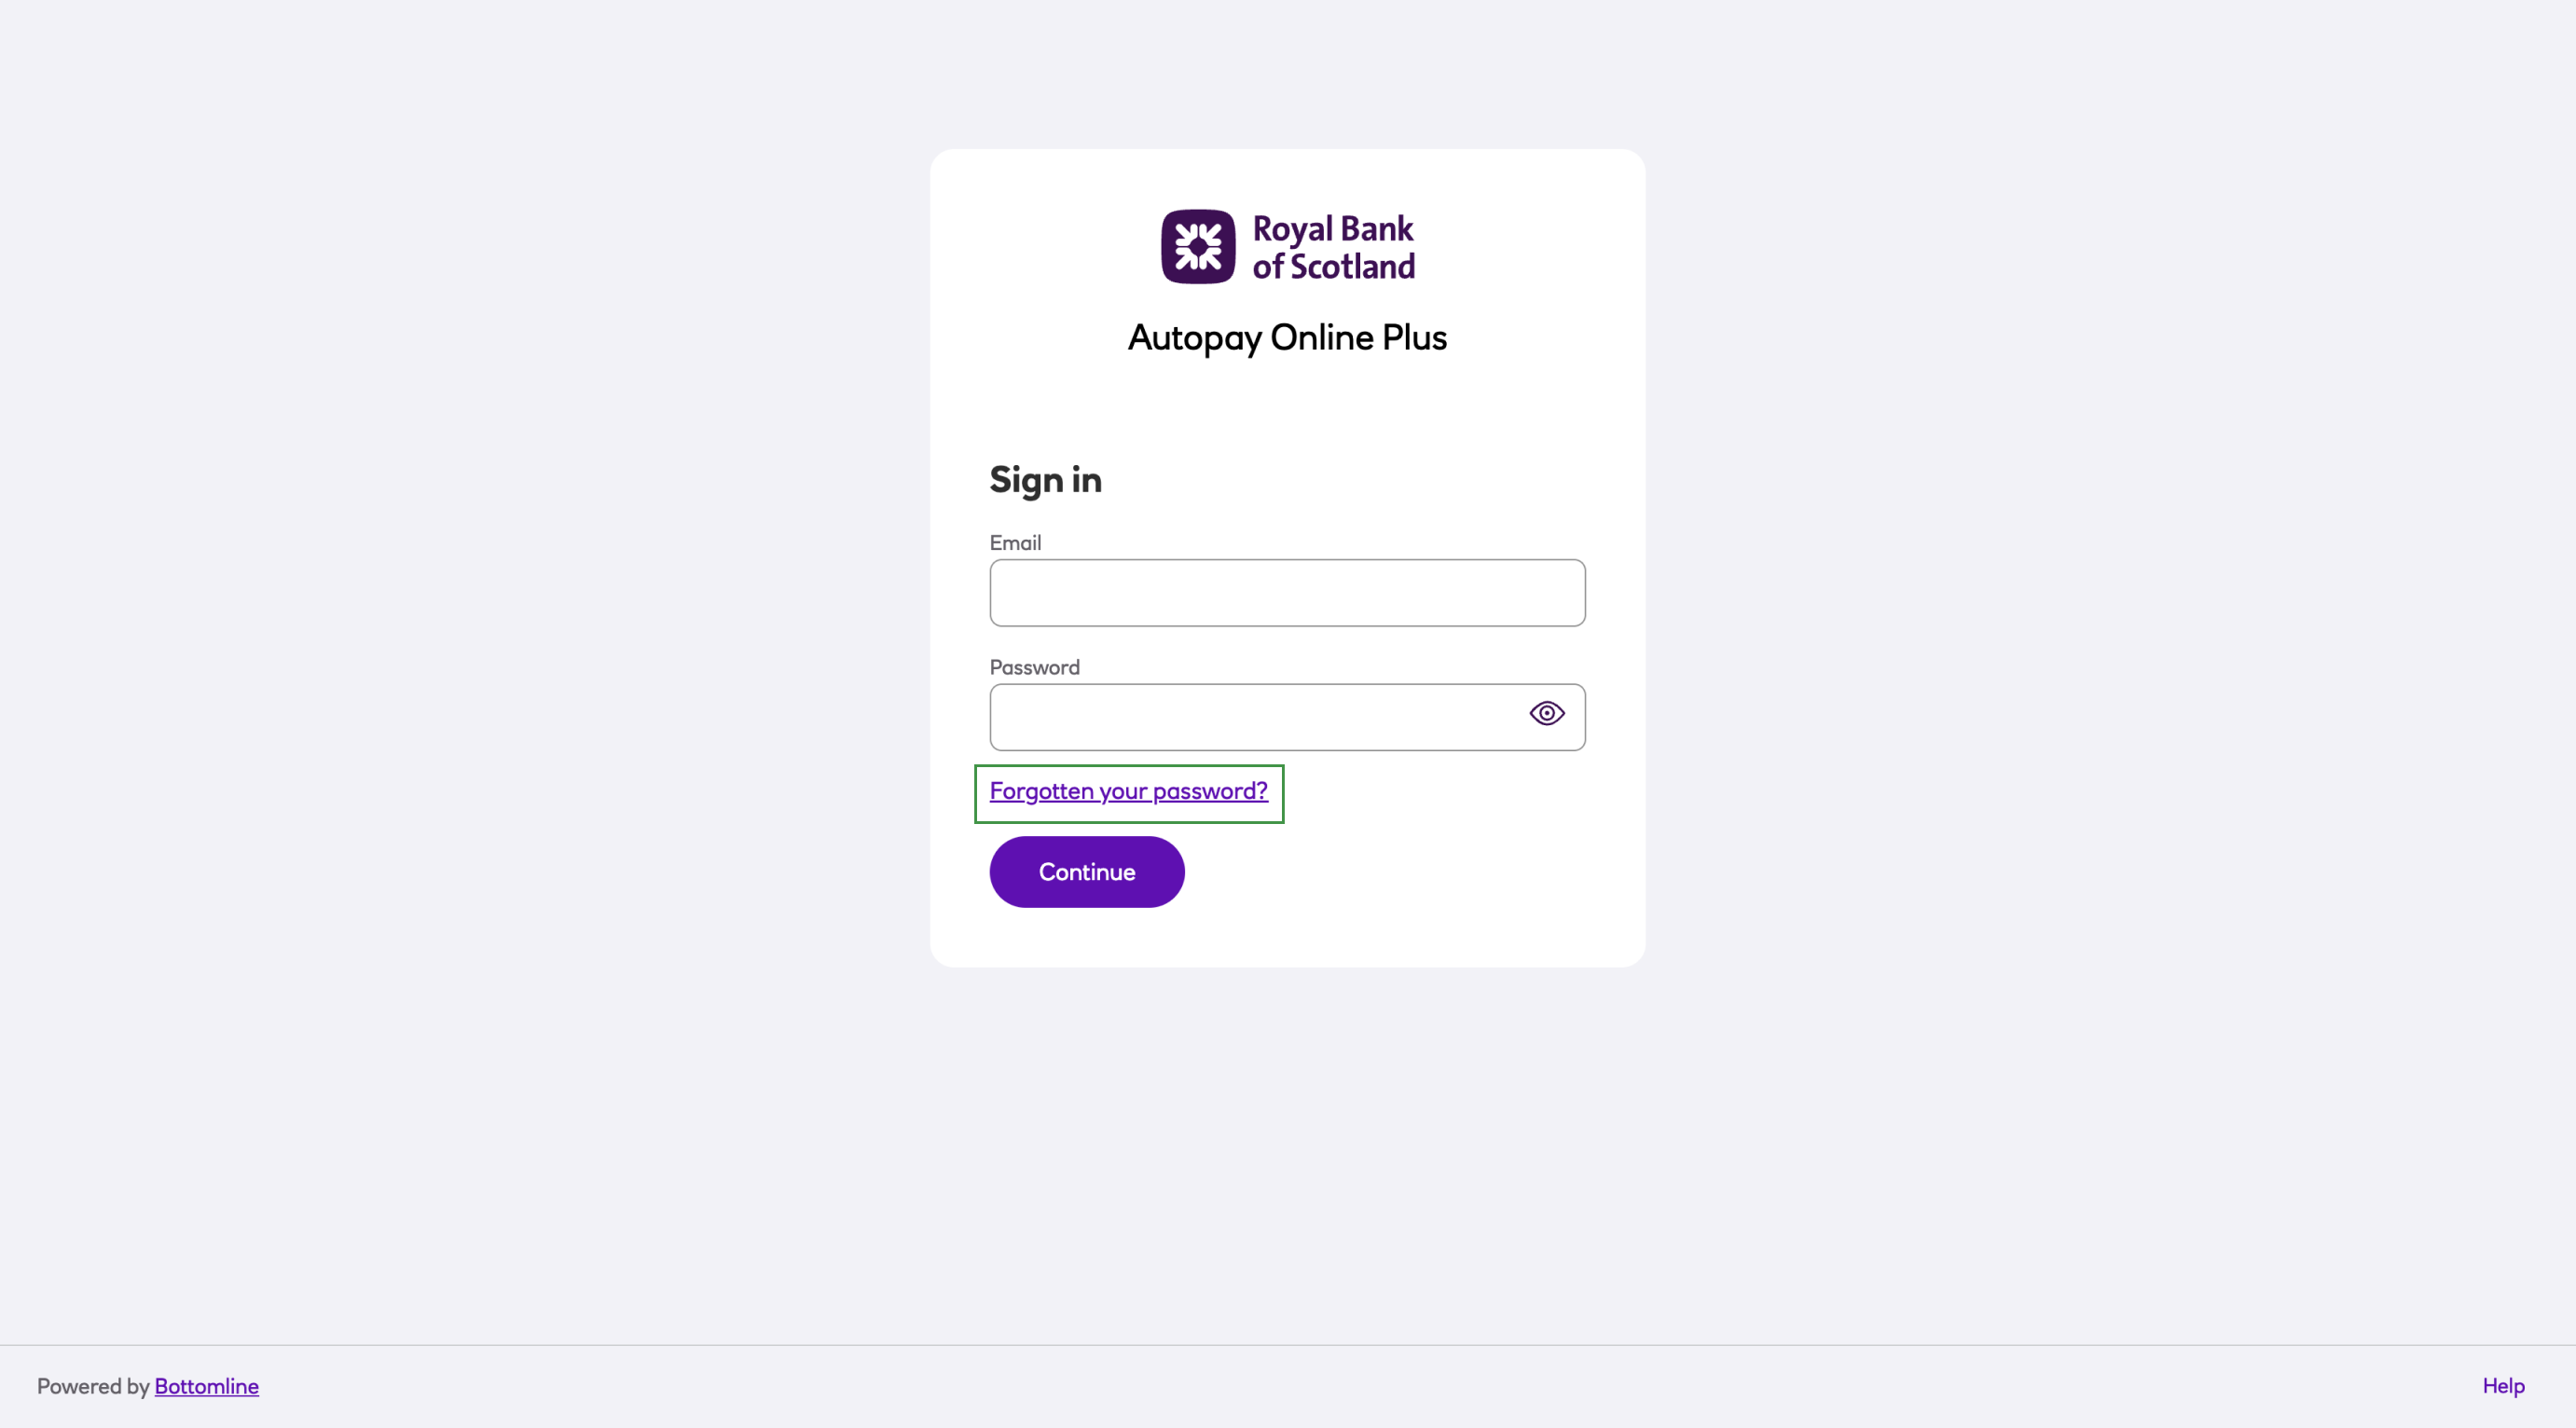
-
Self reset by the user: the user clicks the Forgotten your password? link, and then will be prompted to enter their email address.
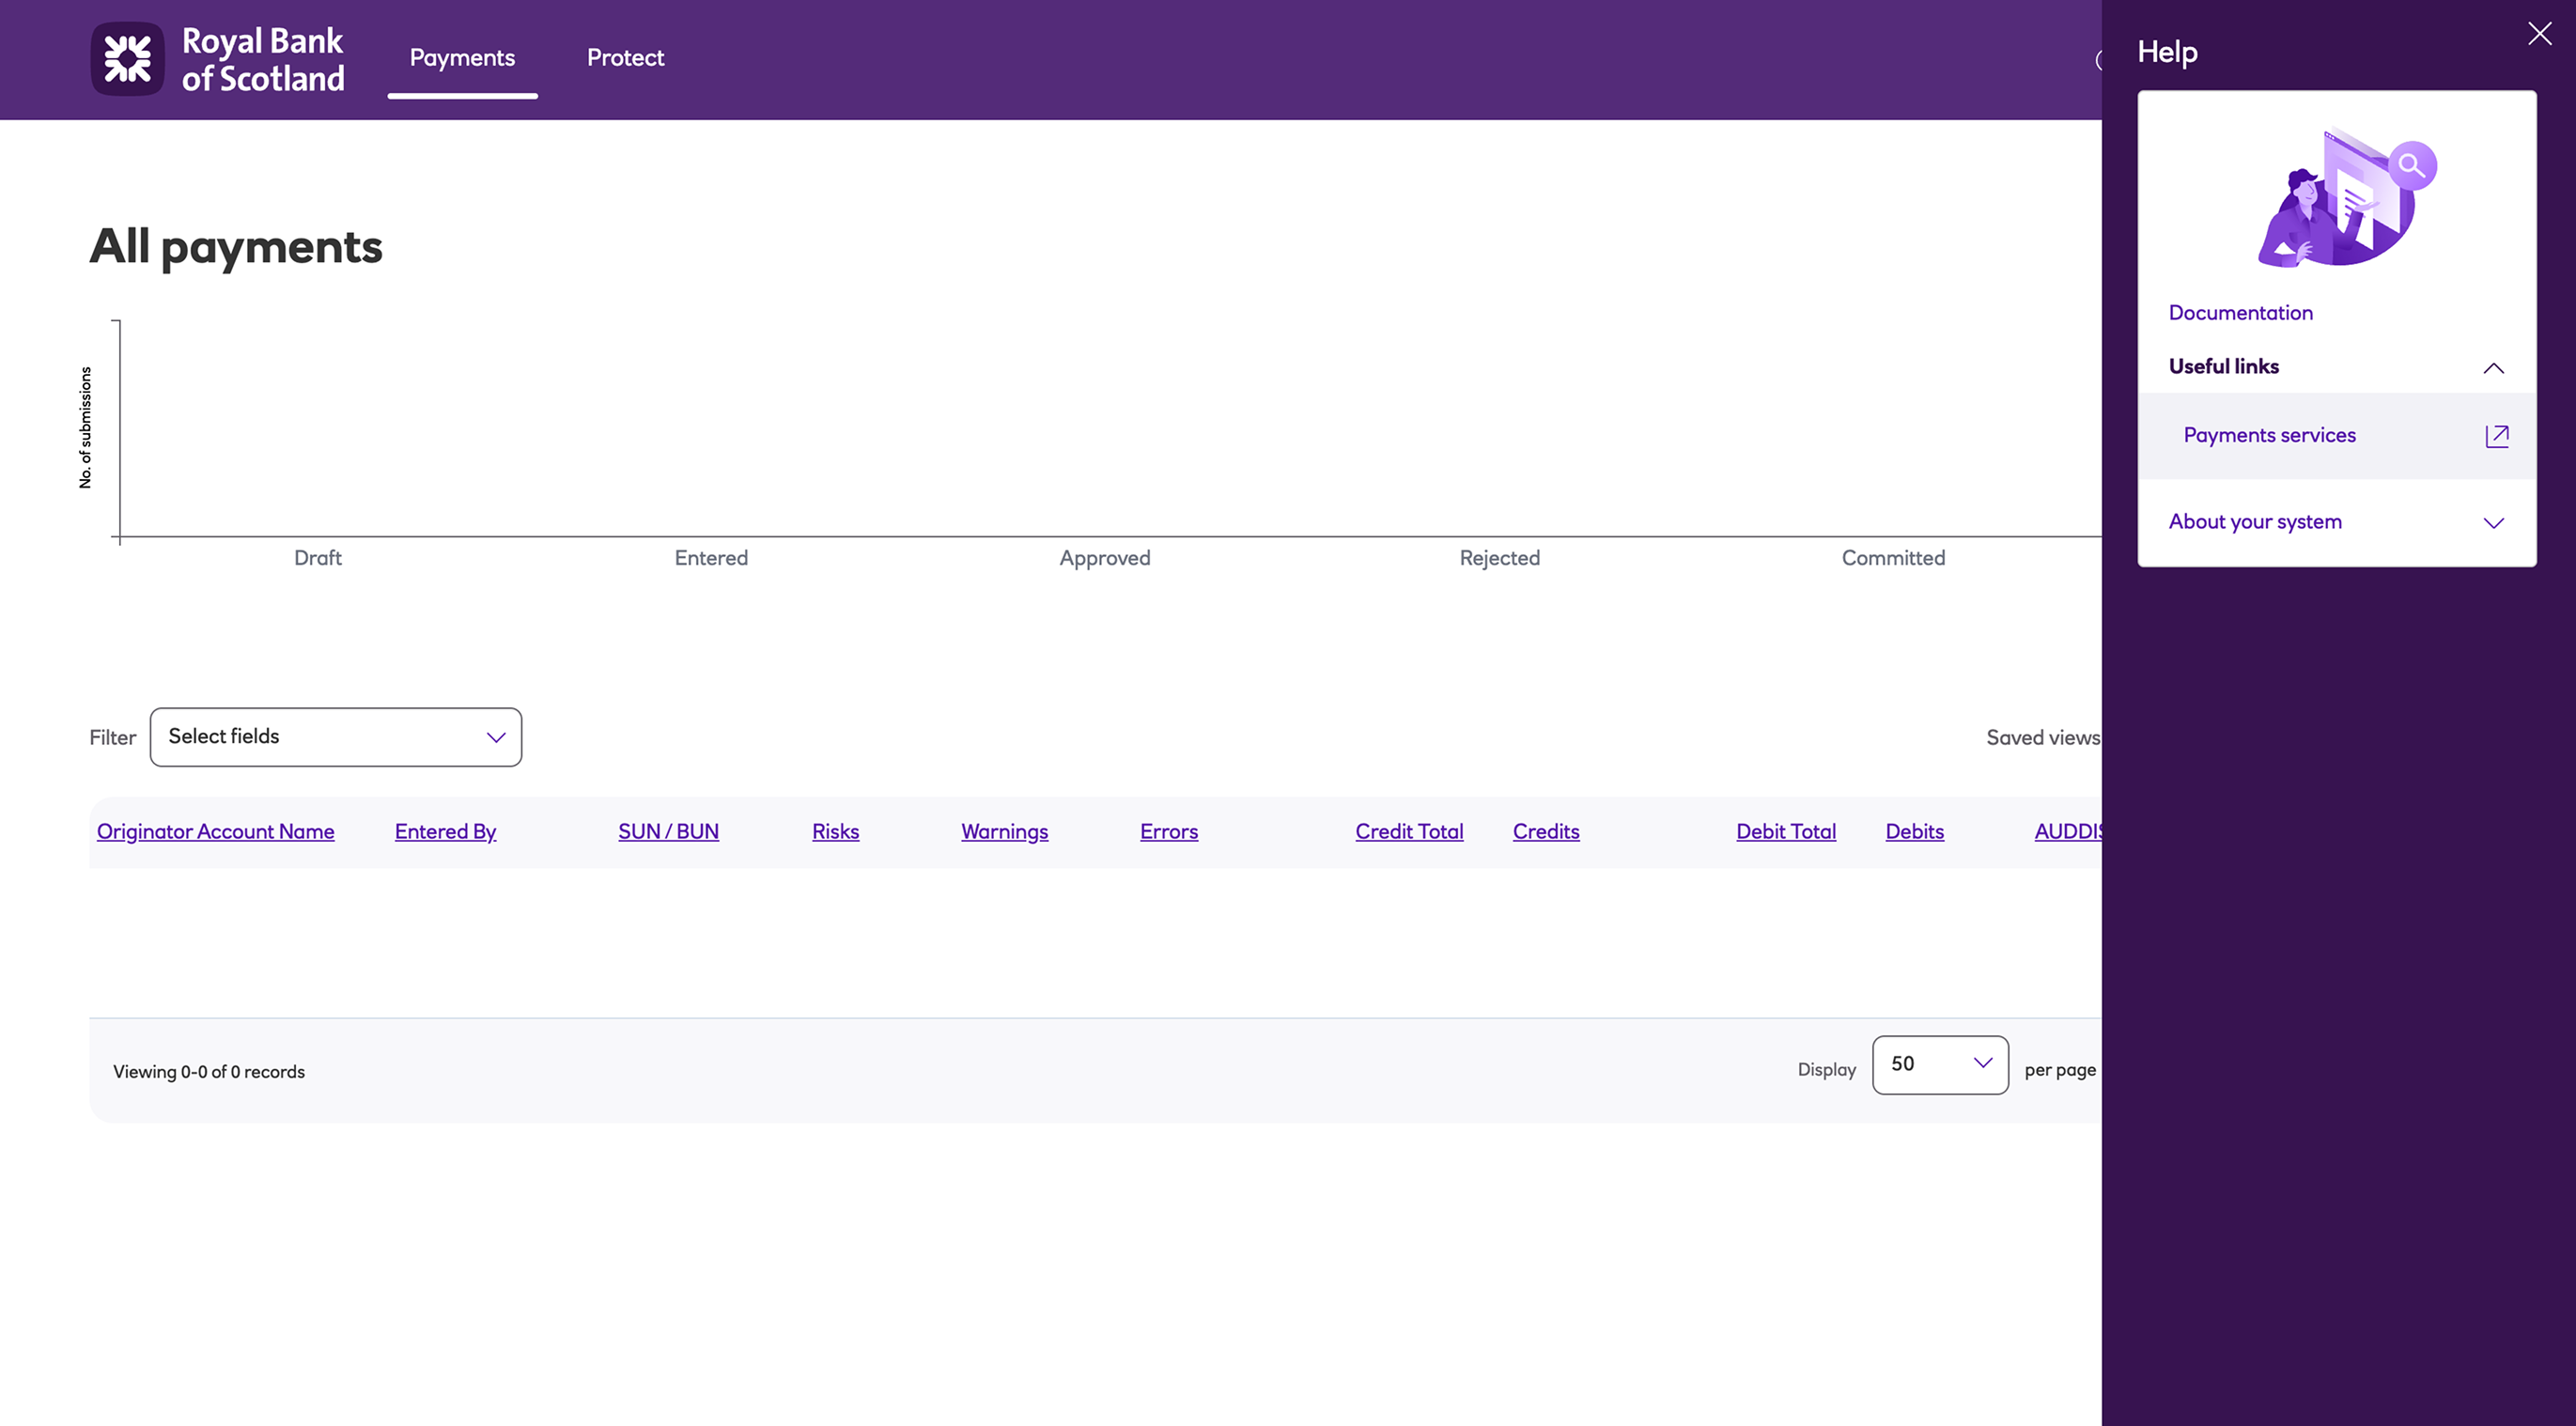
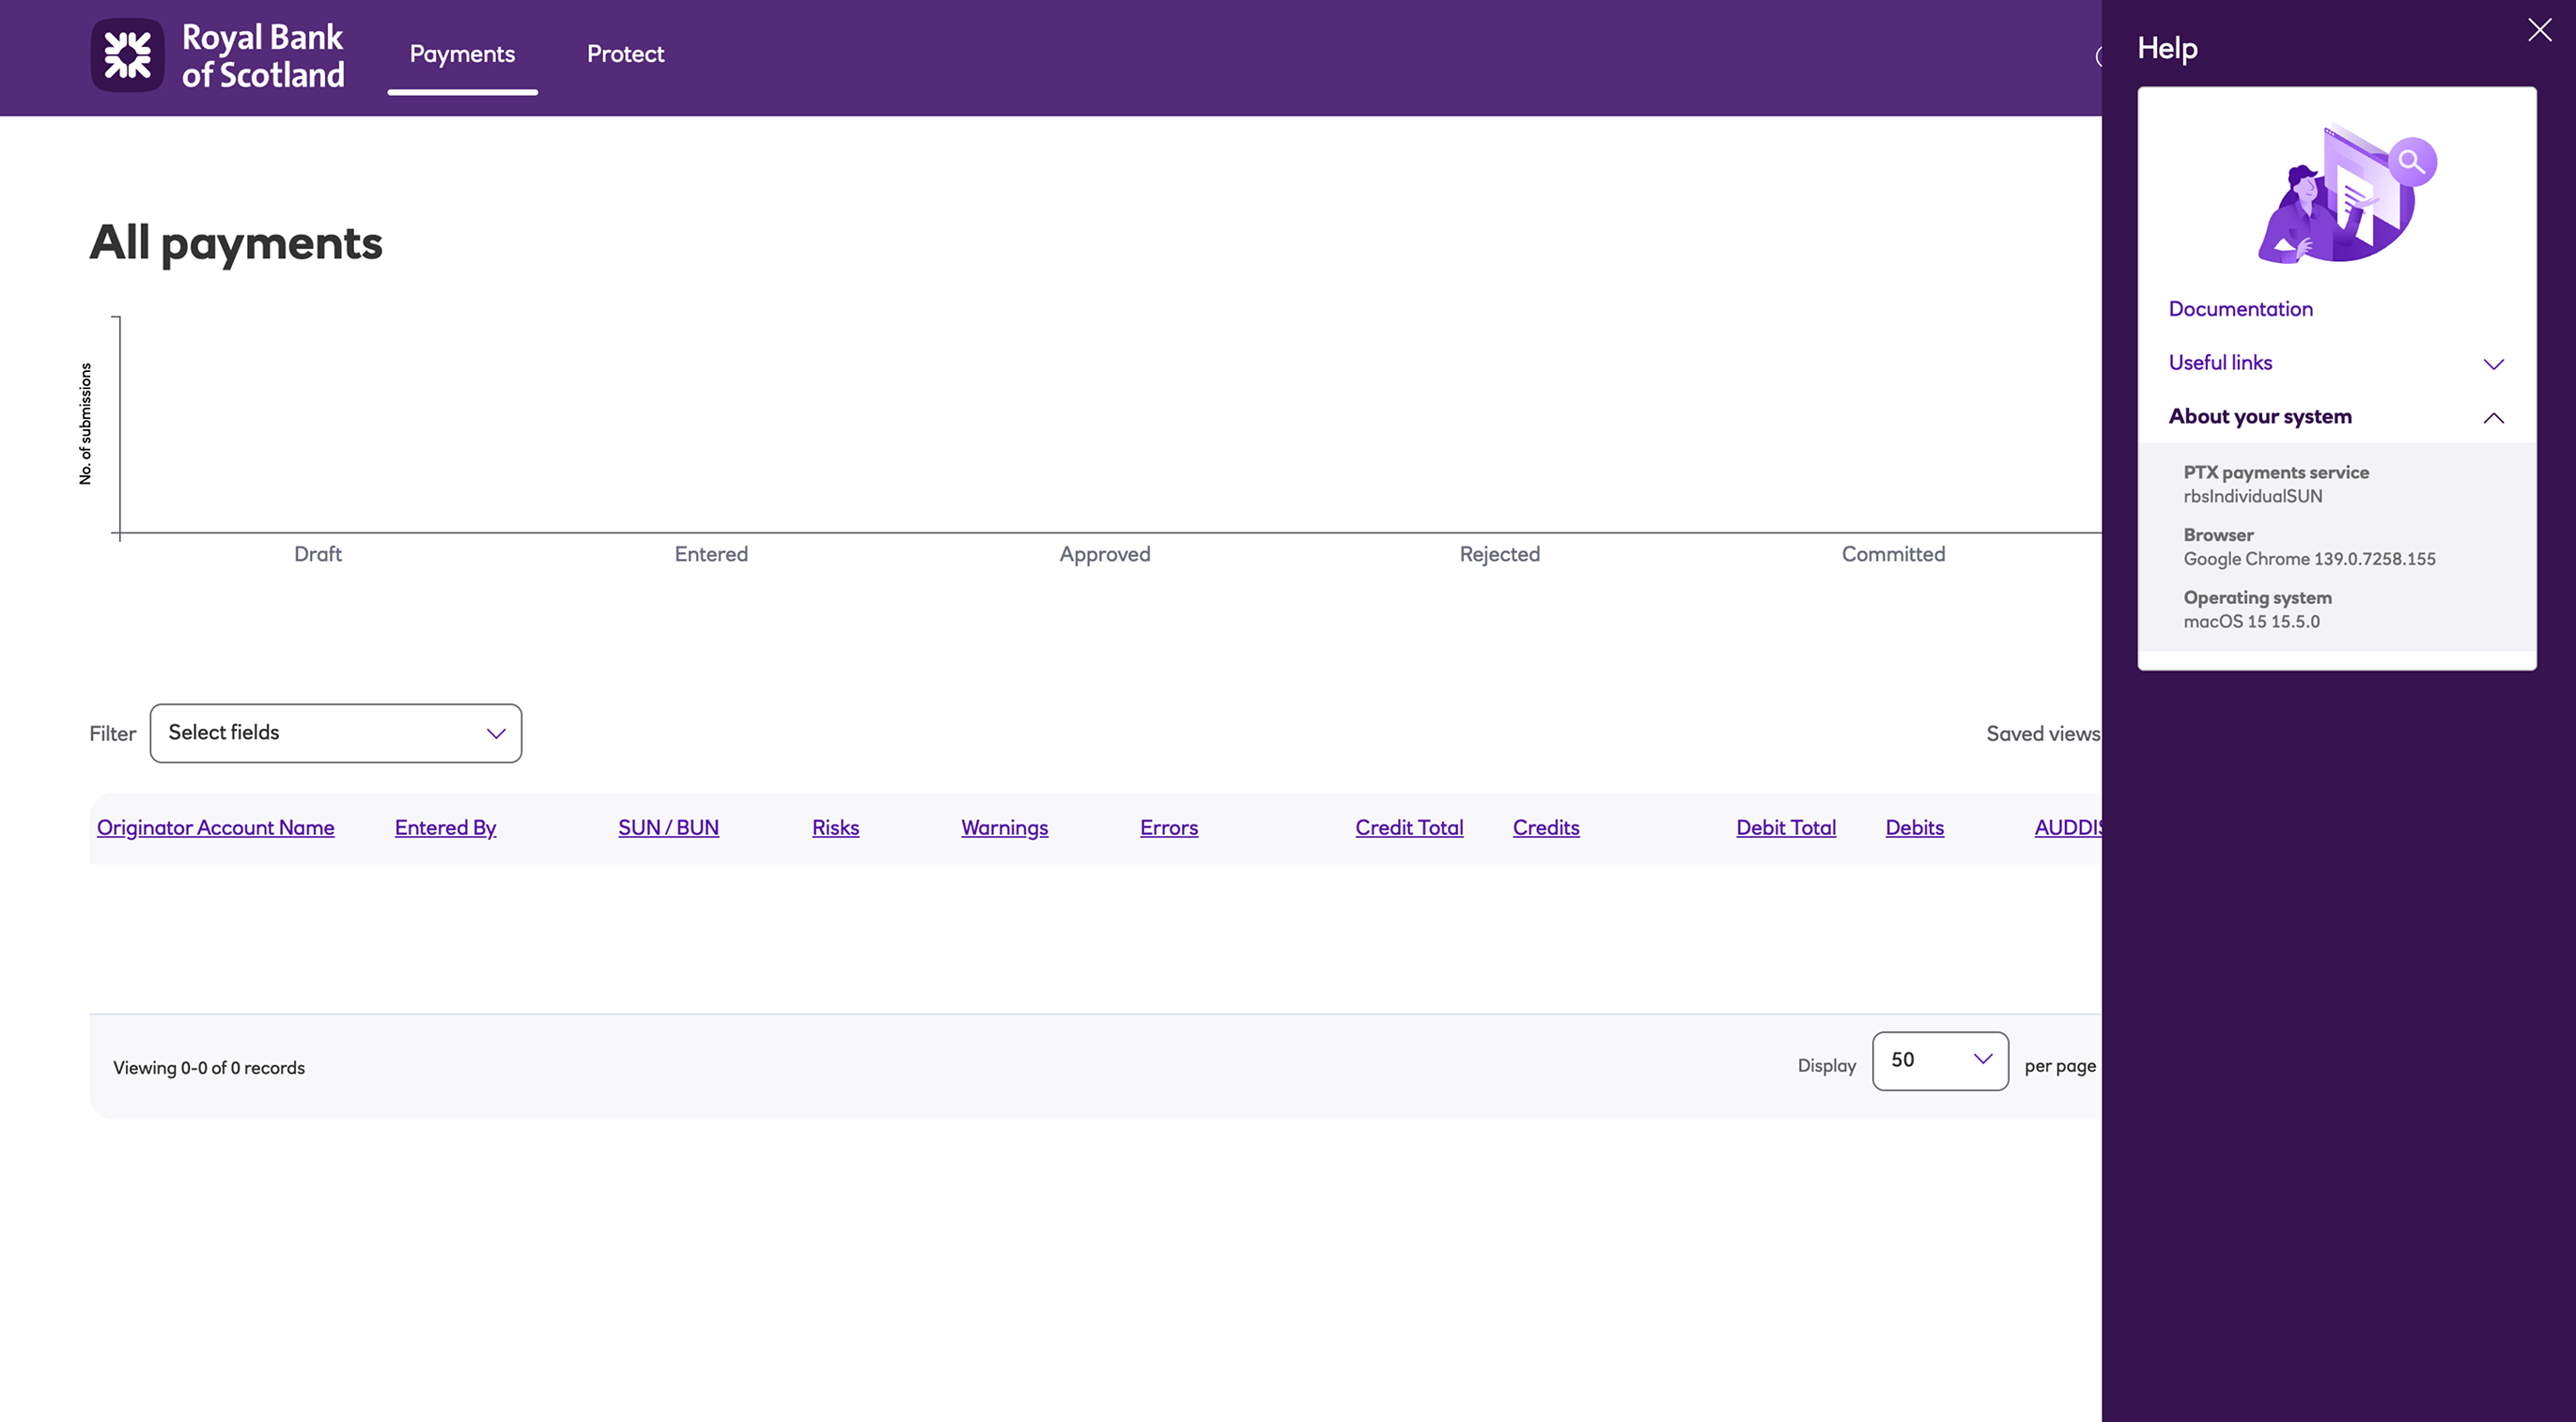
Help panel
To improve customer experience, we have added a new Help panel to the user interface enabling all users to access resources from one centralised place.
The panel contains access to documentation, useful external links, and system information and is accessible from the '?' icon when logged in to Autopay Online Plus.
Updated 8 months ago