
Importing payment templates
When you need to pay beneficiaries, there are a number of ways in which you can create a file that can be sent to Bacs. You’re able to manually type beneficiary information into the system, as well as import beneficiaries from a .csv file.
In this section we’ll describe how to import beneficiaries from a .csv file created using Excel, however, any application that supports .csv files can be used.
Creating the import File
-
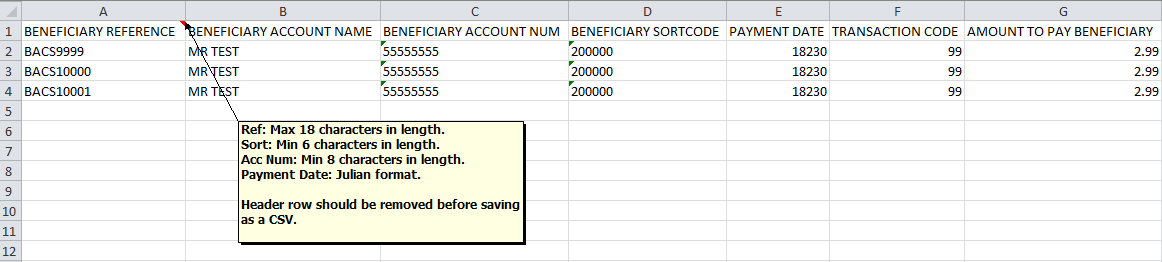
The fields in the spreadsheet must be in the following format:
A - Beneficiary Reference (Max. 18 characters)
B - Beneficiary Account Name (Max. 18 characters)
C - Beneficiary Account Number (8 characters)
D - Beneficiary Sort Code (6 digits, no hyphens)
E - Payment Date – day beneficiary is paid (yyddd)
F - Transaction Code (this will always be 99 for direct credit payments)
G - Amount to pay BeneficiaryThe payment date or crediting day date is in the ‘Julian Date’ format, the first two numbers are the year and this is followed by the day of the year. For example, to pay someone on the 1st Feb 18, you would use the format ‘18032’ as it is the 18th Year and the 32nd day of the 18th year.
The Bacs processing calendar details the Julian dates and can be accessed from https://www.bacs.co.uk/Pages/Home.aspx.
All text must be in capital letters.
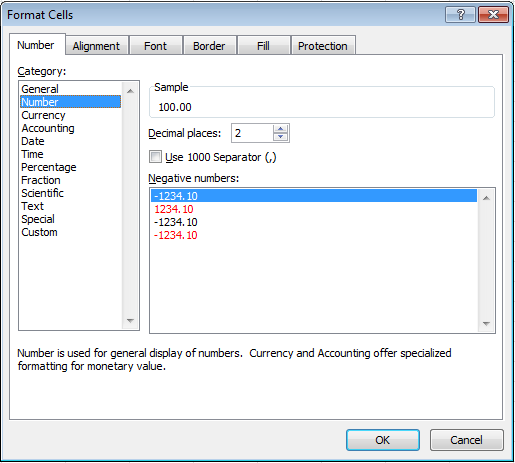
- Amounts must be formatted to have two decimal places in order to import correctly.
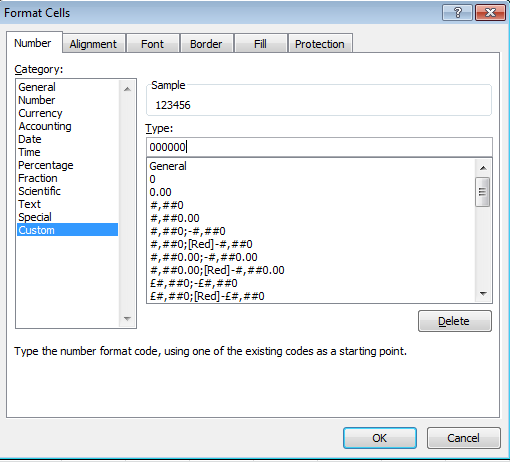
- With sort code and account numbers that have leading zeros, Microsoft Excel will try to remove
these unless the cell is formatted as Custom.
• The example shows what you need to enter in the sort code cell. For account numbers enter eight ‘0’s.
-
Remember to remove any column headings in your spreadsheet before converting it to a .csv format.
-
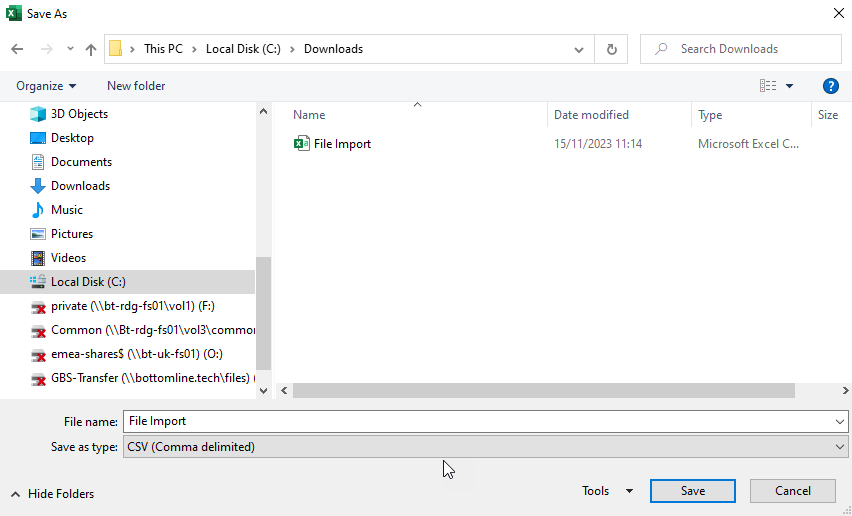
Save the import file as a .csv, ready to import into the system.
-
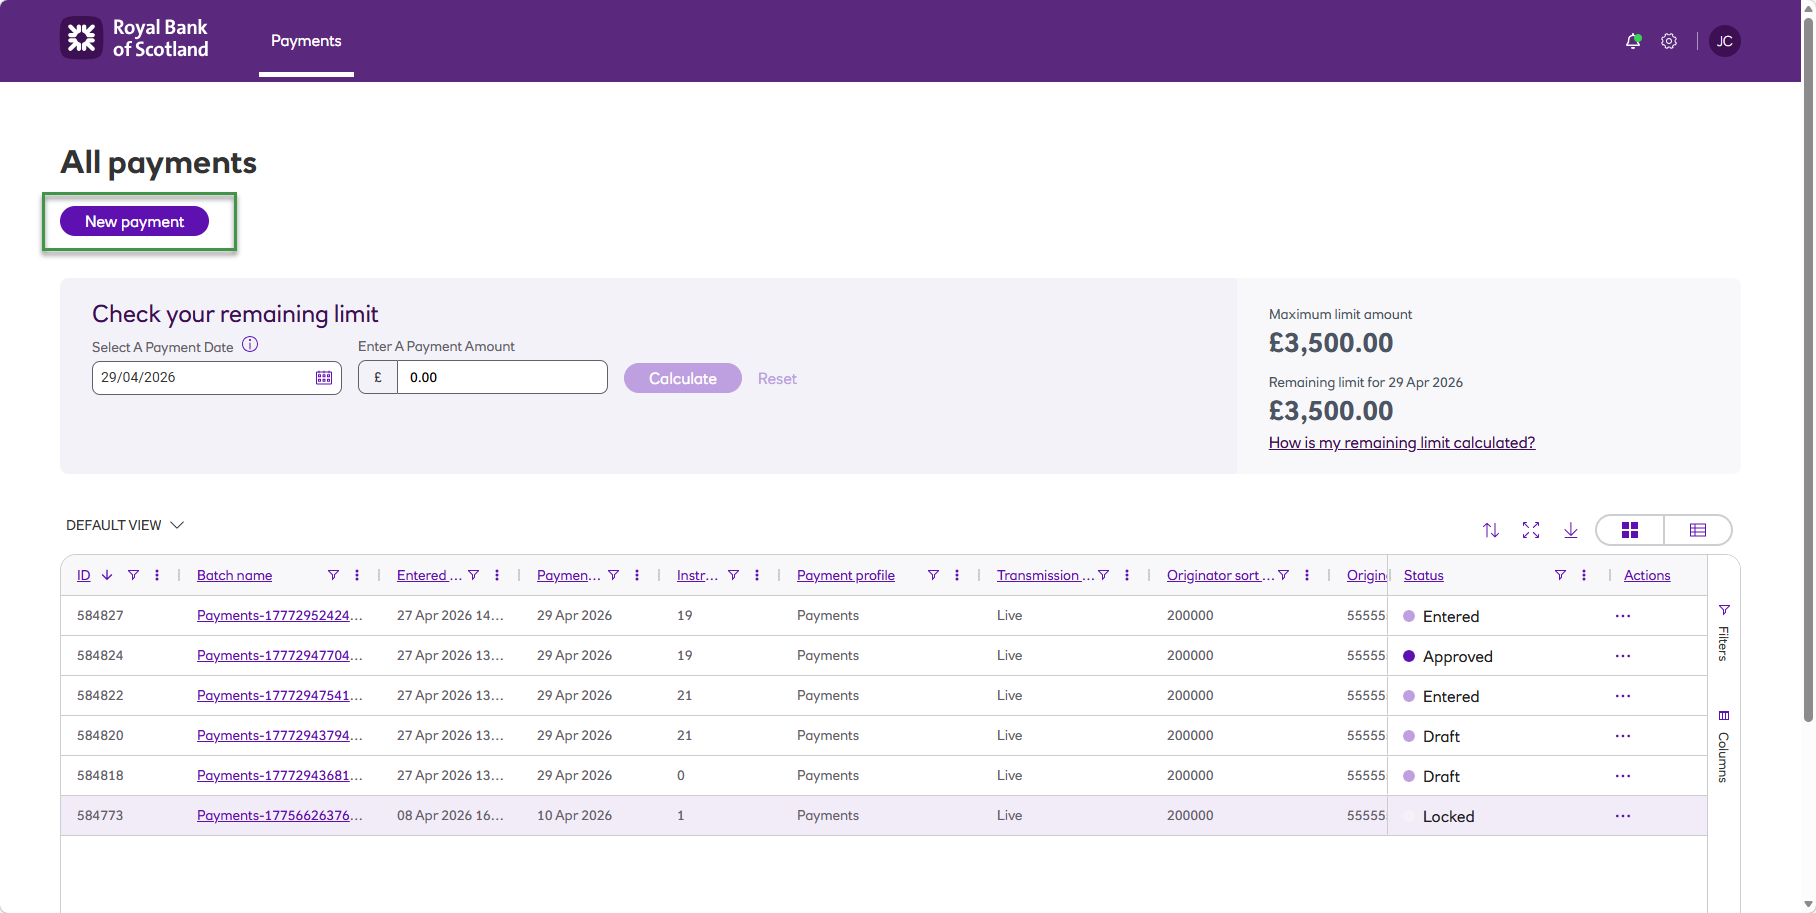
In Autopay Online, click New payment from the All payments screen or navigate to the Payments tab in the main menu and click New payment.
-
You’ll be taken to the New payment screen.
-
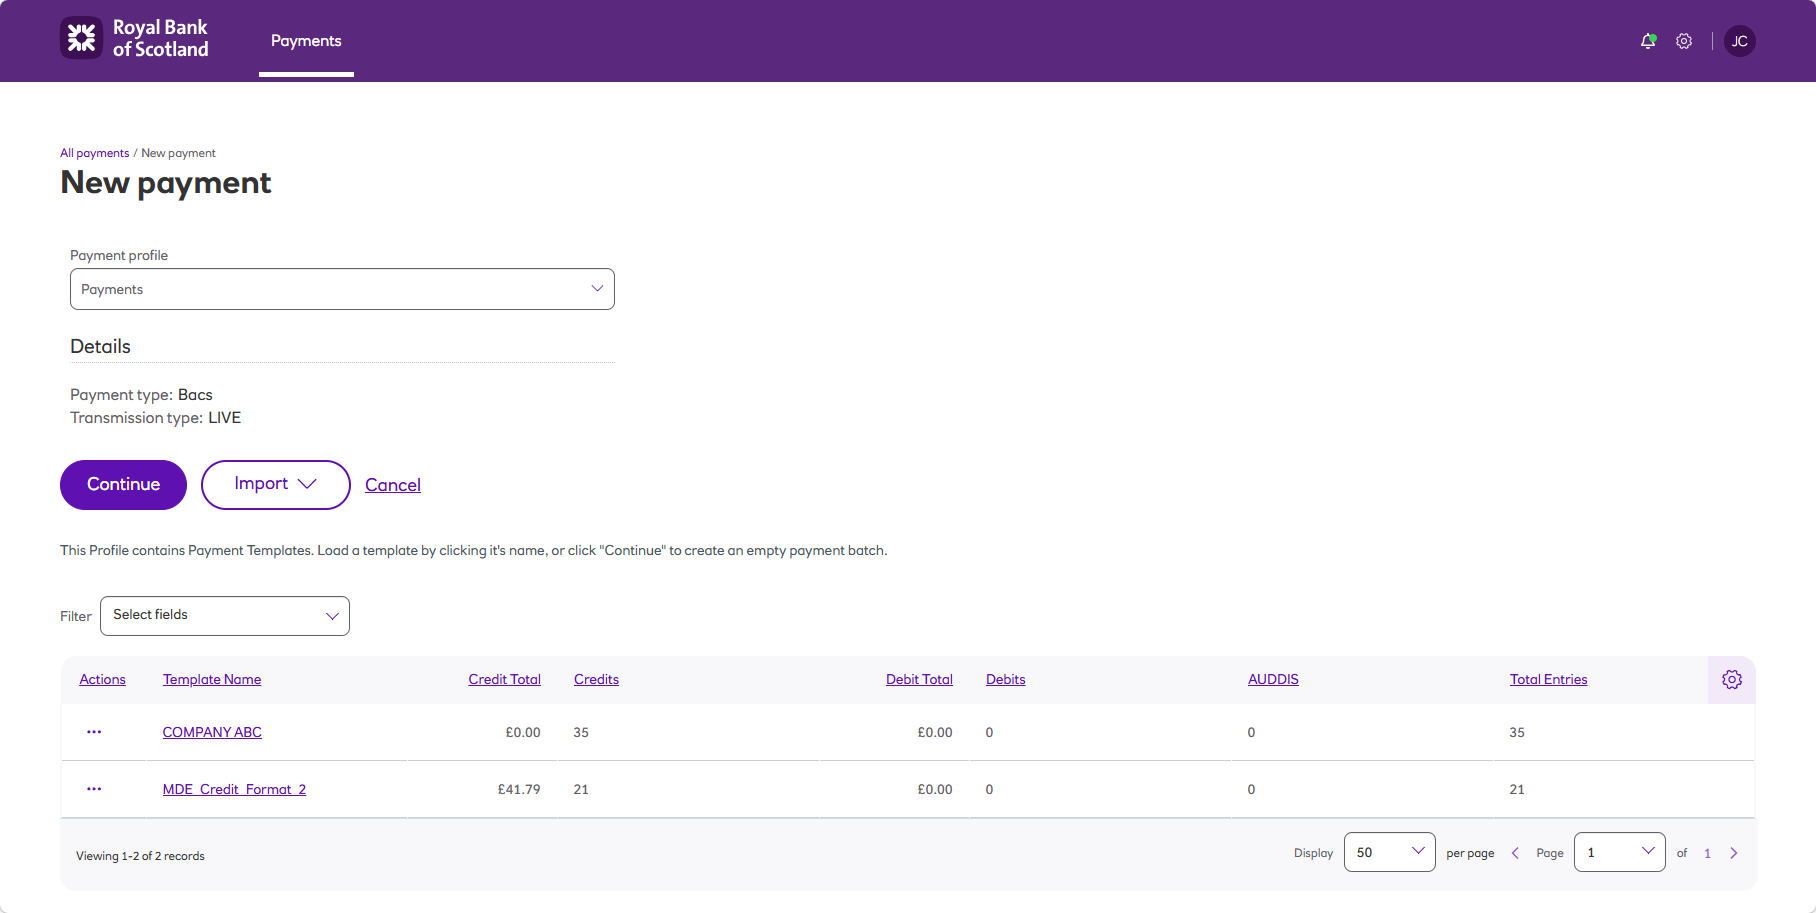
Select the Payment profile you want to use to import the file of beneficiaries you’ve just created. Payment profiles allow you to set up different payment templates and set different controls around them.
-
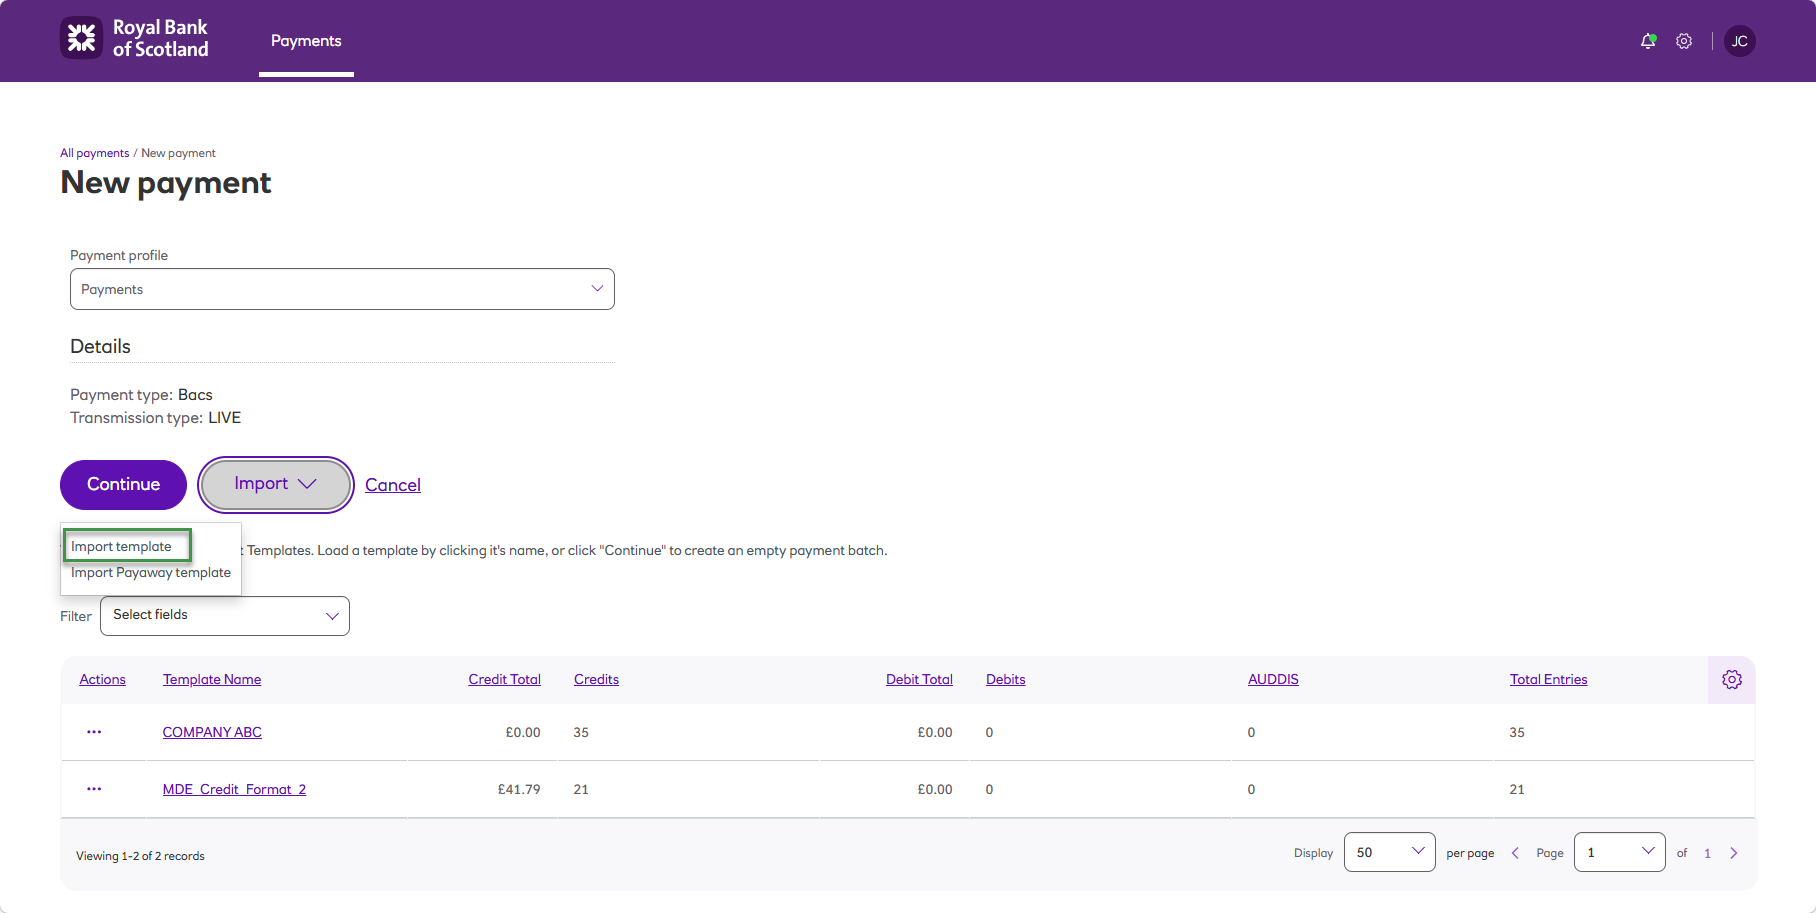
Once selected, click Import template and browse to the .csv import file of beneficiaries and click Open.
-
You’ll then see a message onscreen “Template has been successfully uploaded” and your imported file of beneficiaries will be in the template list further down the screen.
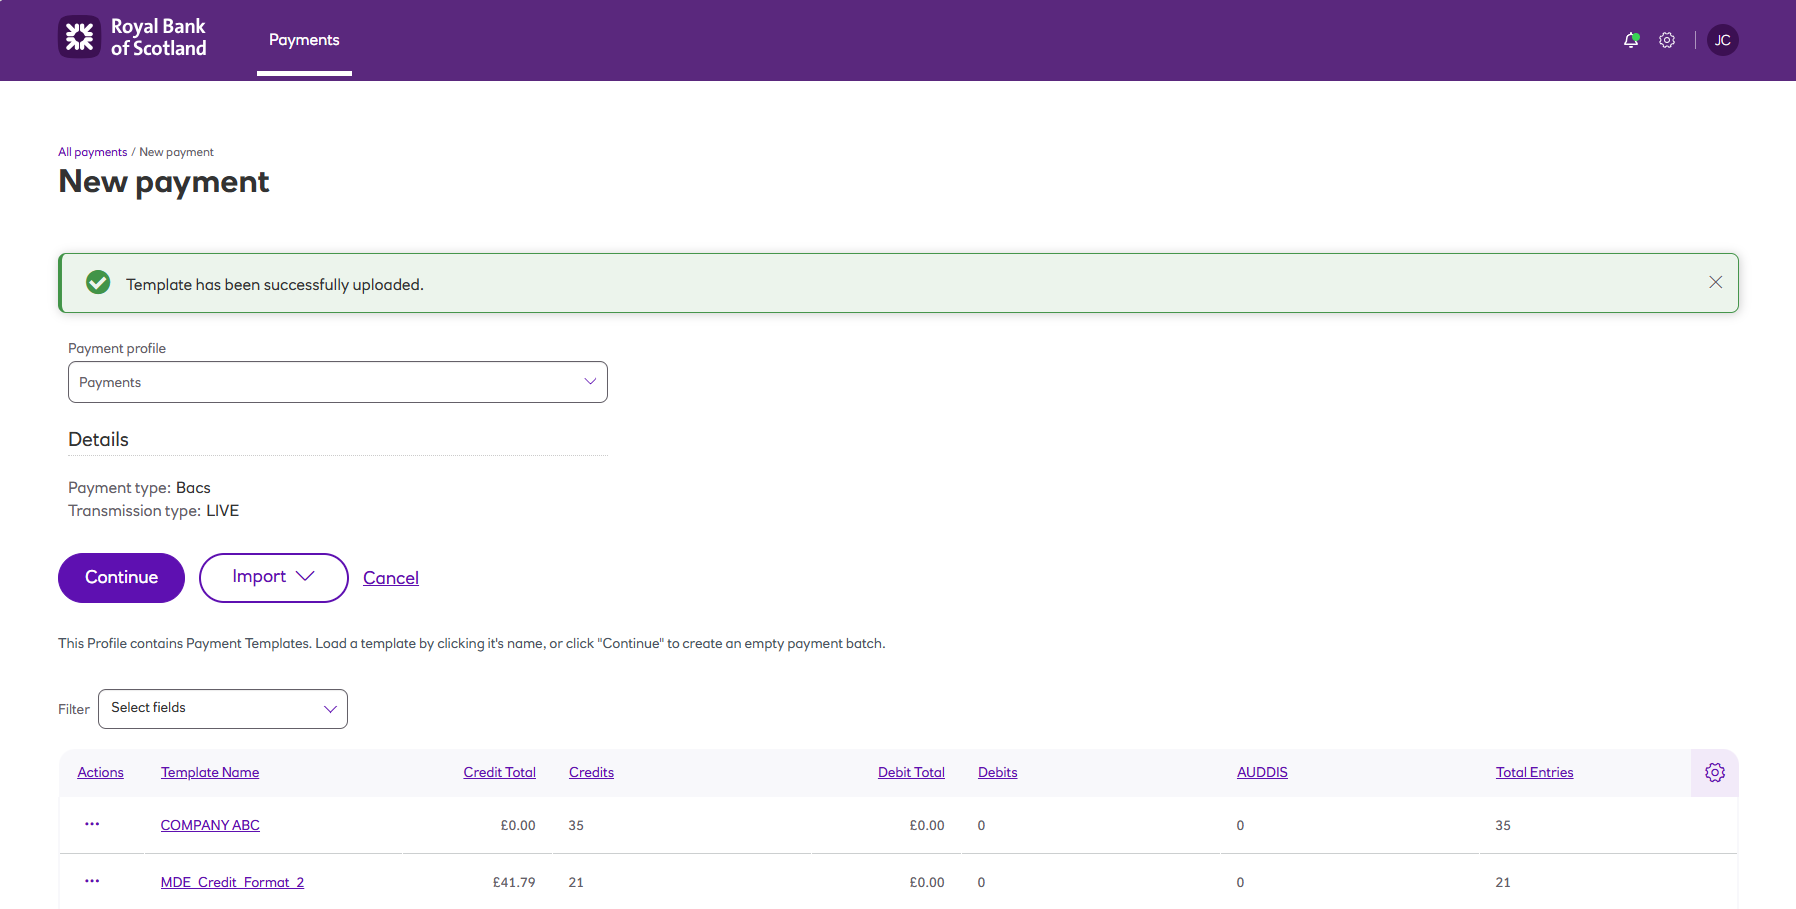
If you have trouble importing the .csv file, contact our Support Team for assistance.
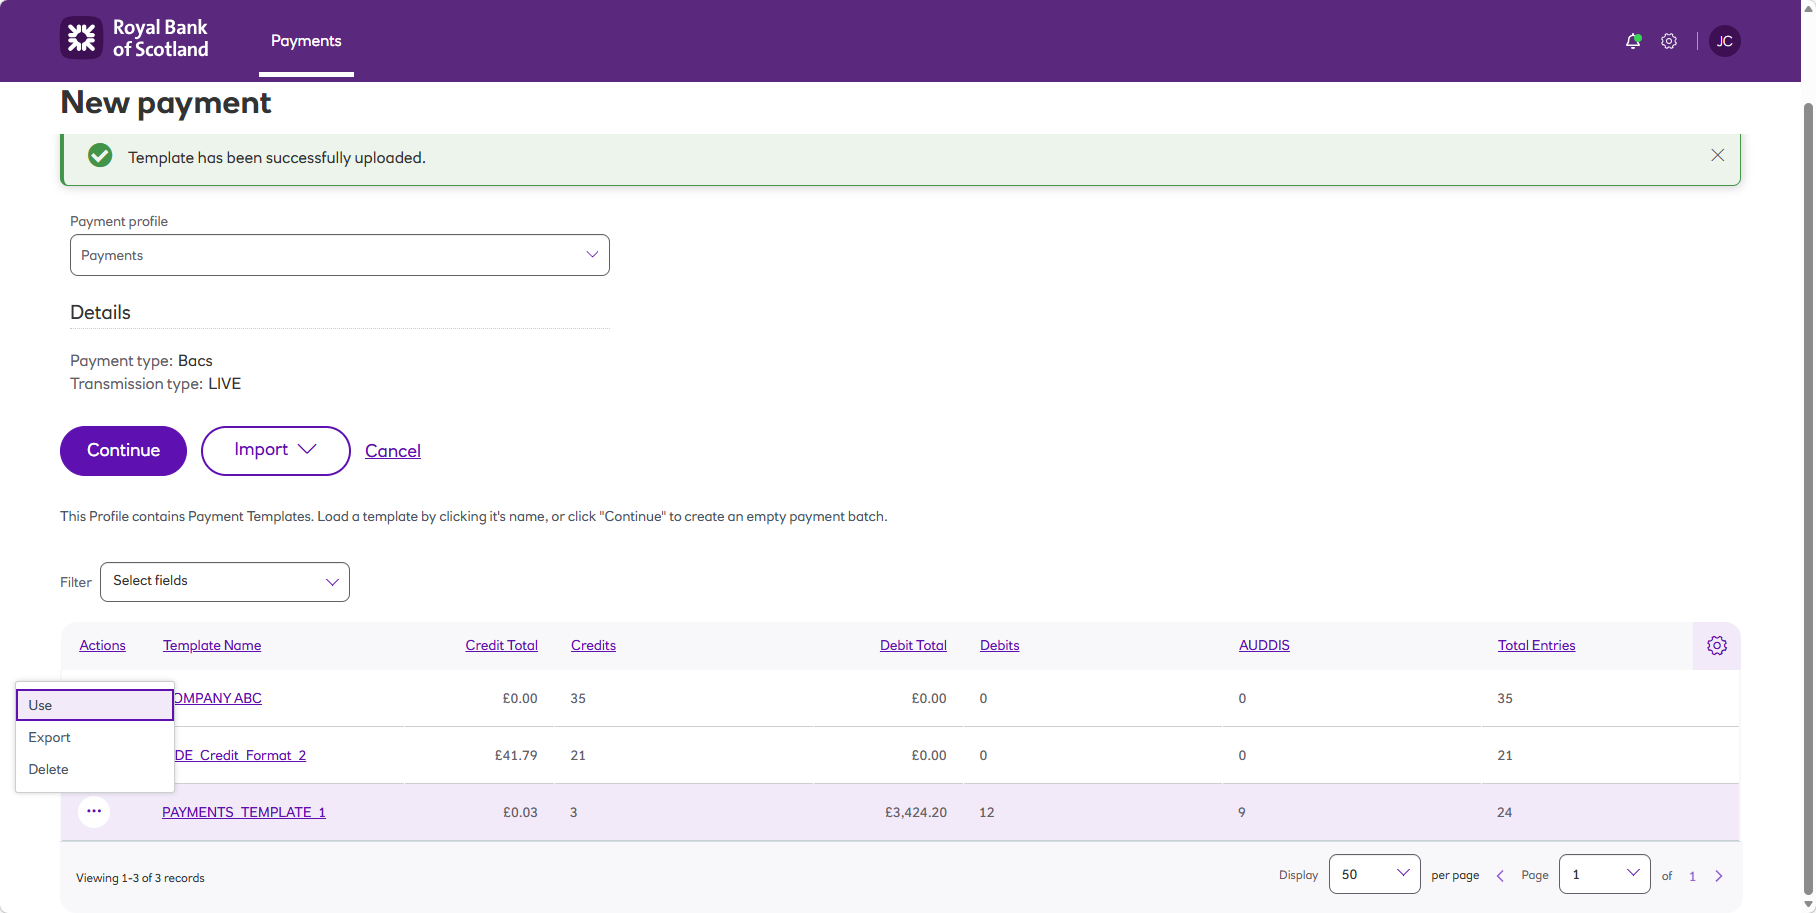
- The imported payment file will be held in the system as a template and can be used for future
payment submissions without the need to re-import the file.
-
Click Use from the action overflow menu [...] next to the name of the file that you’ve imported.
-
You’ll now be in the Draft screen where you can make any amendments to the beneficiary payments imported, including adding, deleting and editing beneficiaries, payment date(s) and amounts, before committing the payment file.
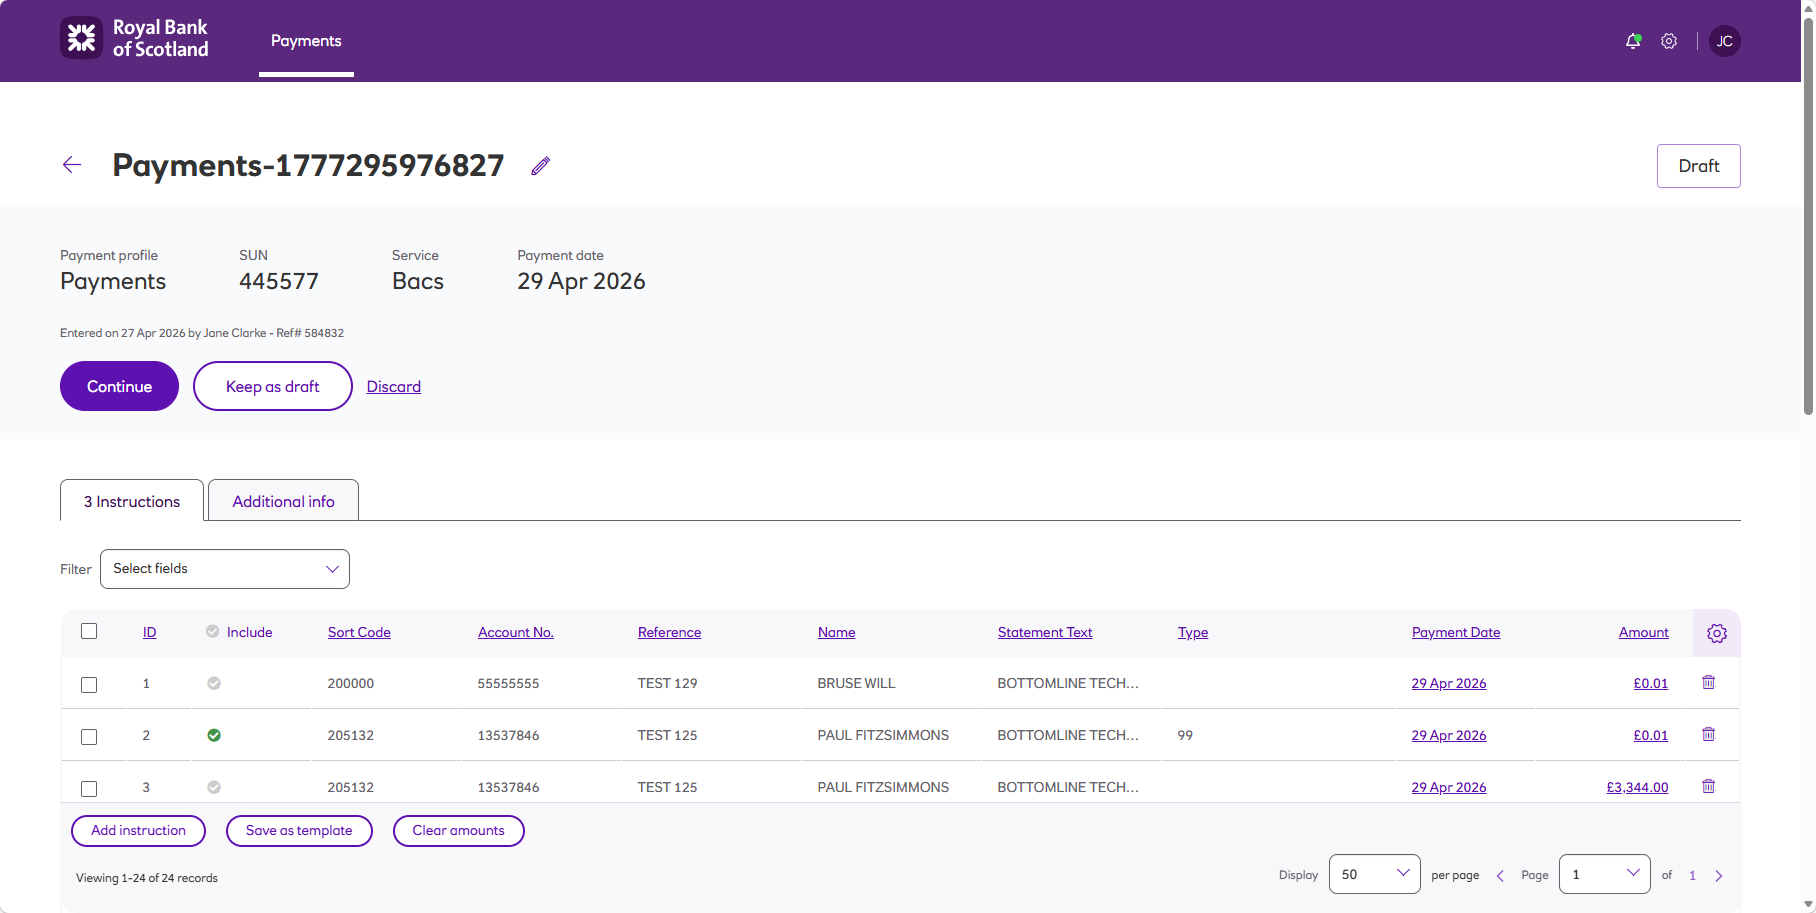
-
Your payment file will need to have a status of Committed before 4.45PM to be submitted the same day (day one of the Bacs cycle).
You can confirm the status by reviewing the text in the top right hand corner of the screen, which will read Committed (once you’ve committed the file).
Updated 2 months ago