
Getting started
This section details the steps for setting up your Autopay Online Plus account and start using the solution.
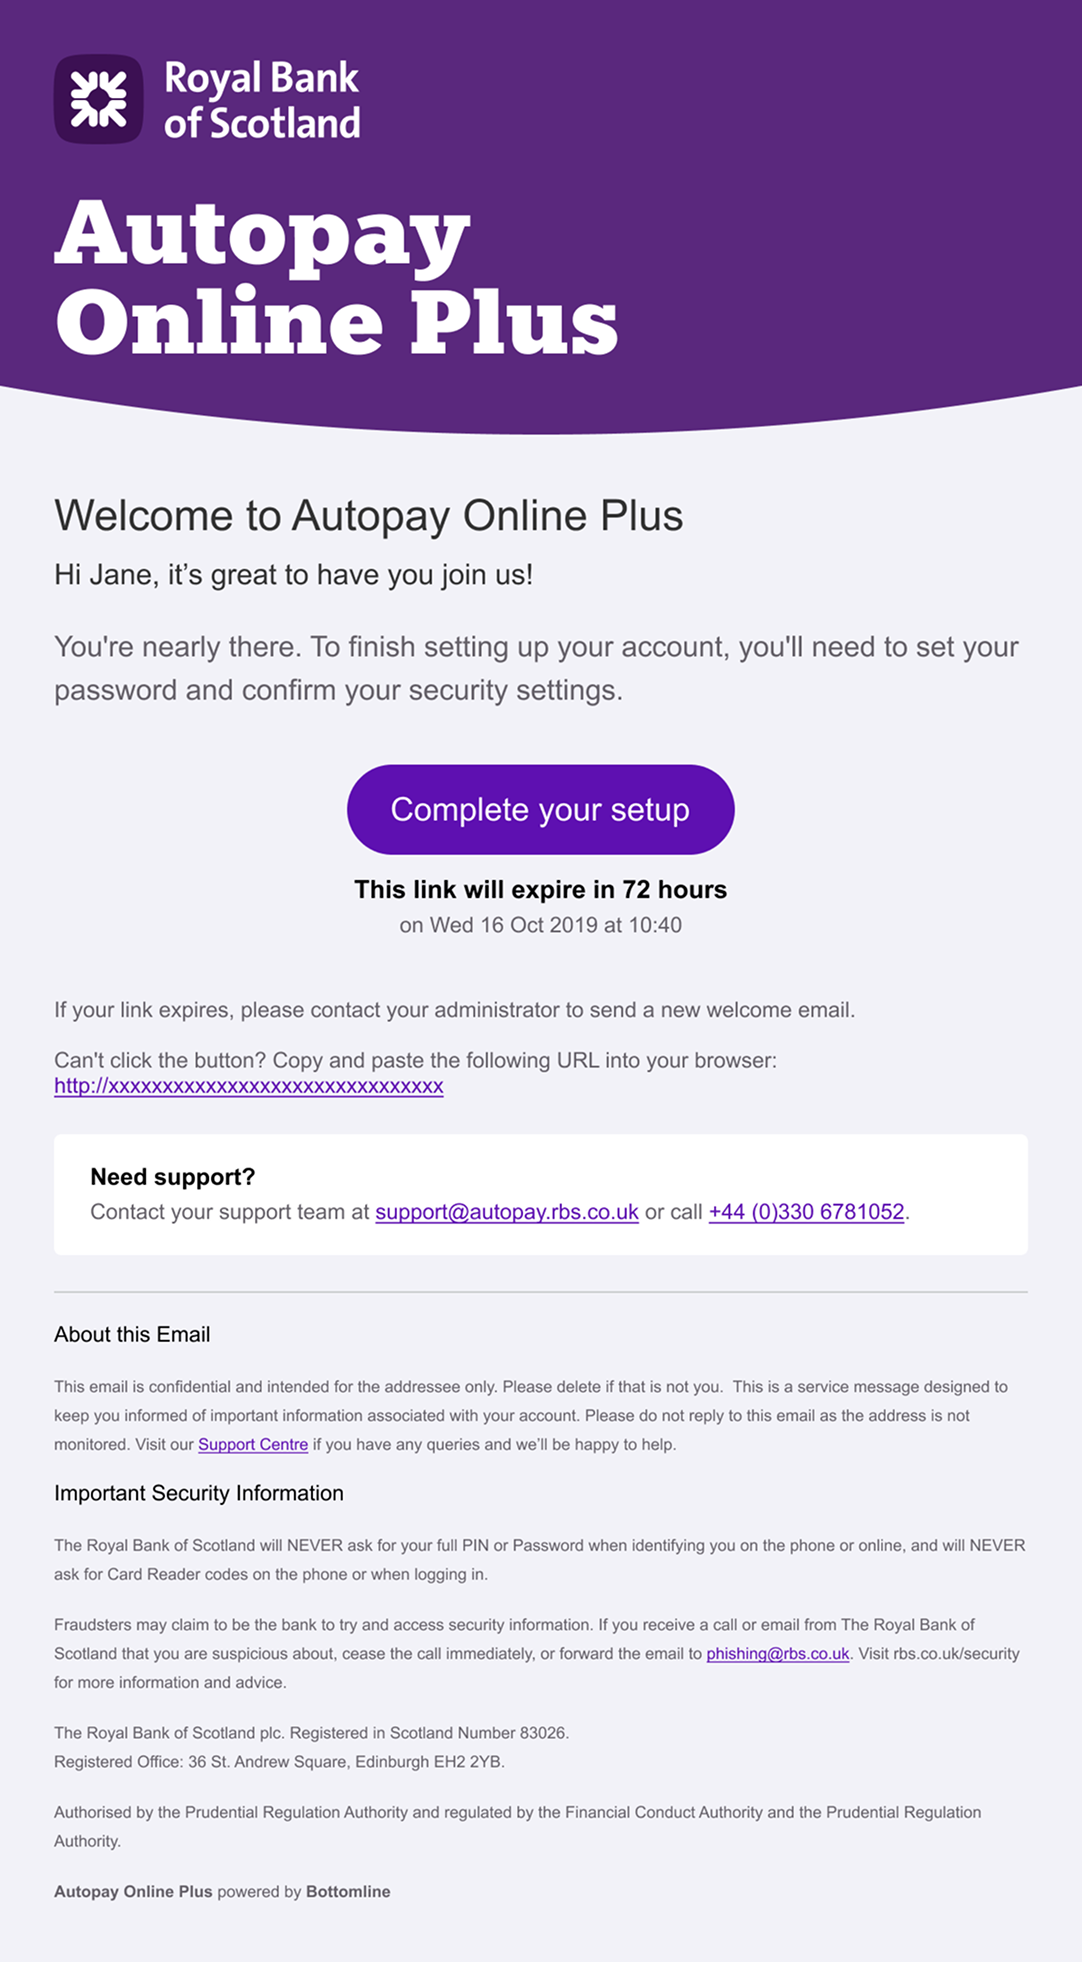
- You will receive a welcome email which includes a link to complete your setup.
- Set up Multi-Factor Authentication. Your administrator will have set you up to create your account using either mobile app or key fob MFA. If you are unsure which one, check with your administrator.
MFA overview
Multi-Factor Authentication (MFA) is a security feature that requires more than one piece of evidence to authenticate you, decreasing the likelihood of your account being compromised. It provides a one-time code when logging into and making payments in Autopay Online Plus, alongside your username and password.
See the sections mobile app or key fob below for setting up MFA.
Mobile app
-
Click the Complete your setup link in the email and you will be navigated to the MFA screen. If you’re having trouble clicking this button, you can copy and paste the URL in the body of the email directly into your web browser.
-
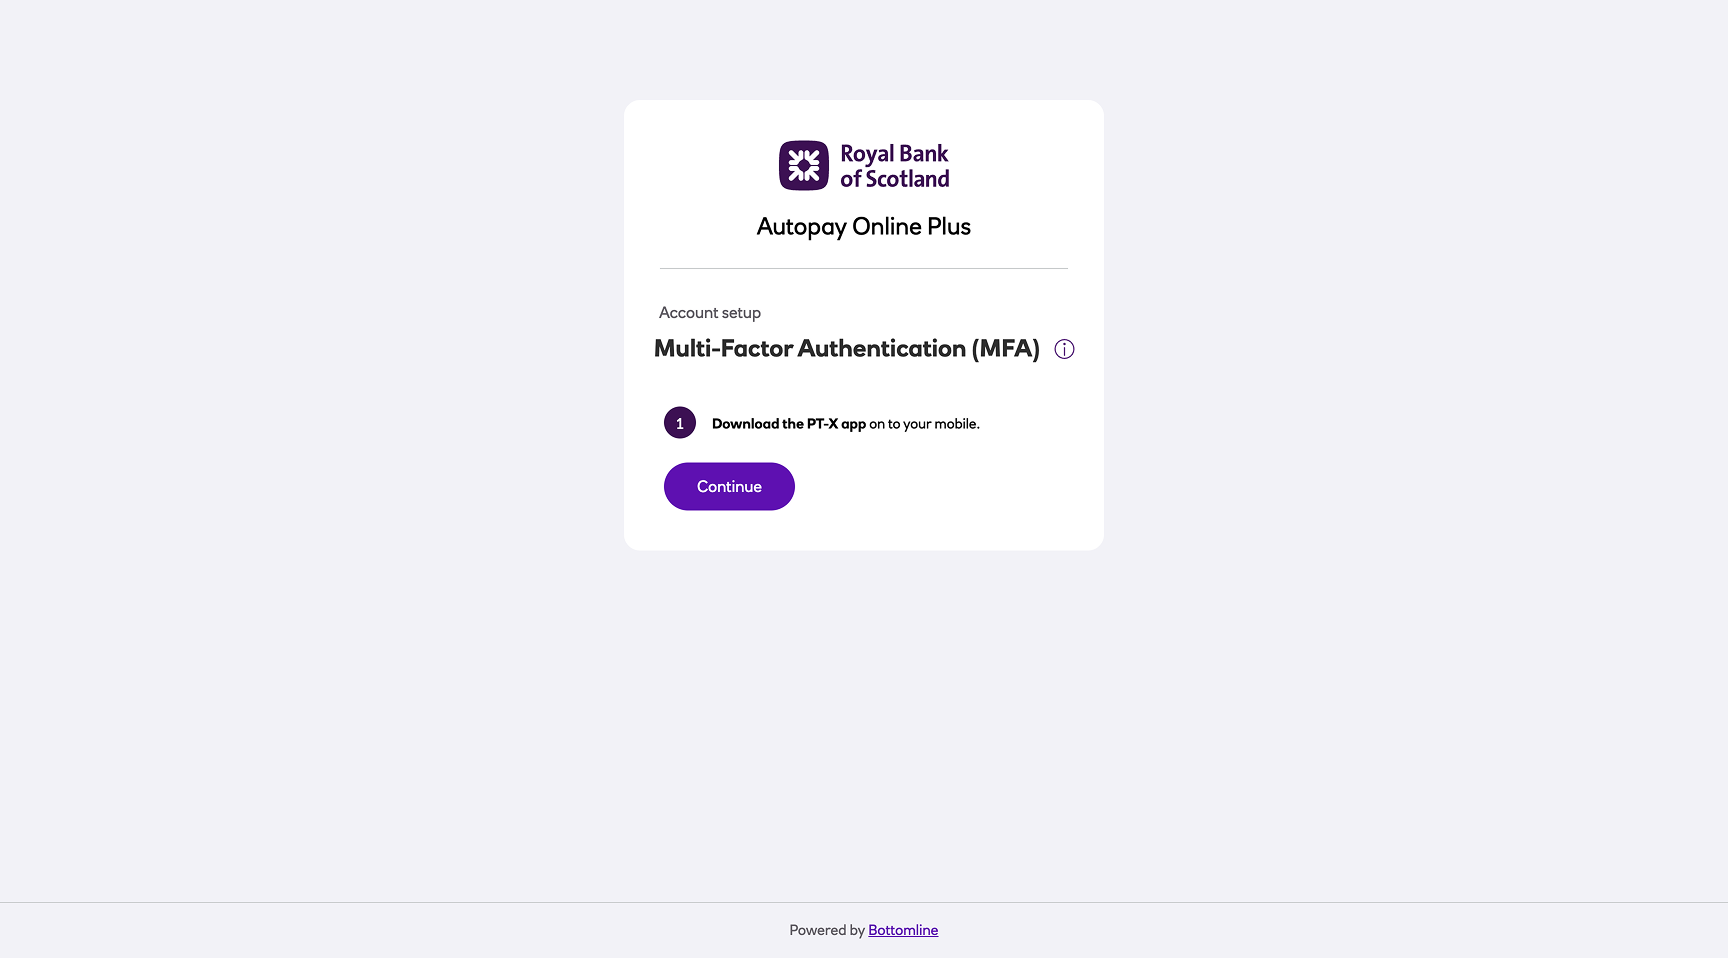
Download the Bottomline PTX Auth app. If you are having trouble locating the app, see the section Where the mobile app can be found.
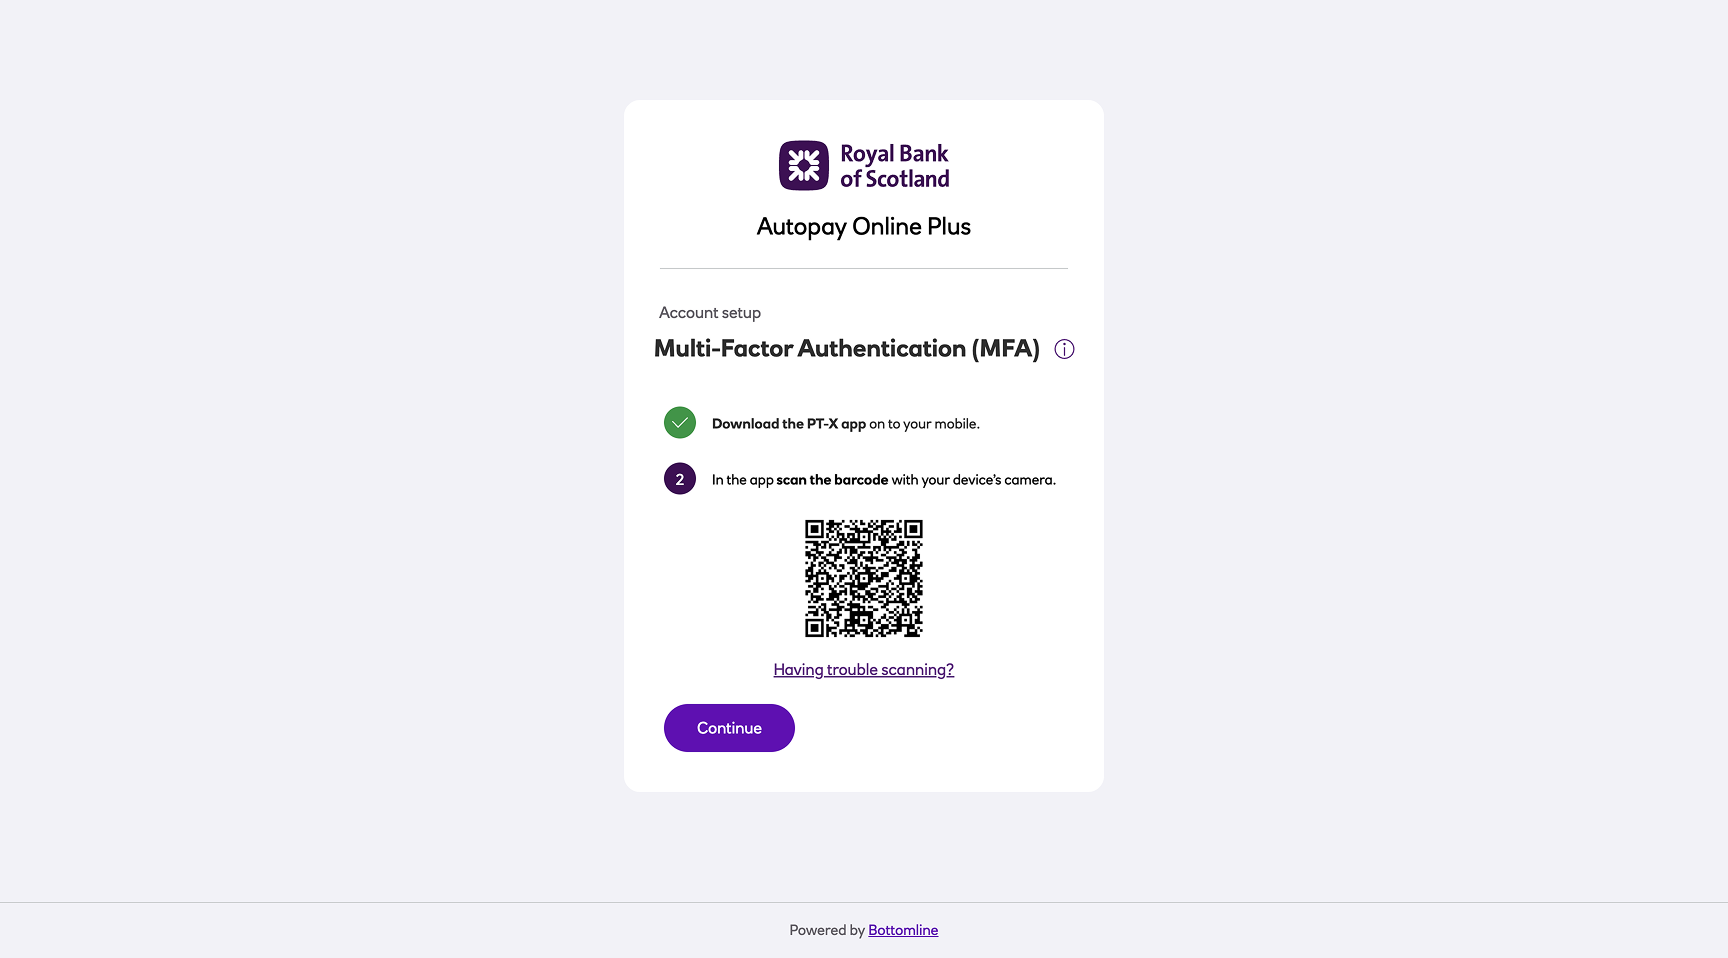
- Scan the barcode with your device's camera.
Note: If you are unable to scan the barcode you can use the Having trouble scanning link.
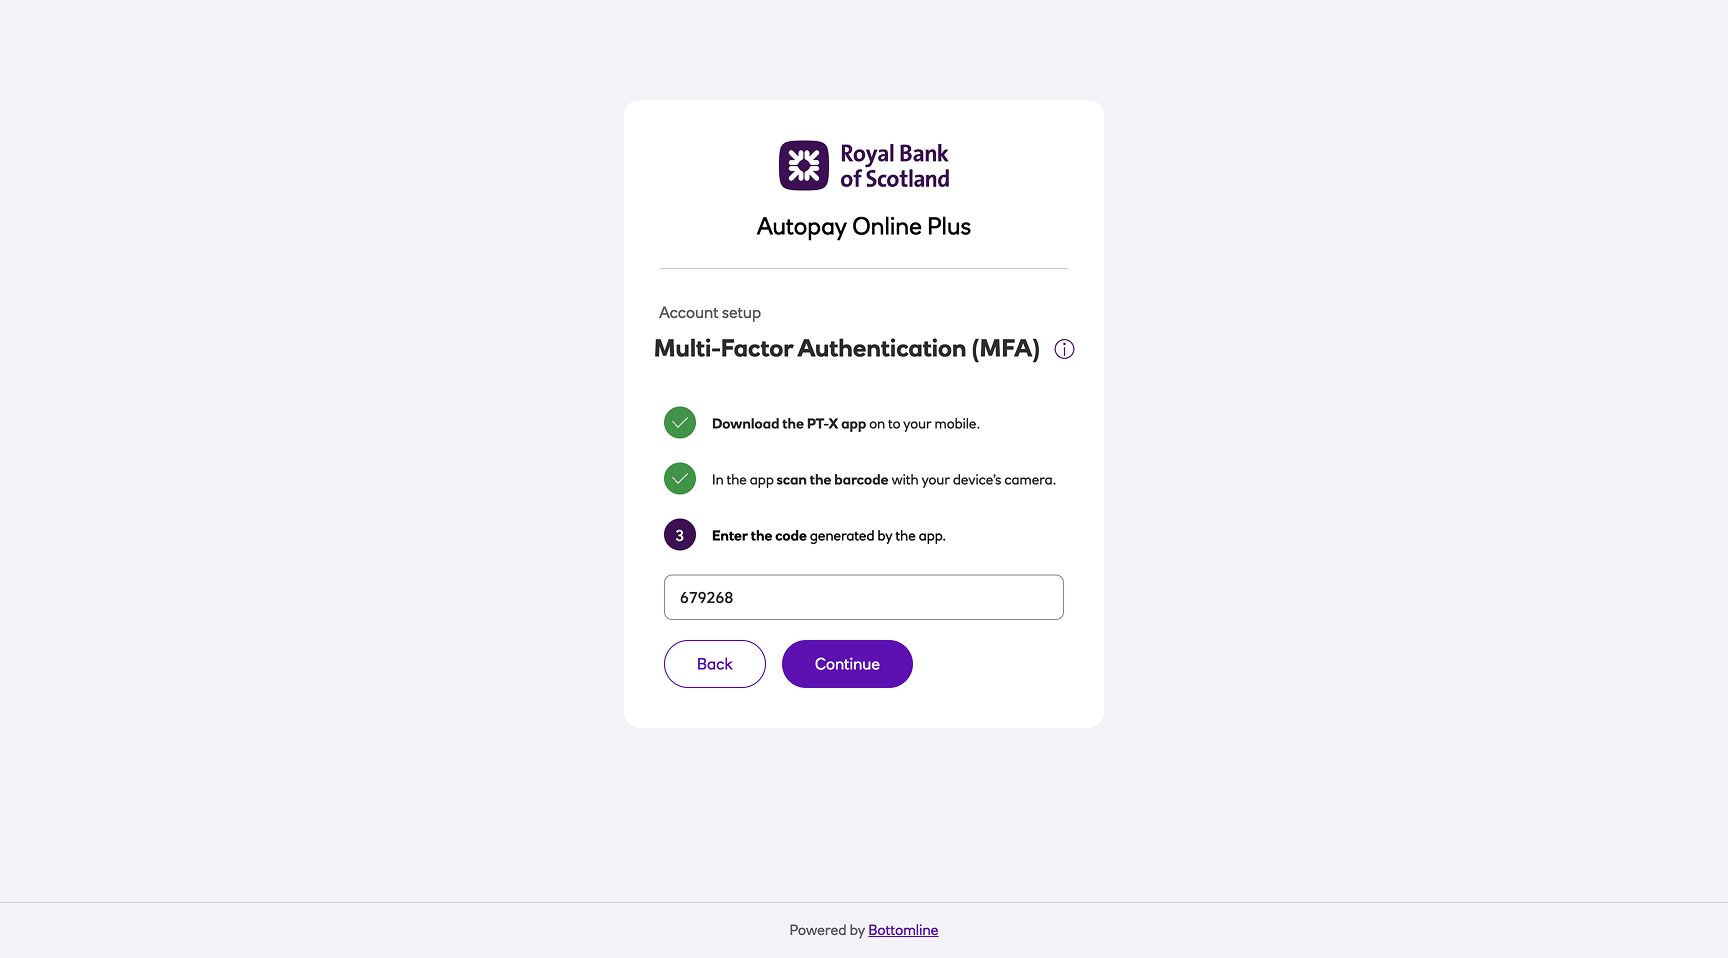
- Enter the code that is generated by the Bottomline PTX Auth app.
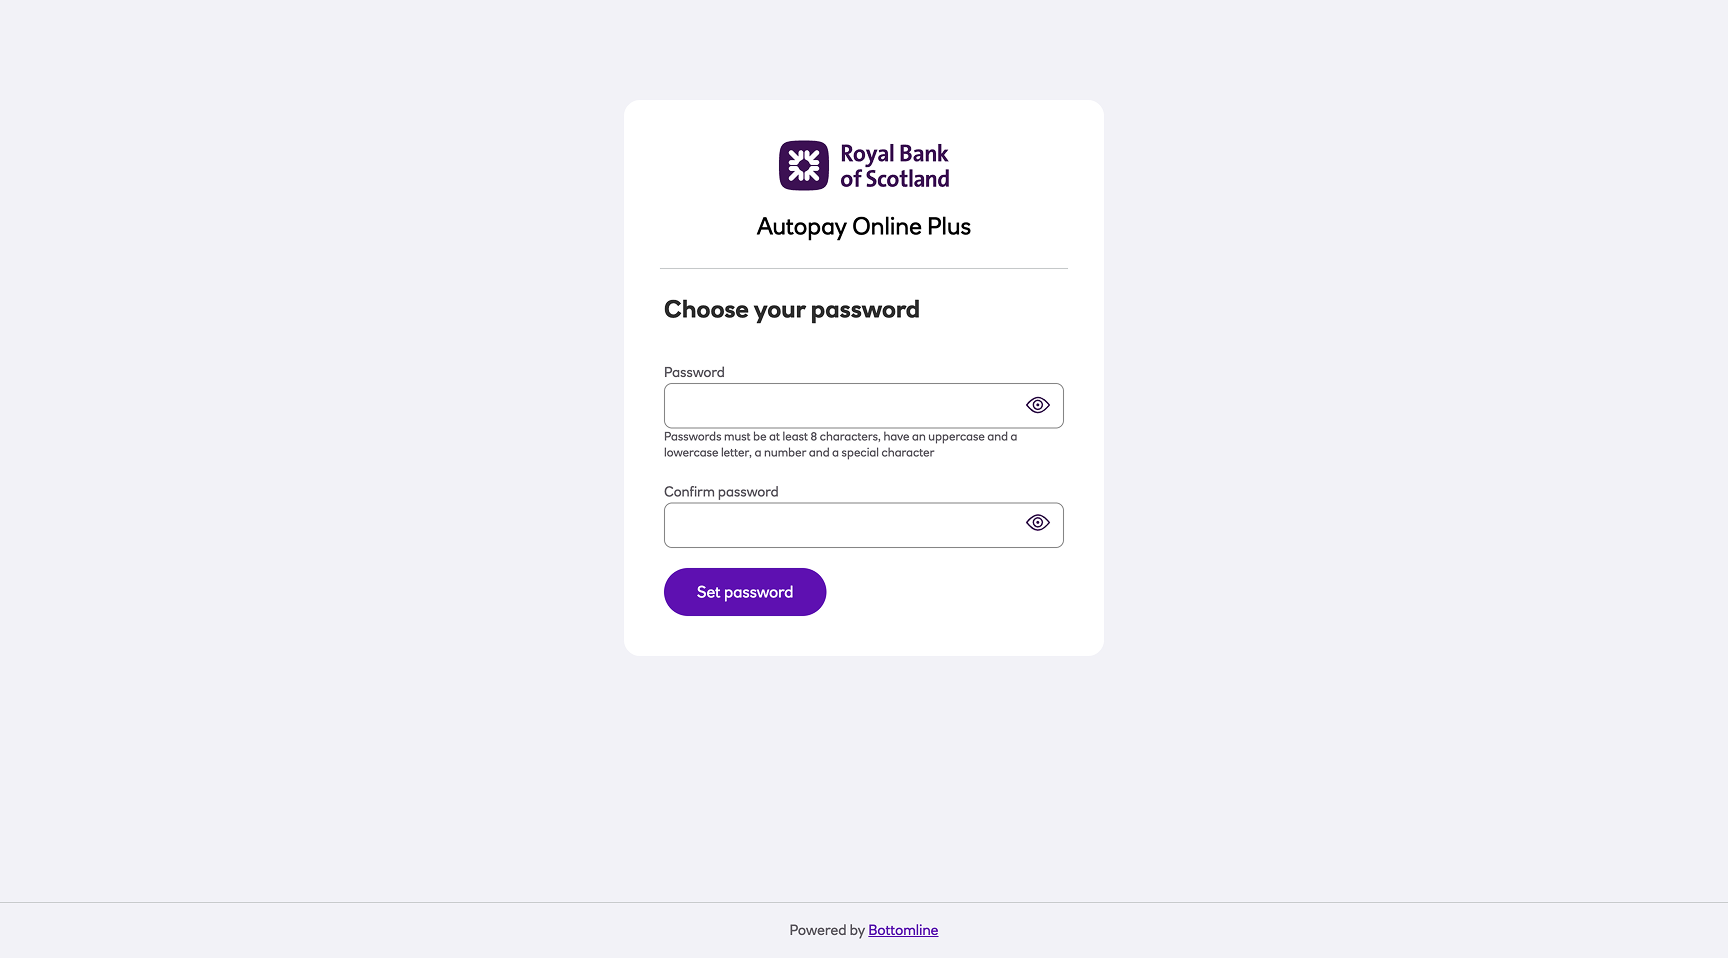
- Choose your password, and then click Set password. See Passwords for the rules when setting a password.
- Once your setup is complete the following screen will be displayed.
Now that your activation is complete, every time you log into the system you’ll first be prompted to enter your email address and password. You’ll then be asked to enter a verification code. Use the mobile MFA app to generate this code.
Where the mobile MFA app can be found
Your MFA mobile app provides a one-time code when logging into and making payments in Autopay Online Plus, alongside your username and password.
You will first need to download the Bottomline PTX Auth app on your phone.
- On your mobile device navigate to the Google Play Store (If using an android phone) or iOS Store (if using an Apple iPhone).
If you are having issues finding the app refer to:
- Android - https://play.google.com/store/apps/details?id=com.bottomline.ptxapp
- Iphone - https://itunes.apple.com/us/app/pt-x/id1041981602?mt=8&ign-mpt=uo%3D4
-
Search the store for PTX Bottomline
-
The app should come up in your list as Bottomline PTX Auth.
-
The logo will appear as follows:

-
Select the app and click install.
-
Once installed you can open the app by clicking open or by navigating through your phone menu.
Key fob
Notes
You will need your MFA key fob handy to complete these steps.
You cannot share key fobs between users.
-
Click on the Complete your setup link in the email and you will be navigated to the MFA screen. If you’re having trouble clicking this button, you can copy and paste the URL in the body of the email directly into your web browser.
-
Enter the thirteen digit serial code on the back of your MFA key fob.
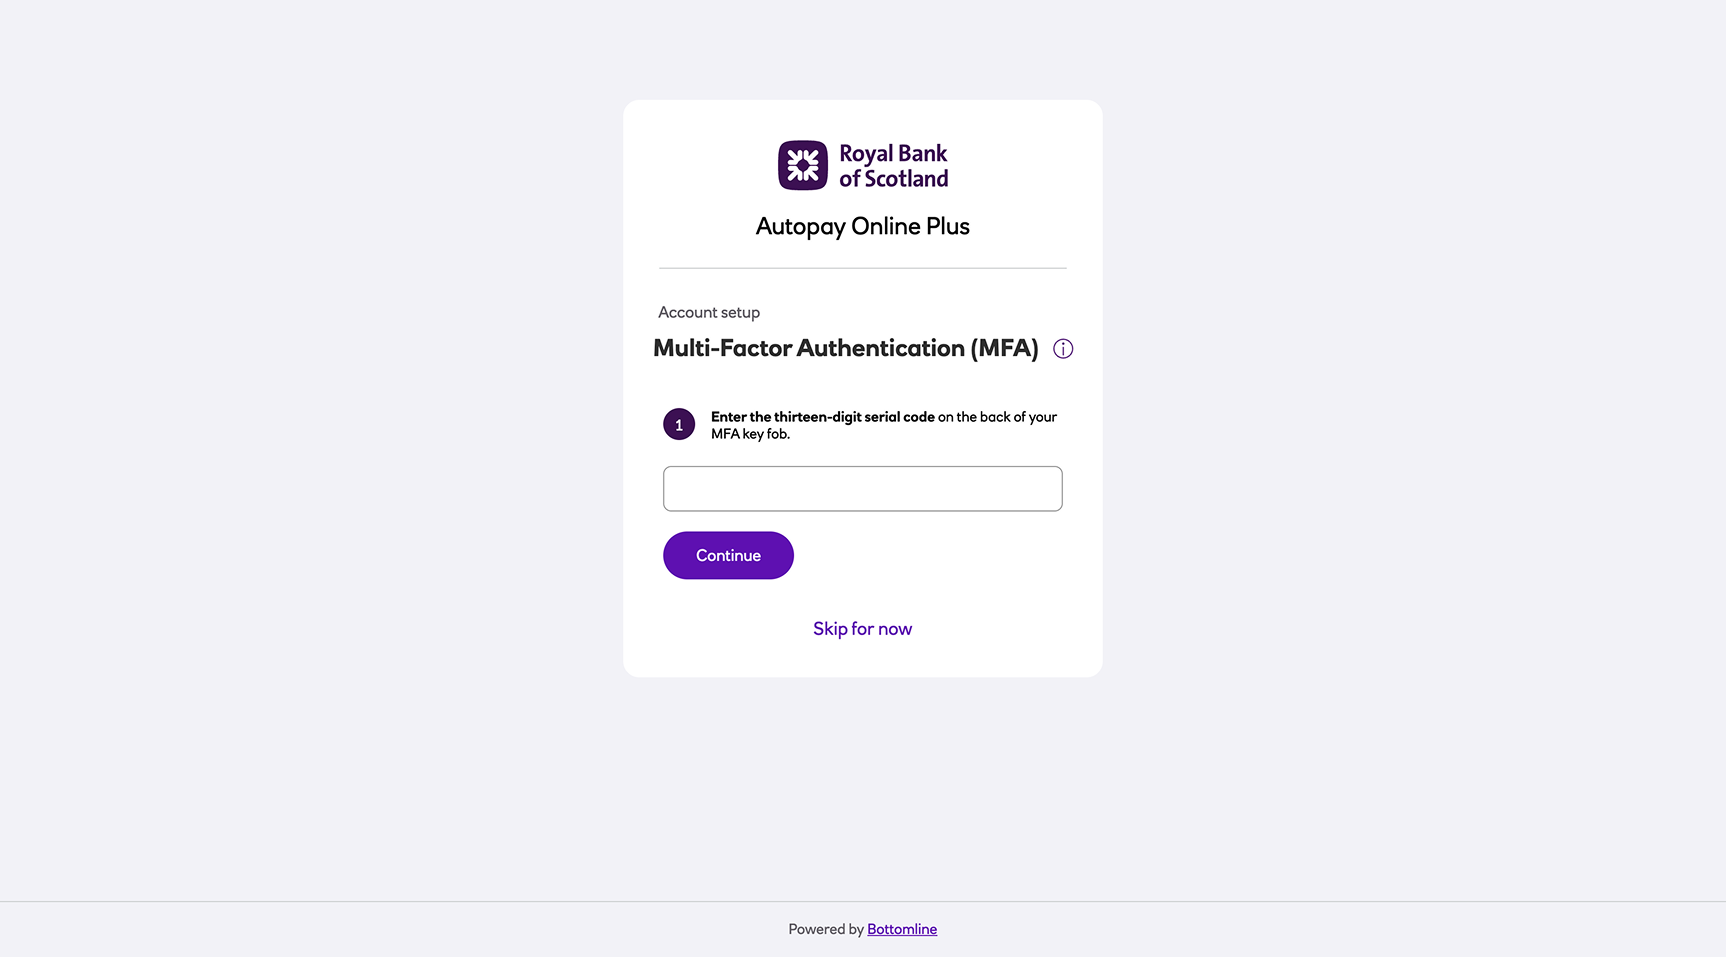
- If you are waiting to receive your key fob you can perform the MFA steps later by clicking Skip for now, you will then move to step 4. Then, the next time you log in you will be prompted to set it up.
- You have 10 days to complete your key fob (hardware) setup.
- Within the 10 day period, each time a user logs in they will see the expiry date.
- When the 10 day limit has been reached, you will no longer be able to log in and you will be advised that you must set up your key fob or contact your administrator to switch to software MFA.
- Press the button on the front of the device and enter the six-digit code.
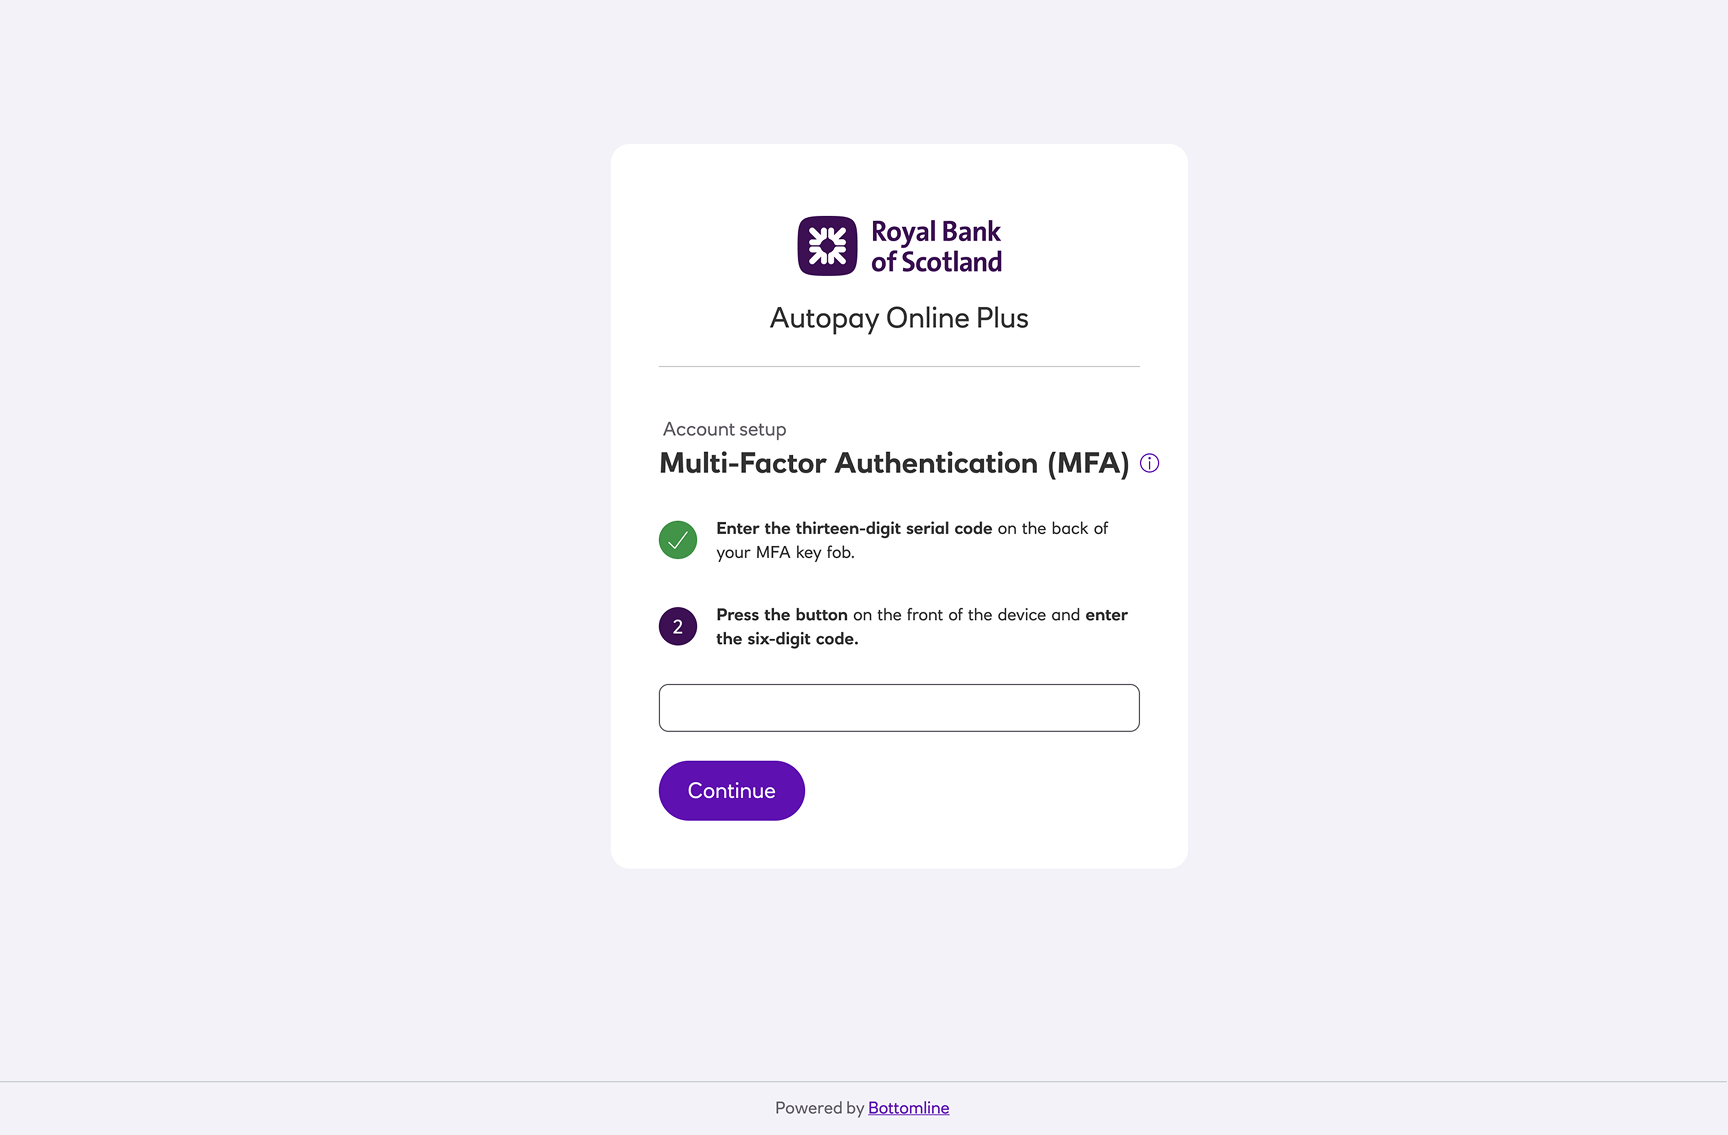
If your code has expired then it will no longer be visible on your device. If you have entered the code incorrectly then you will see a validation message on the screen. In both cases you should stay on the screen and use your device to generate a new code (press the button again) and then input the code.
- Choose your password, and then click Set password. See Passwords for the rules when setting a password.

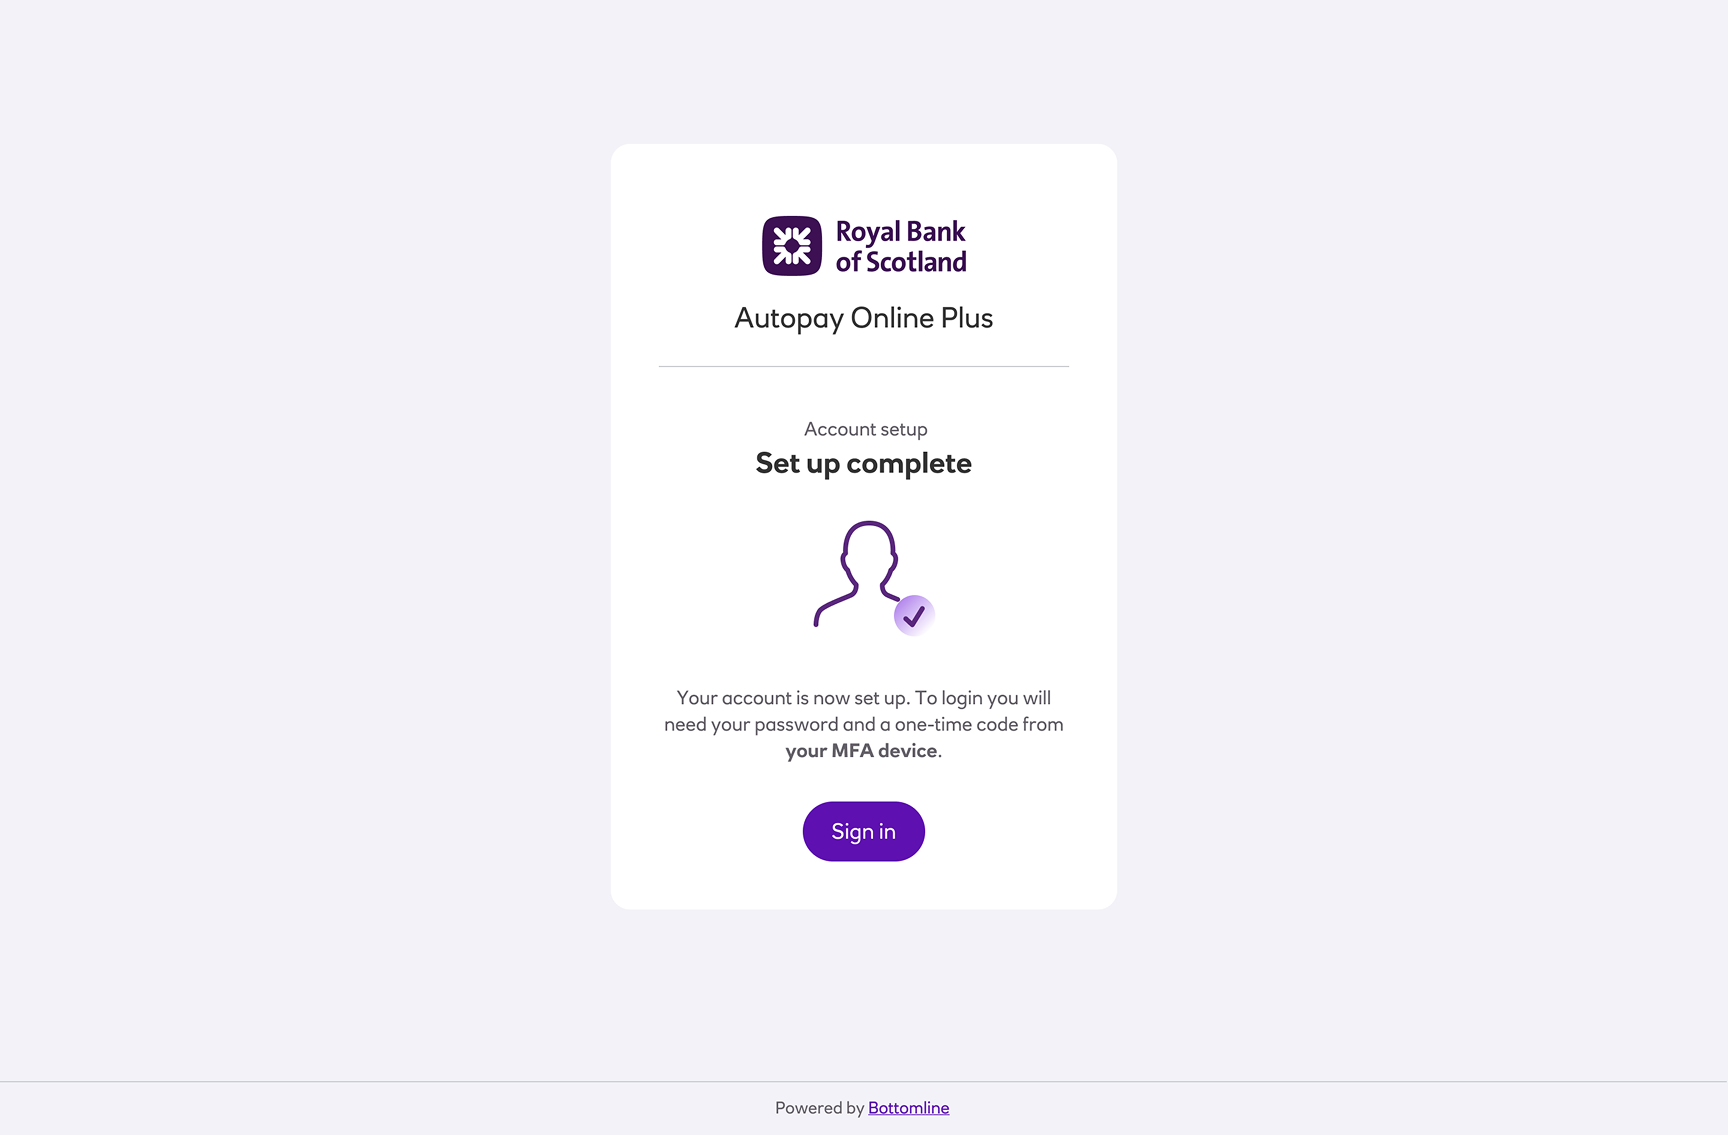
- Once your setup is complete you will be presented with the screen to log in to PTX.

Setup complete
Now that your activation is complete, every time you log into the system you’ll first be prompted to enter your email address and password. You’ll then be asked to enter a verification code. Use your MFA key fob to generate this code.
Updated 5 months ago