
Approving a payment
When you import or upload a payment file, part of that process involves you approving the file that’s going to be sent.
There are a few different options to approve payments. You can have one person approving a single file, you can set up permissions so that up to three people have to approve the file (if multiple approval is enabled at a company level), or the payment profile can be enabled so that approval is automatic.
Your administrator is required to set the approval permissions against the payment profile, see the section Setting Up Approvals for more details on this.
The payment profile may have Automatically approve payments enabled. If not, then as a user you’ll find instructions below on manually approving files.
Note
If a payment file has been created in the past and is in an Entered/Approved state, the payment date will appear out-of-date. On clicking Approve/Send, this date will automatically be updated to the next available payment date on submission.
However, if the payment file is in a Draft state, on clicking Continue, the date will appear updated, this date will automatically be updated to the next available payment date when moving to the Approved state.
Single approval
-
Log in as a user who has the Approve role.
-
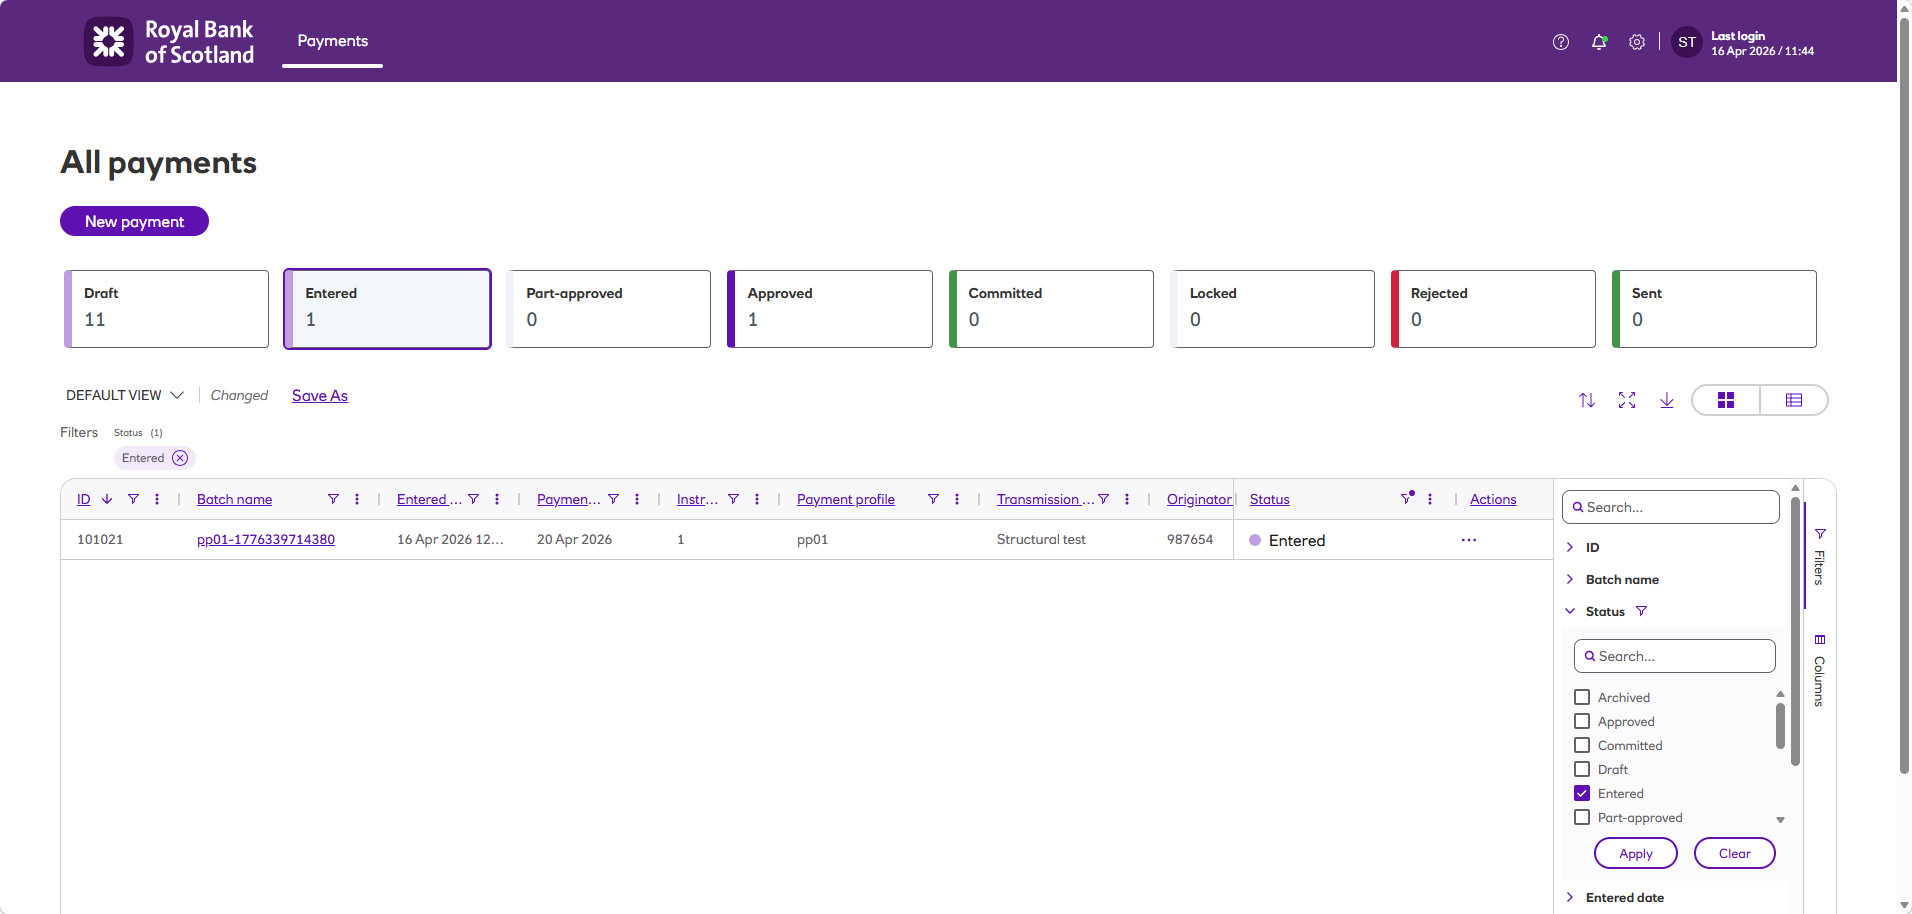
On the All payments screen, under the graph, all of your payment files will be listed.
-
You can look for payment files by scrolling through the list of Batch names.
-
Alternatively, if you have a long list of payment files you can filter by Entered status.
-
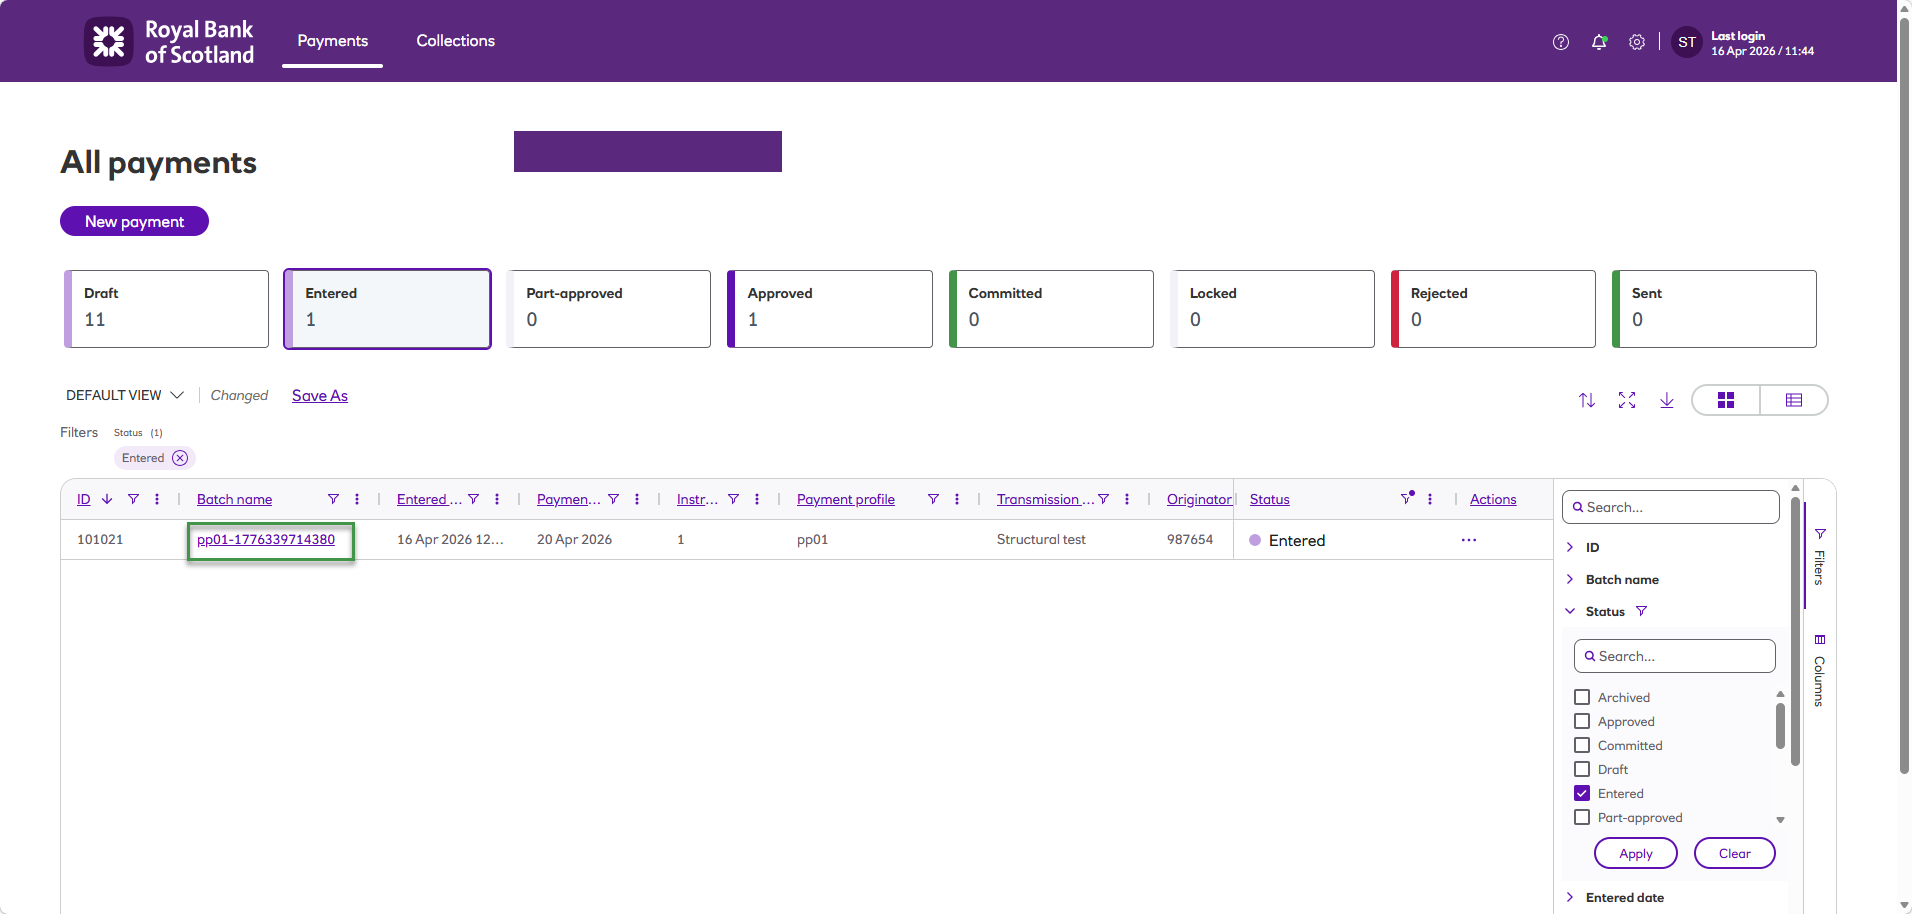
Click on the Batch Name or the View option from the action overflow menu [...] for the payment file. This will show you all of the payments in that payment file.
-
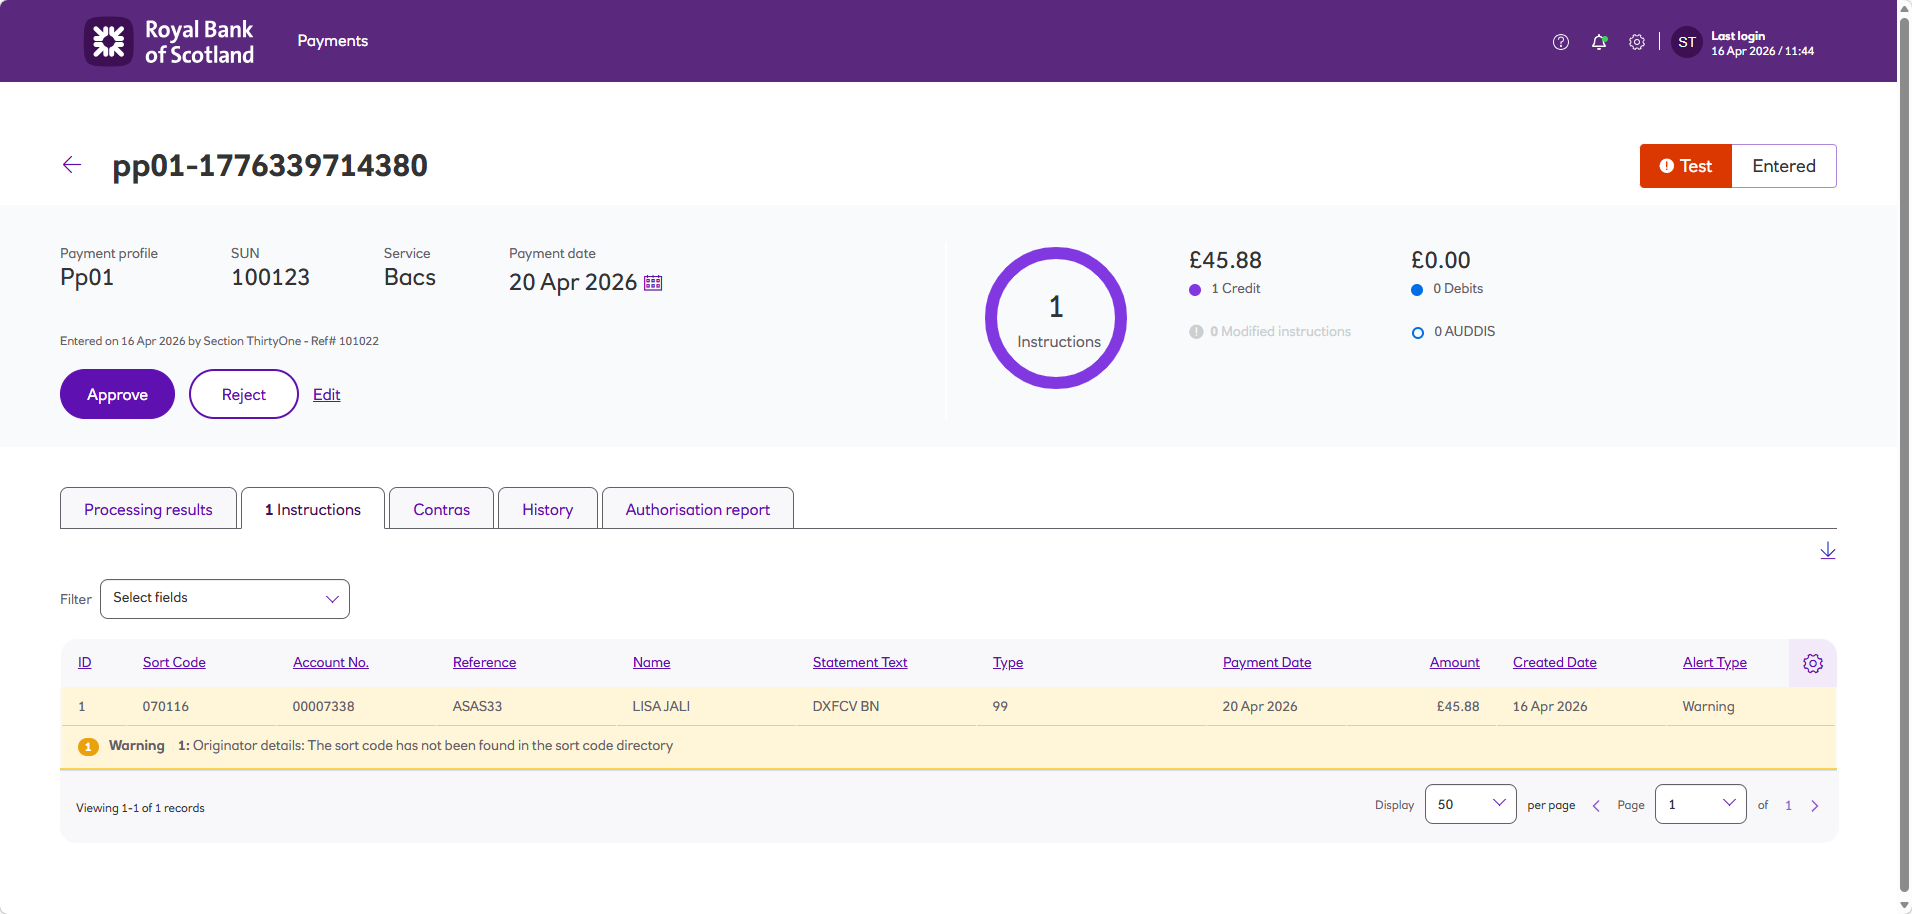
Check the details of the payment file.
-
Click Approve.

-
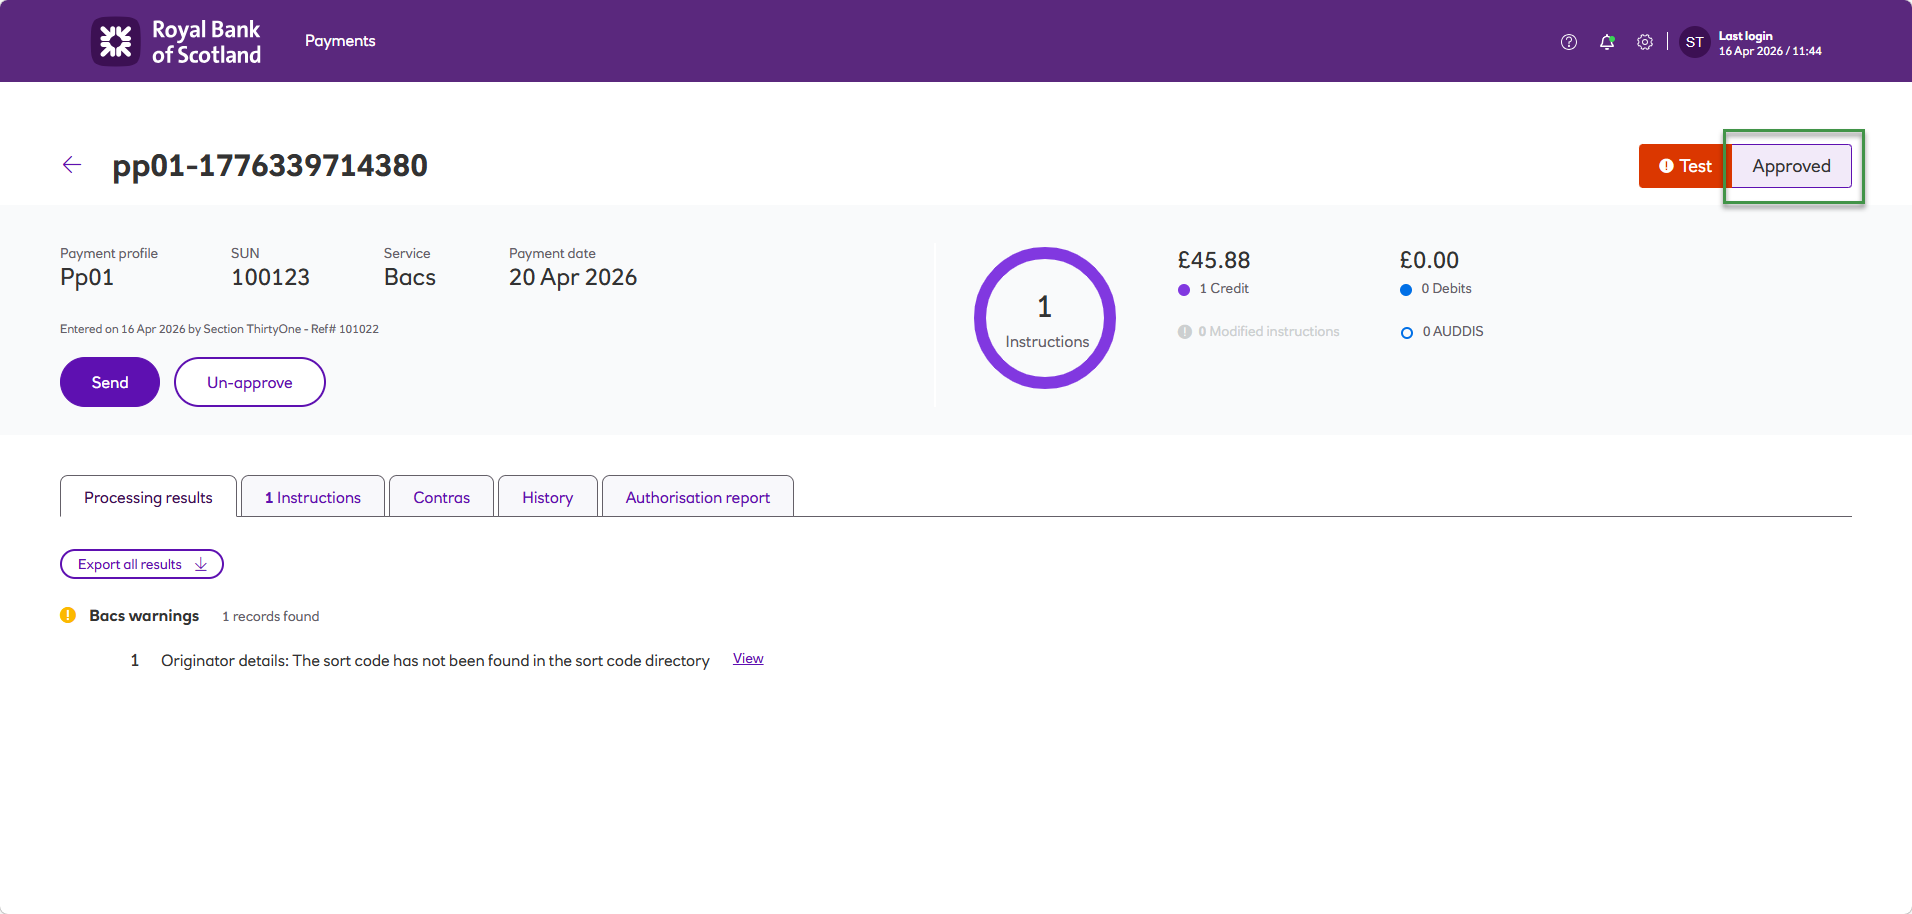
The status will update to Approved and will be ready for submission.
-
You’re still able to Un-approve the payment file until it’s been sent for submission.
Multiple approval
If a payment profile has been configured to require multiple approvers:
-
Log in as a user who has the Approve role.
-
On the All payments screen, under the graph, all of your payment files are listed.
-
You can look for the Entered payment file by scrolling through the list of payment files.
-
Alternatively, if you have a long list of payment files you can filter by Entered status.
-
Click on the Batch Name or the View option from the action overflow menu [...] for the payment file. This will show you all of the payments in that payment file.

-
Check the details of the file.
-
Click Approve.

-
The status will update to part-approved.

-
The payment file is ready for the next approver to approve the payment file.
-
You’re still able to Un-approve the payment file you approved or part approved.
Updated 2 months ago